FAQ  •  Register  •  Login
UKLockpickers.co.uk Lockpicking supplies such as Lockpicks, tools, and more! COMMANDOLOCK.COM Military grade padlock systems lockpickshop.com A source for lockpicking supplies such as lockpicks, locksmith tools, and more!

Disassembly and Decoding of a Chicago Lock Padlock

Forum rules
A section for neophytes learning the hobby!

Learn the requisite skills watching videos of other experienced members in action.

Post TUTORIAL videos only!
<<

GWiens2001

User avatar

Lock-Goblin-Gordon
Lock-Goblin-Gordon

Posts: 3795

Joined: Thu Oct 25, 2012 9:05 pm

Location: Arizona, United States

Post Sun Feb 16, 2014 10:52 am

Disassembly and Decoding of a Chicago Lock Padlock

Disassembly and Decoding of a Chicago Lock padlock

Yes, Oldfast, there are gut shots. :razz:

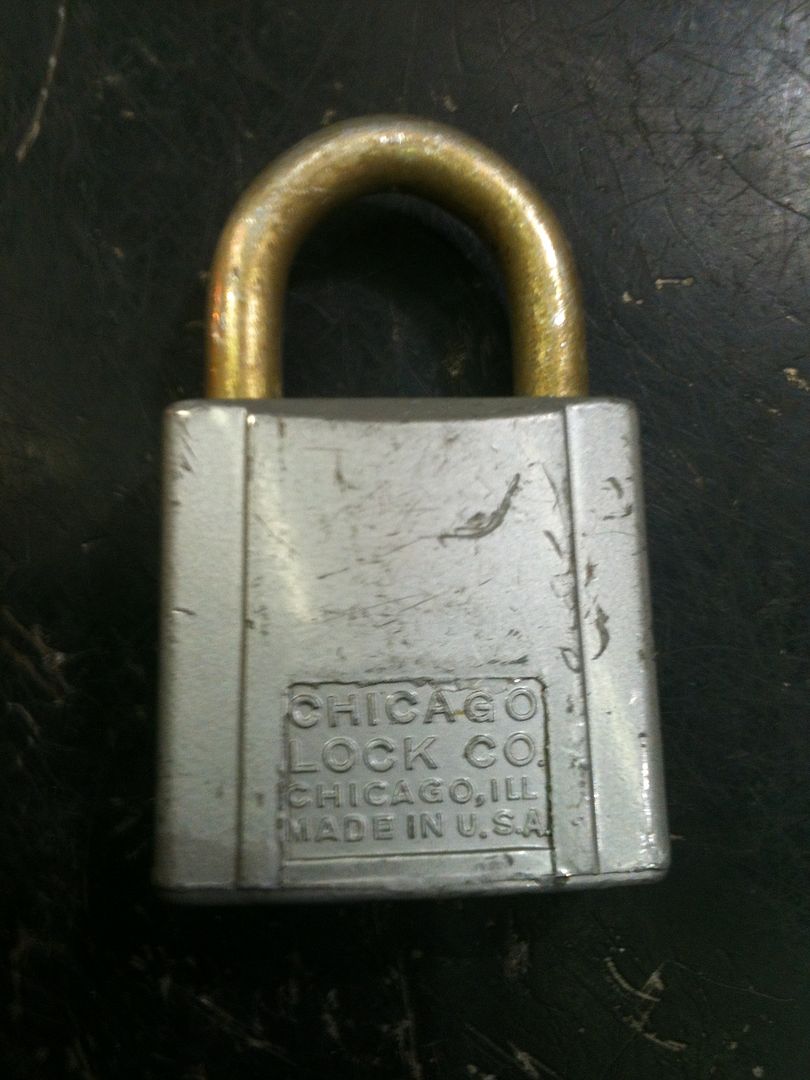
Got two of these in the mail recently, only one of which has a key. Will have to make a key for one, and thought you might want a primer on disassembly and decoding of these locks.

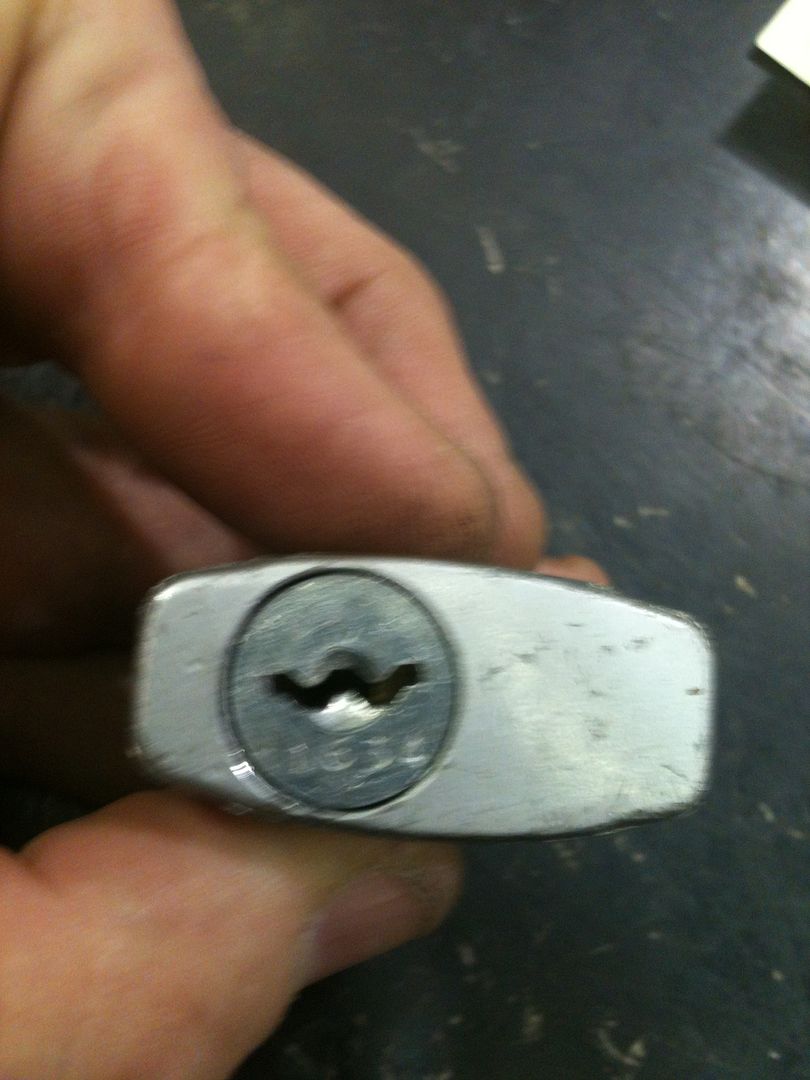
This is the lock:
Image

Image

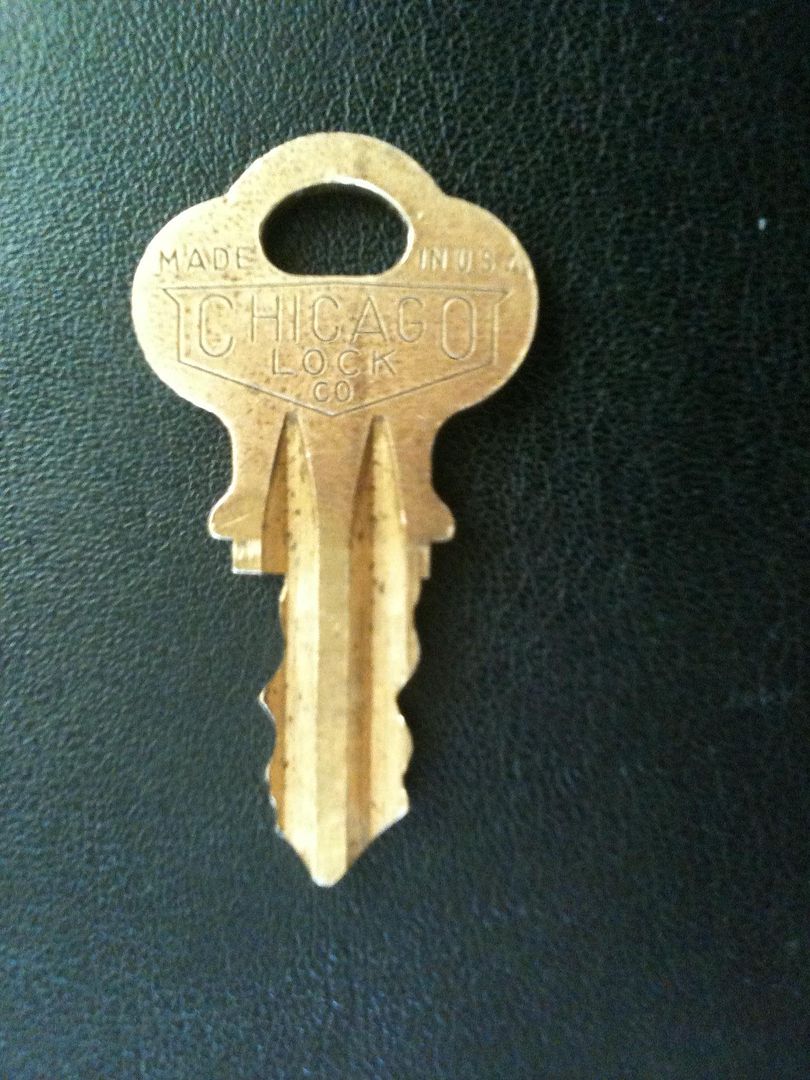
The key looks like this:

Image

If you look at the key above, you can see that when one side’s cuts get deeper, the other side opposite goes shallower - the overall width of the key stays at about 7.5mm, shifting side to side. The problem with that for key making is that the full width of the blank will not fit into the lock, as the key blank is about 10mm wide. That means you can not simply impression a key for this lock. We will cover how to take care of that later.

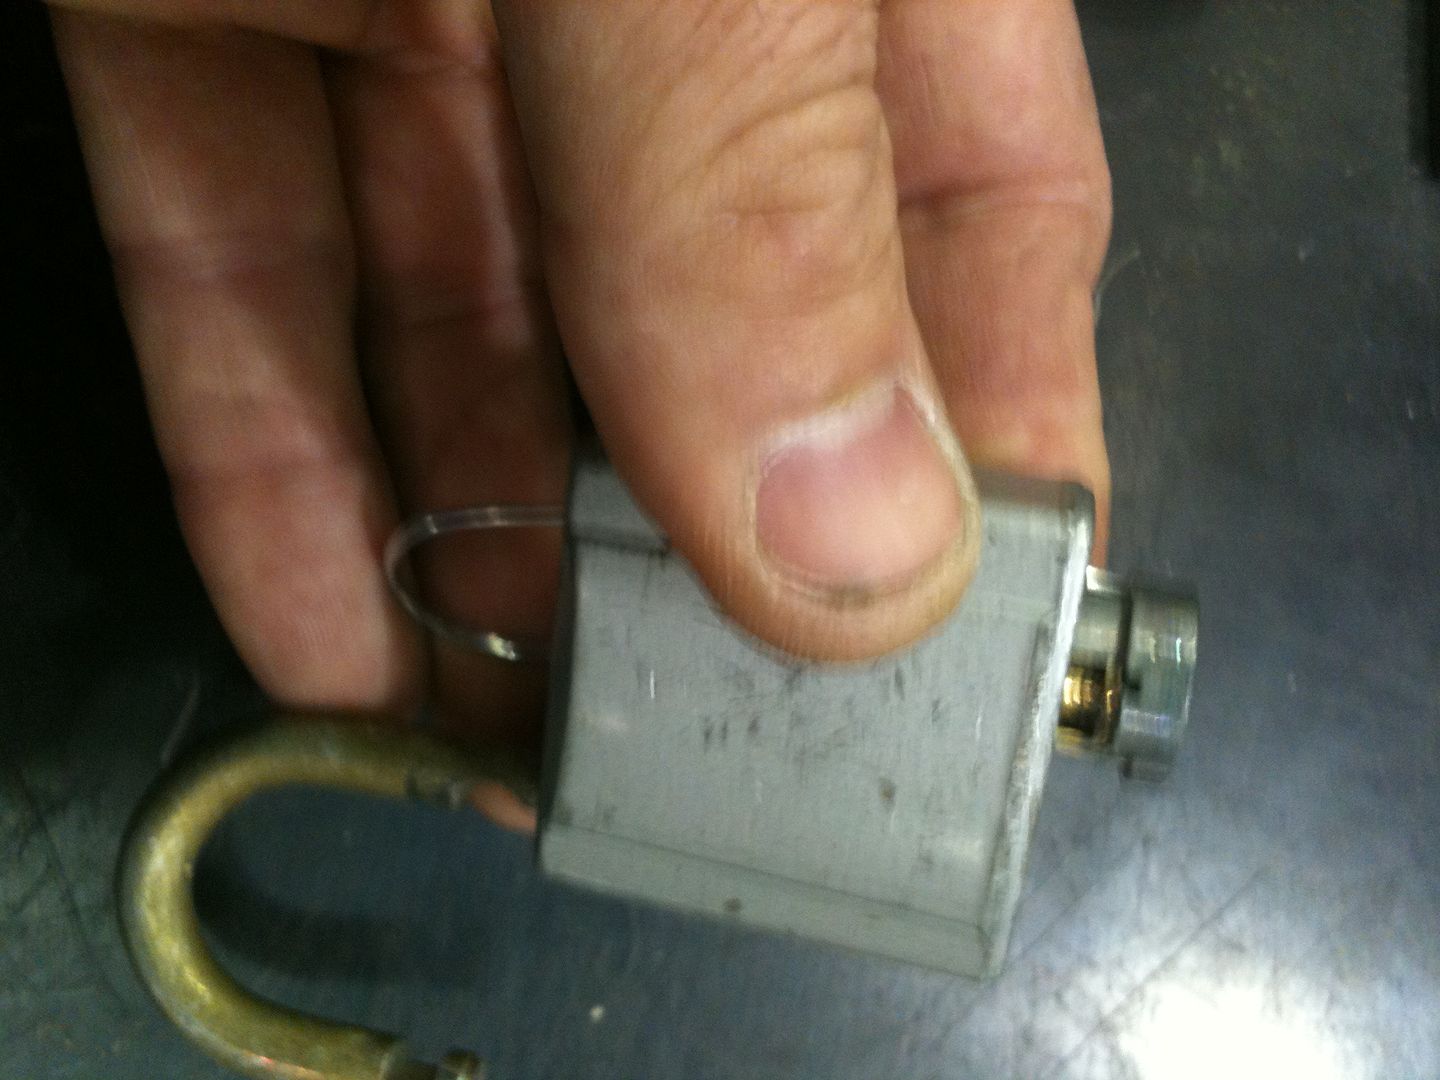
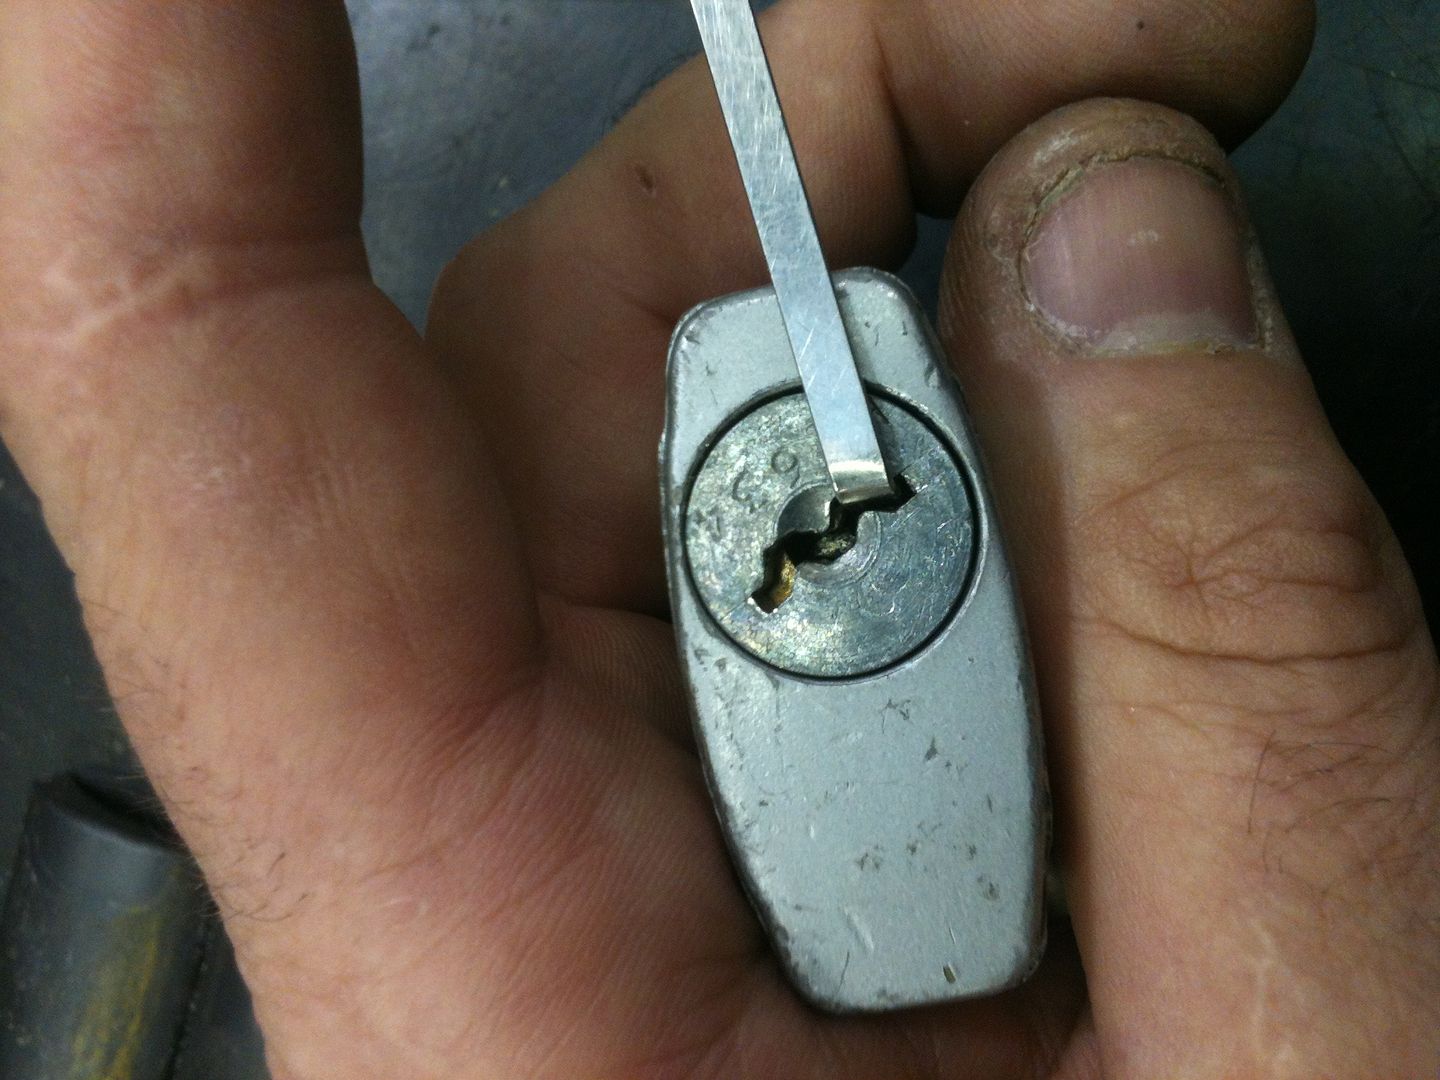
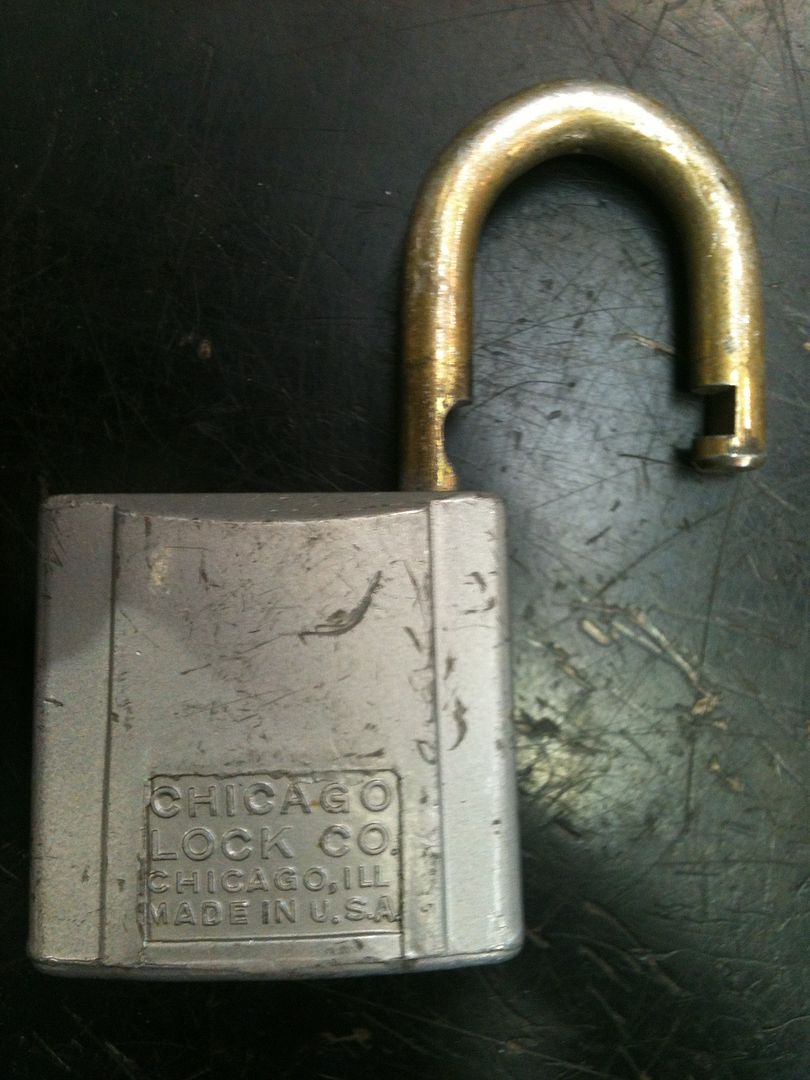
First, open the lock. Use the key if you have it, or for more fun and excitement, pick it. (Very easy to do). Turn the plug just enough to unlock the shackle.
Image

Image

Now look into the hole where the toe of the shackle goes. You will see a square hole.
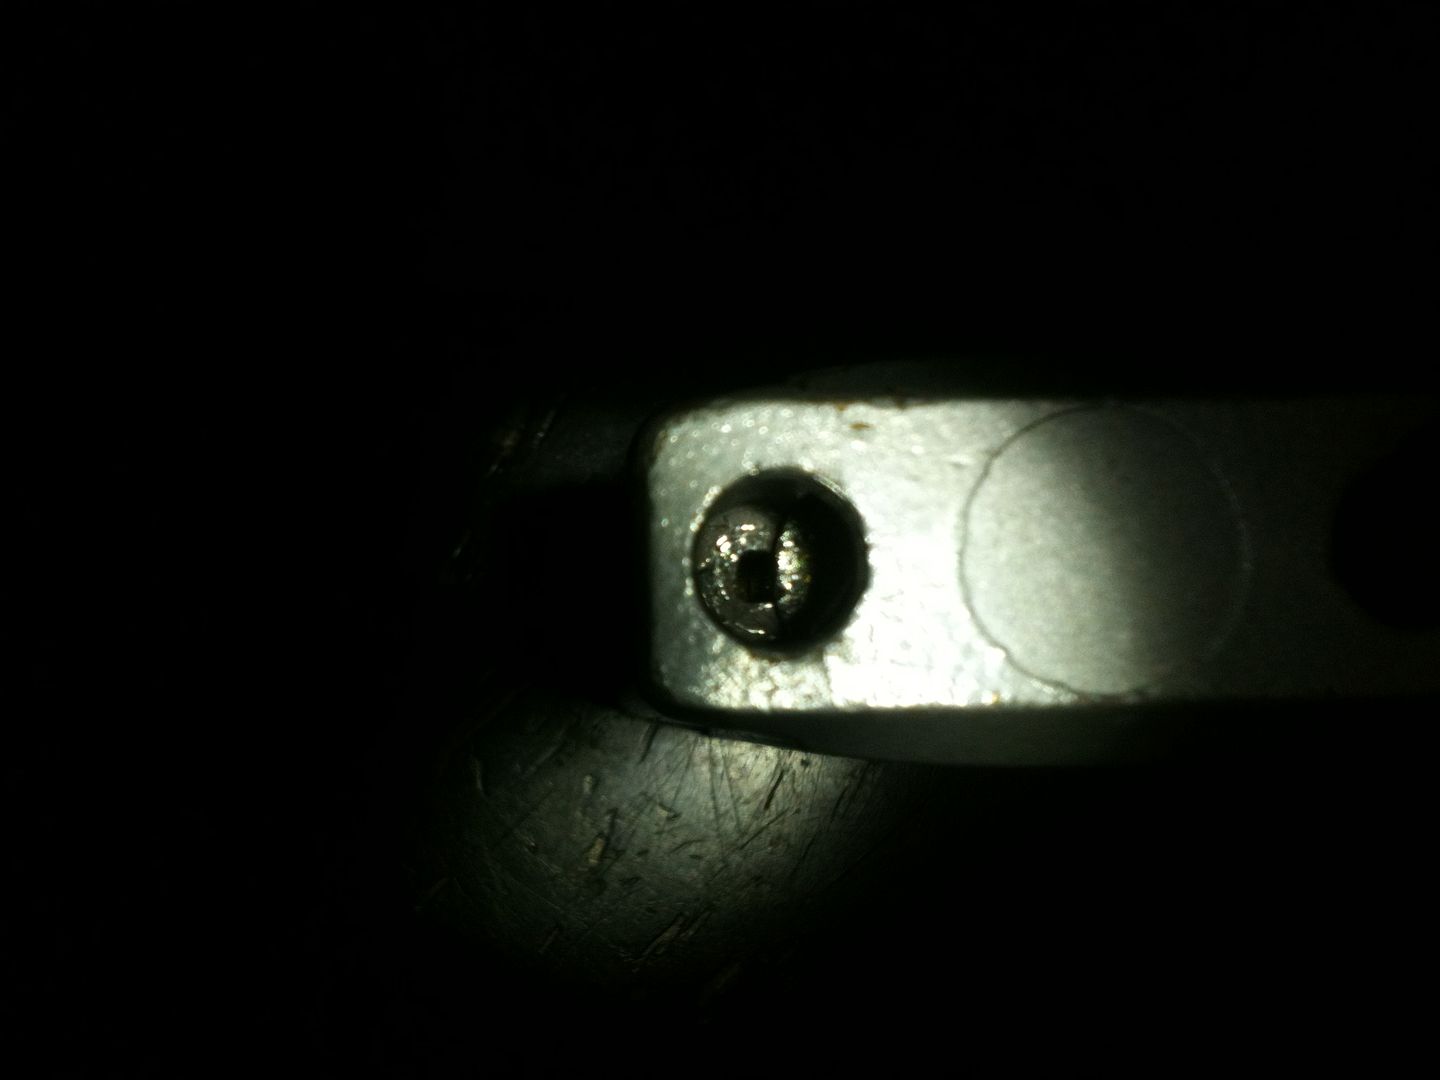
Image

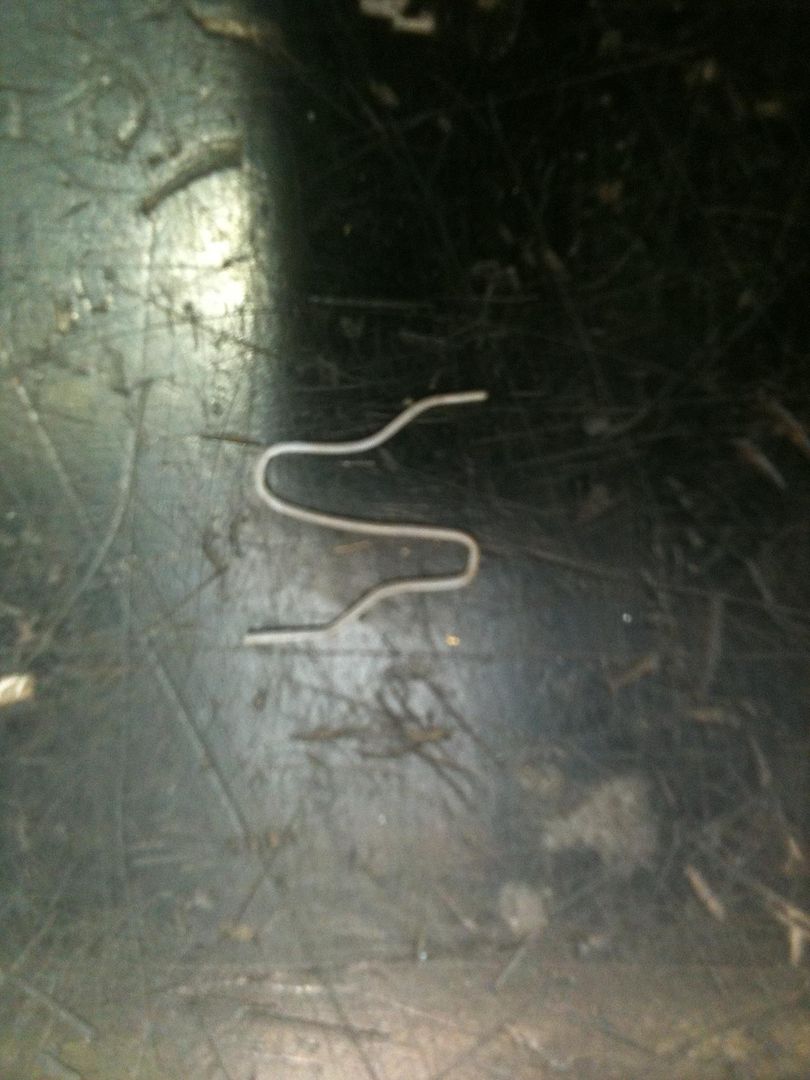
Now you will need a specialized tool. The wire diameter should be close to the size of the hole. Mine is made from a straightened out key ring. ;-)
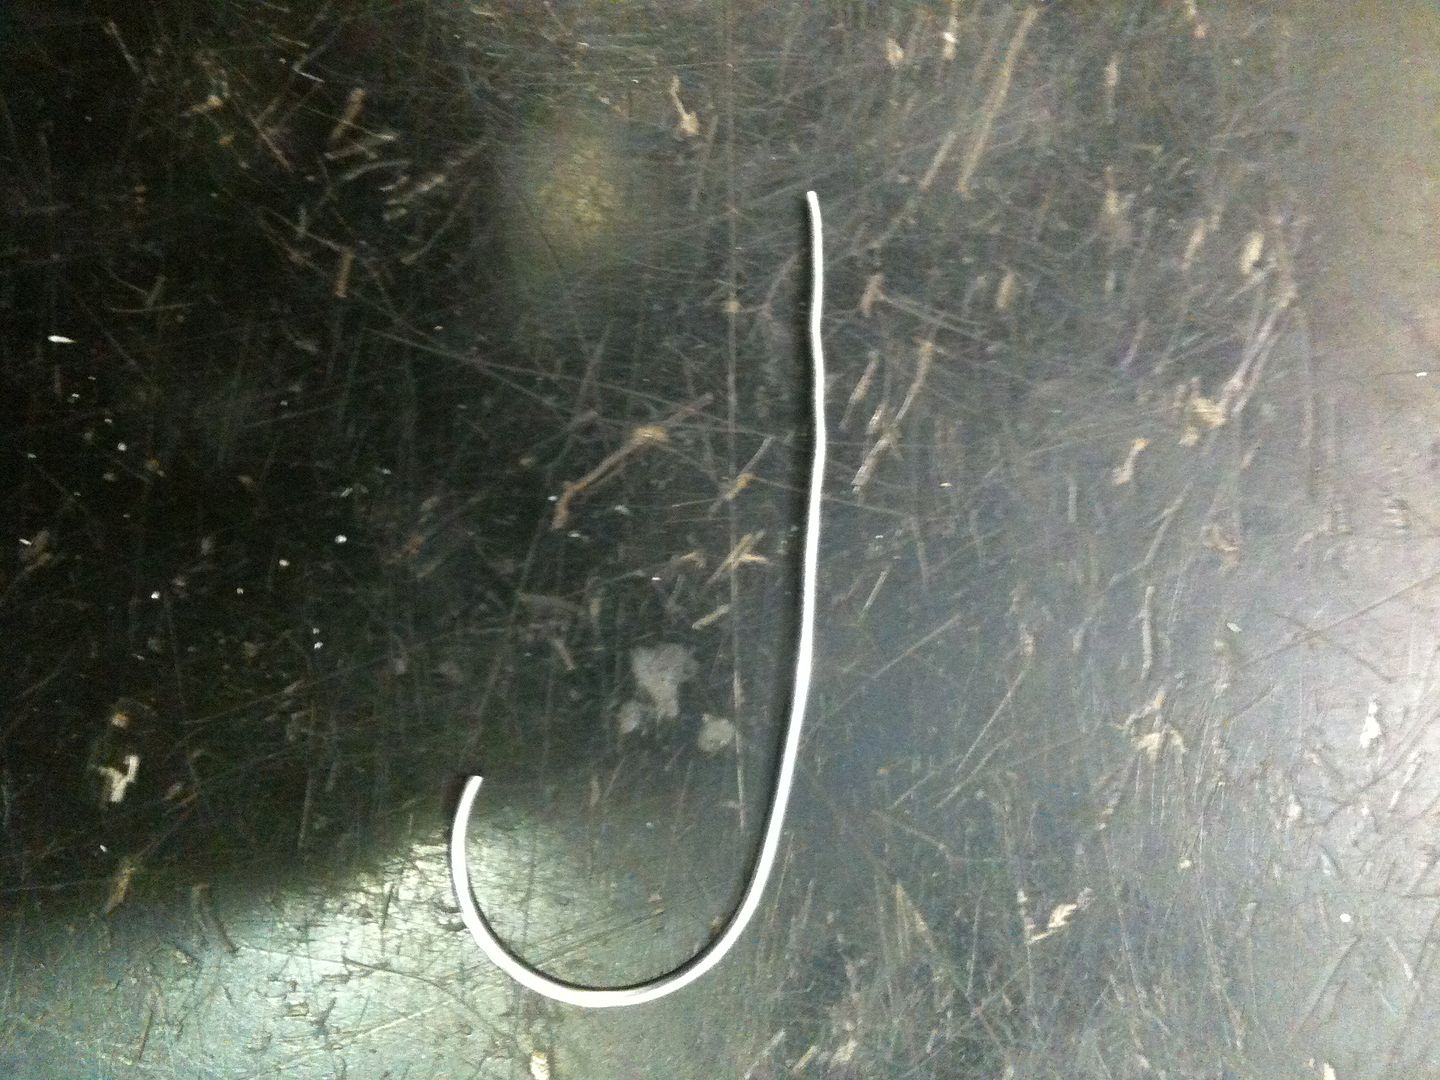
Image

Turn the plug back almost to the locked position. Insert the tool into the hole until it reaches the bottom of the lock, then lift it slightly. You can put it in shorter and try pushing in the clip (which you will see soon), but it is much easier to do it this way.
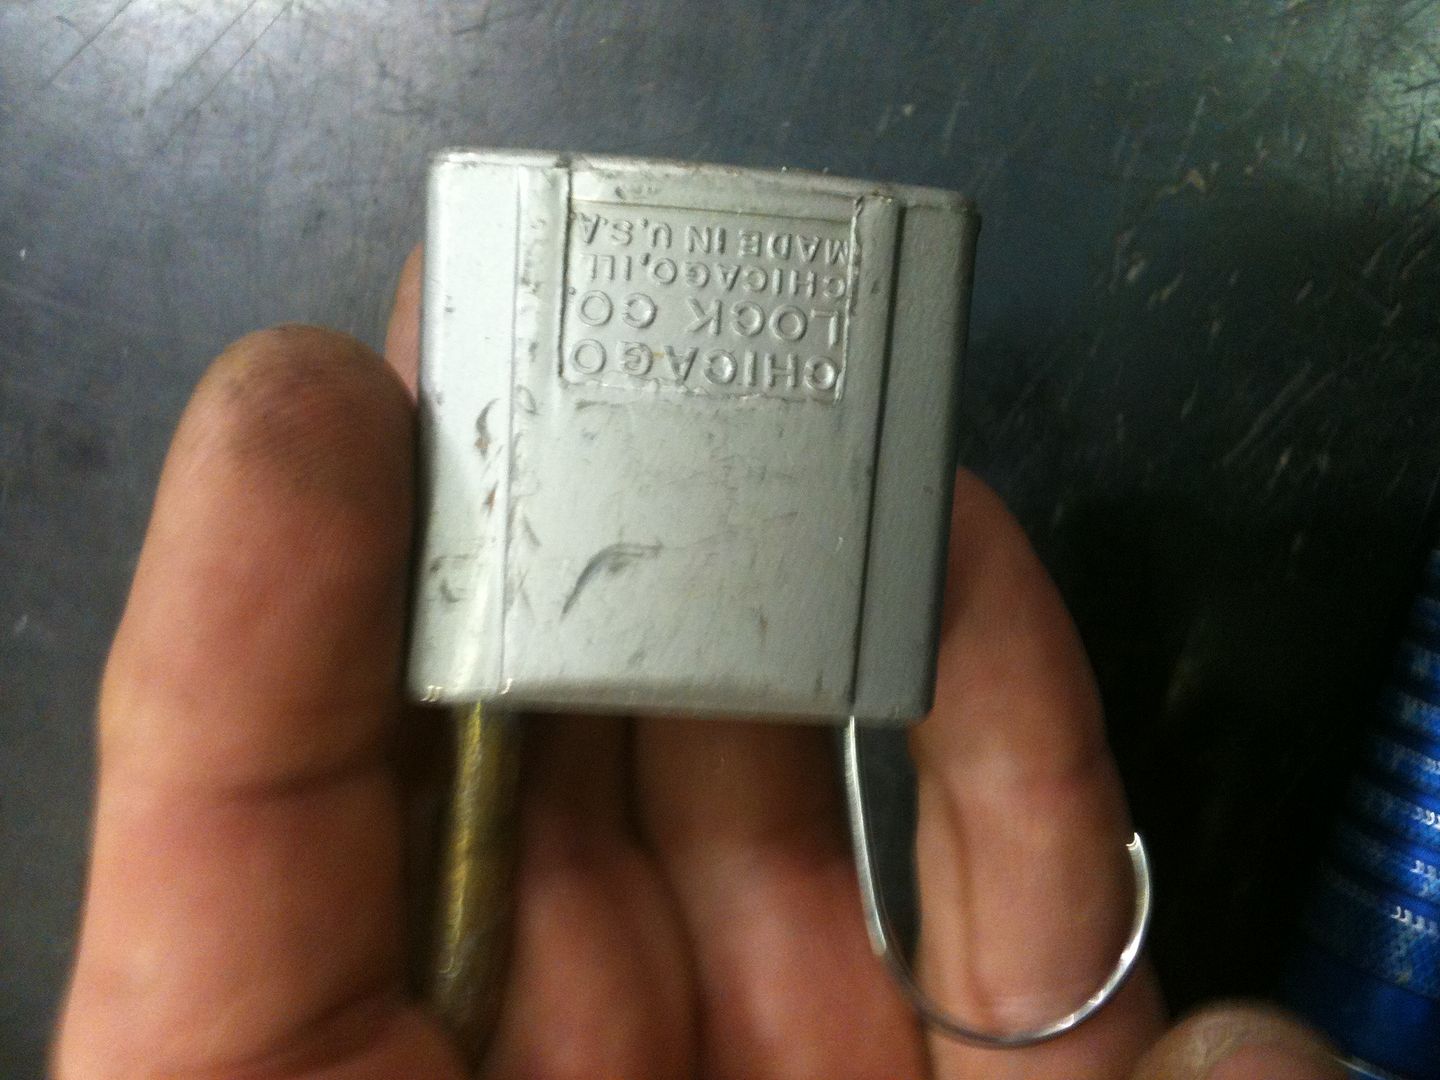
Image

Now turn the plug with a tension wrench (or key). If the plug will not turn, pull the wire tool outwards a tiny bit and try again. At the end of the turning (this plug only turns clockwise to open), you will feel the plug become slightly springy.
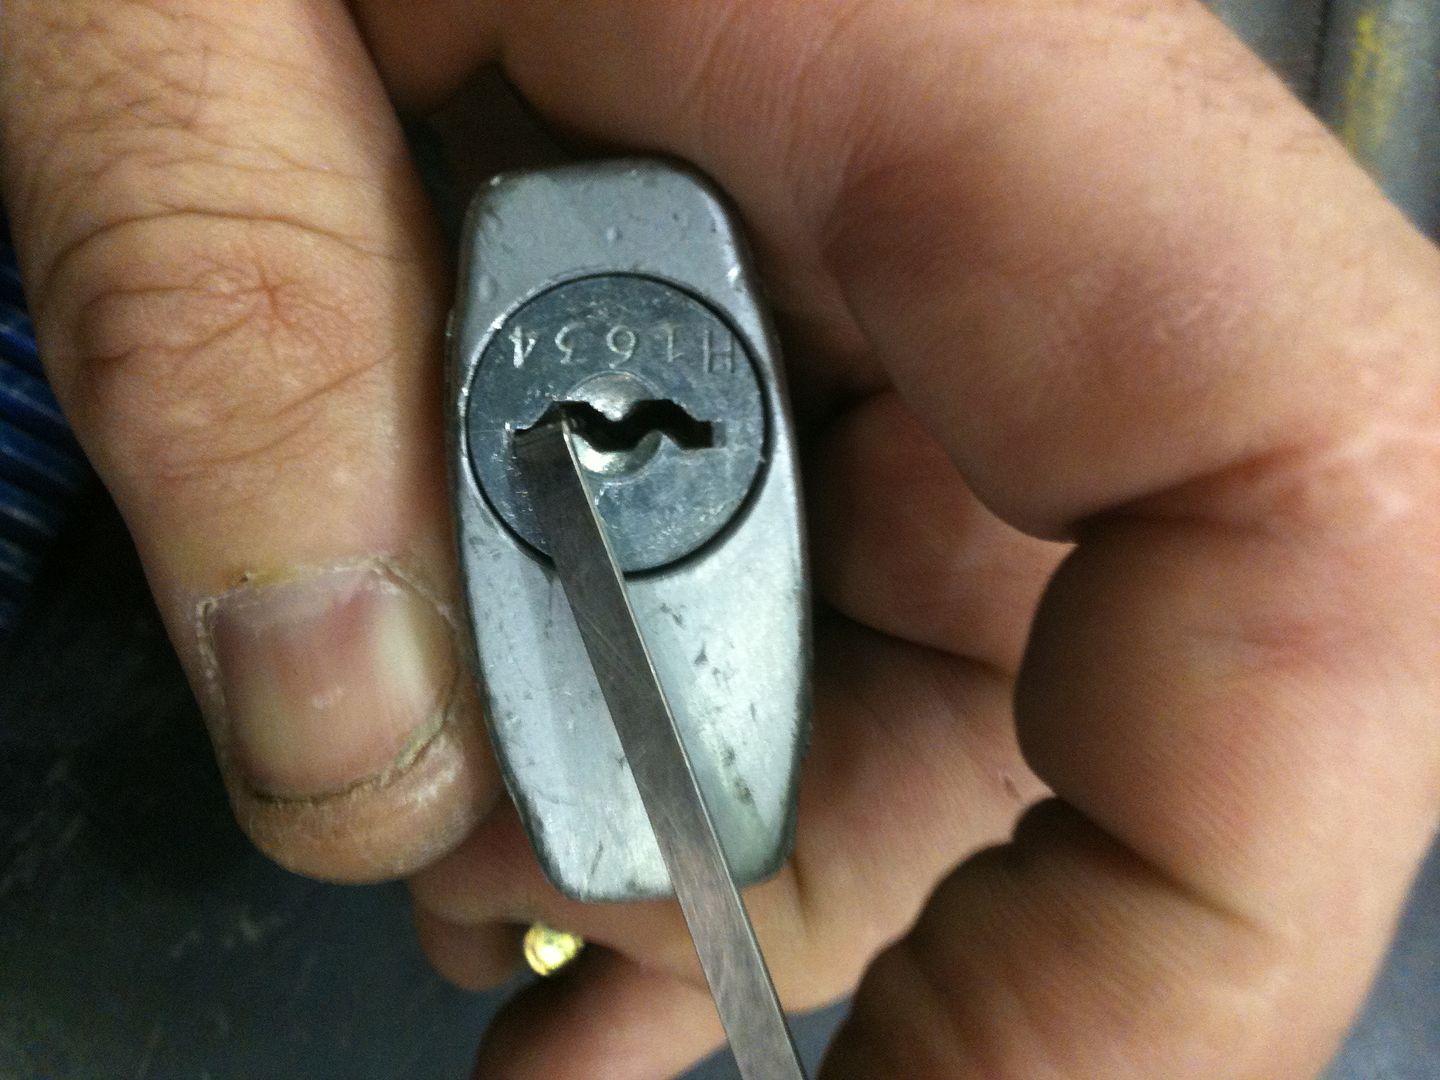
Image

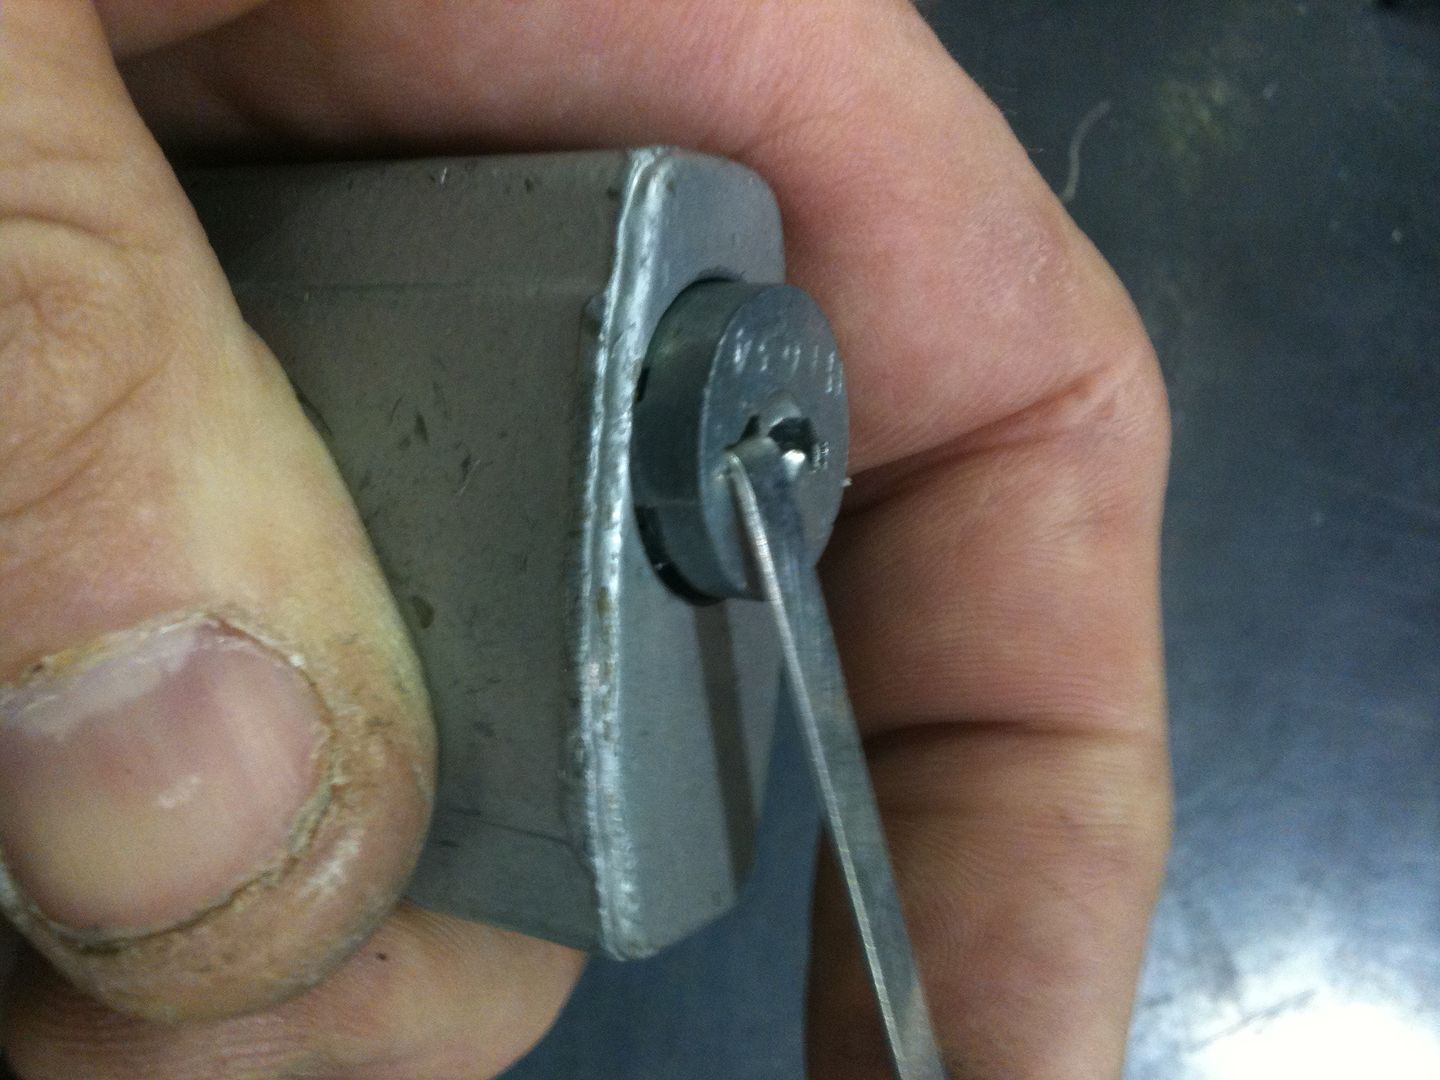
Once you feel the turning become springy, push in with medium pressure on the tool to press on the shoulder of the plug. Keep turning the plug, and the wire will push the plug.
Image

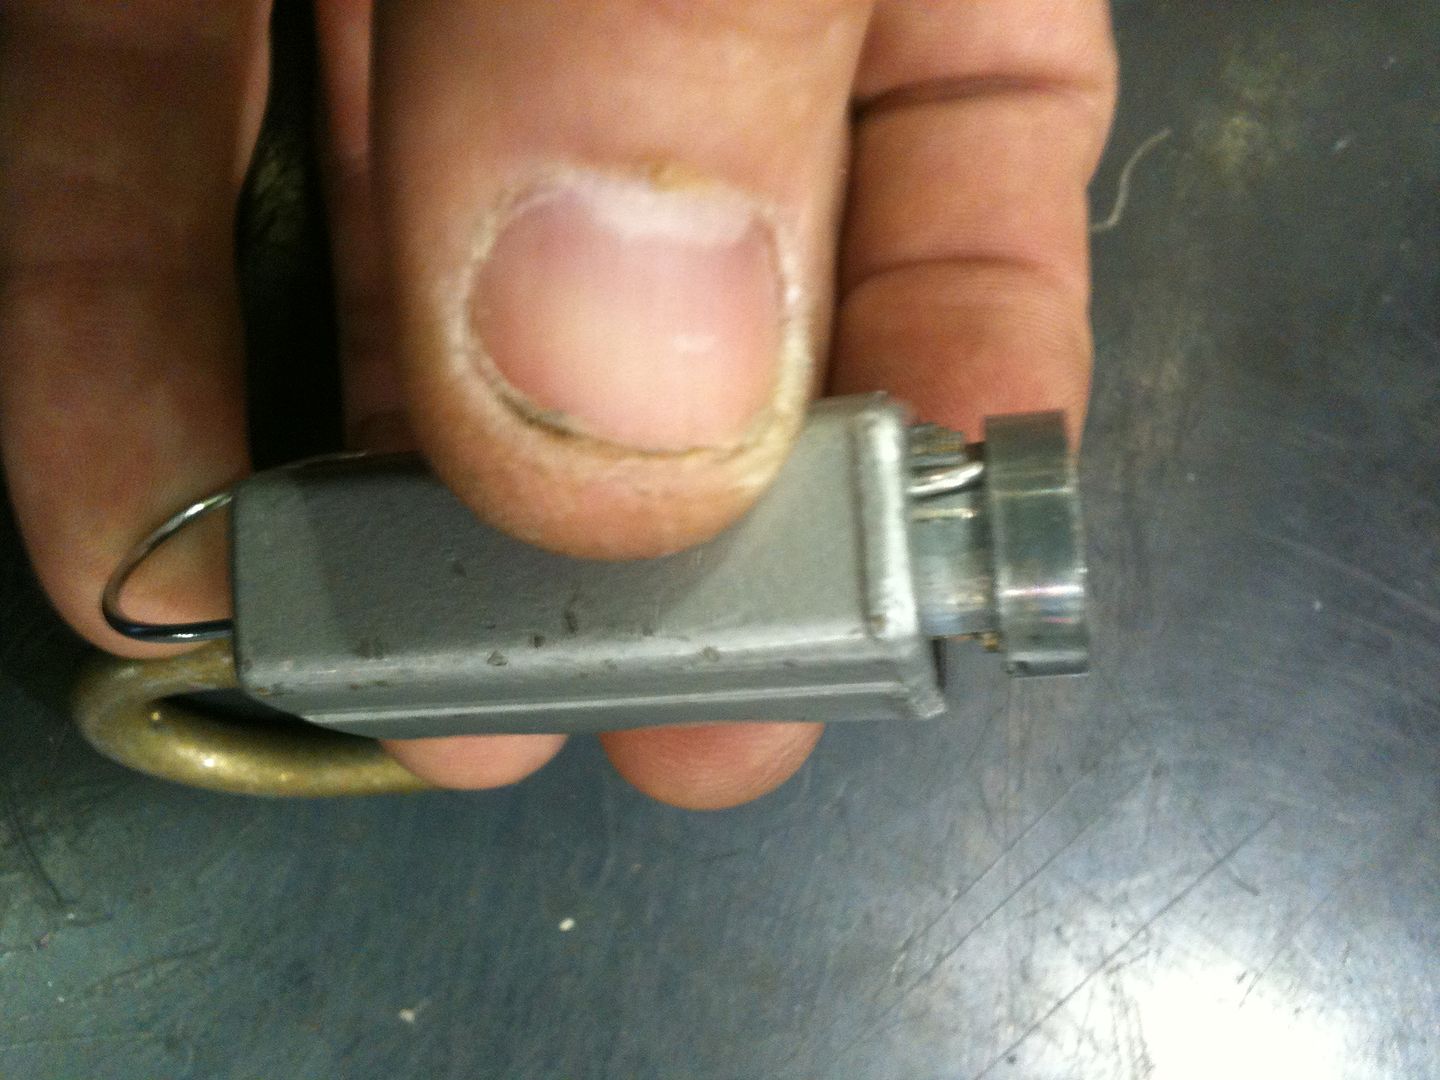
Ta-dah! The plug can now be removed. :-D
Image

Image

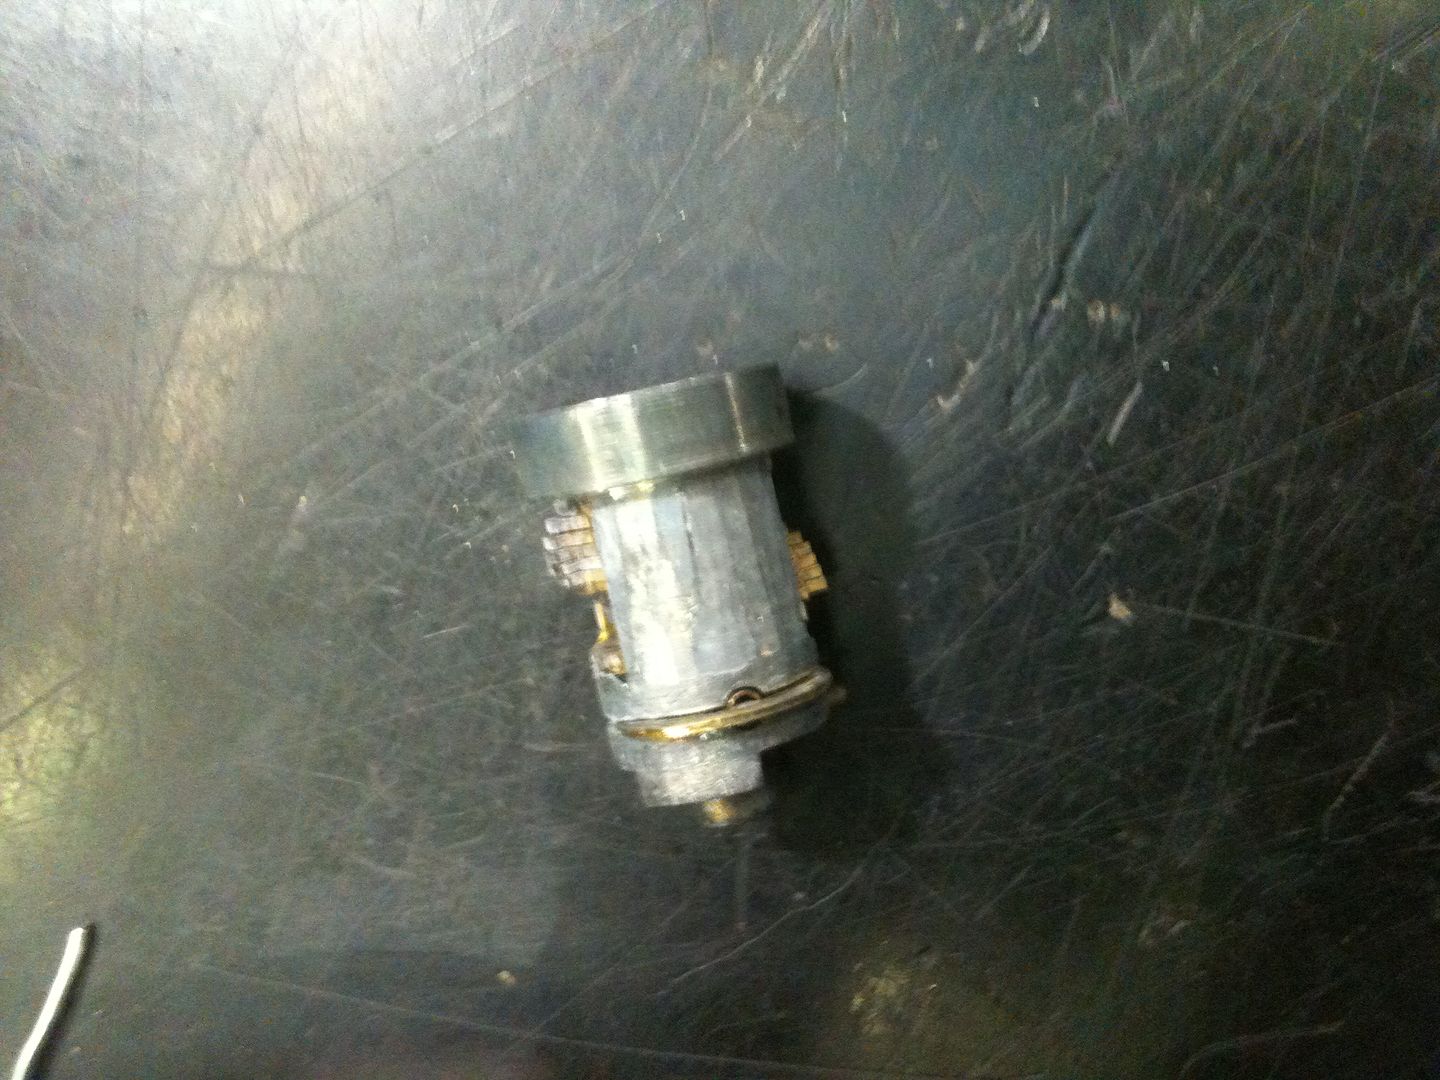
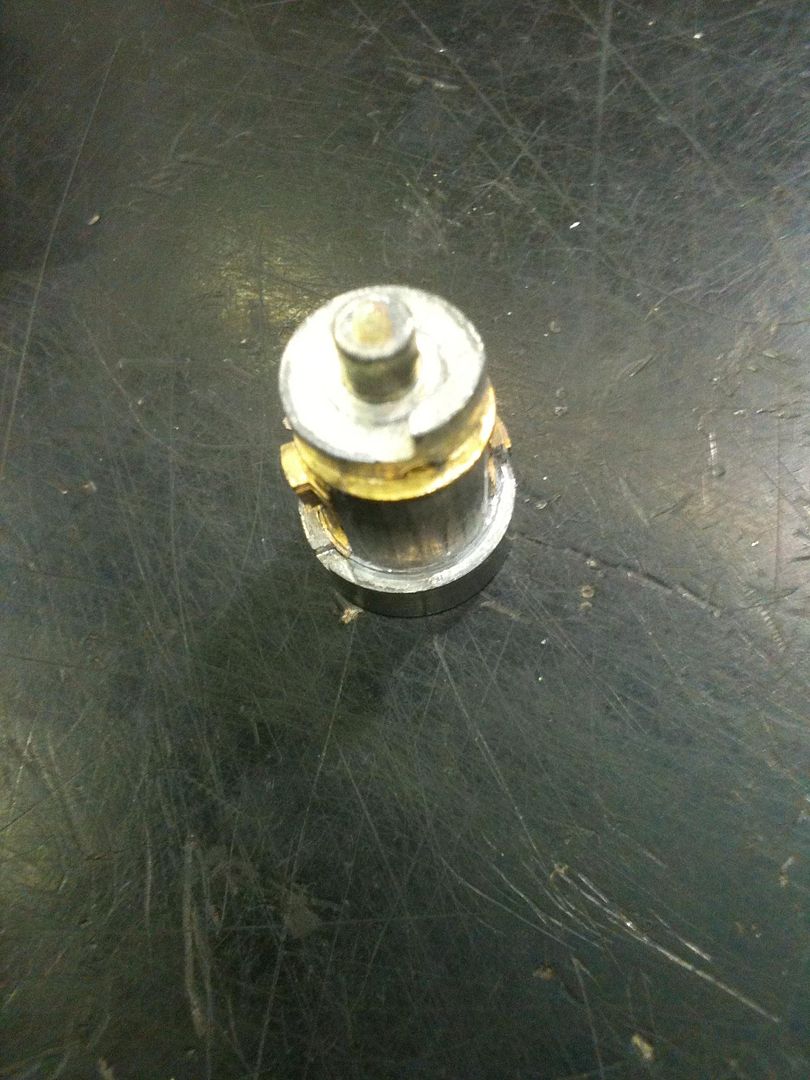
Here is the plug:

Image

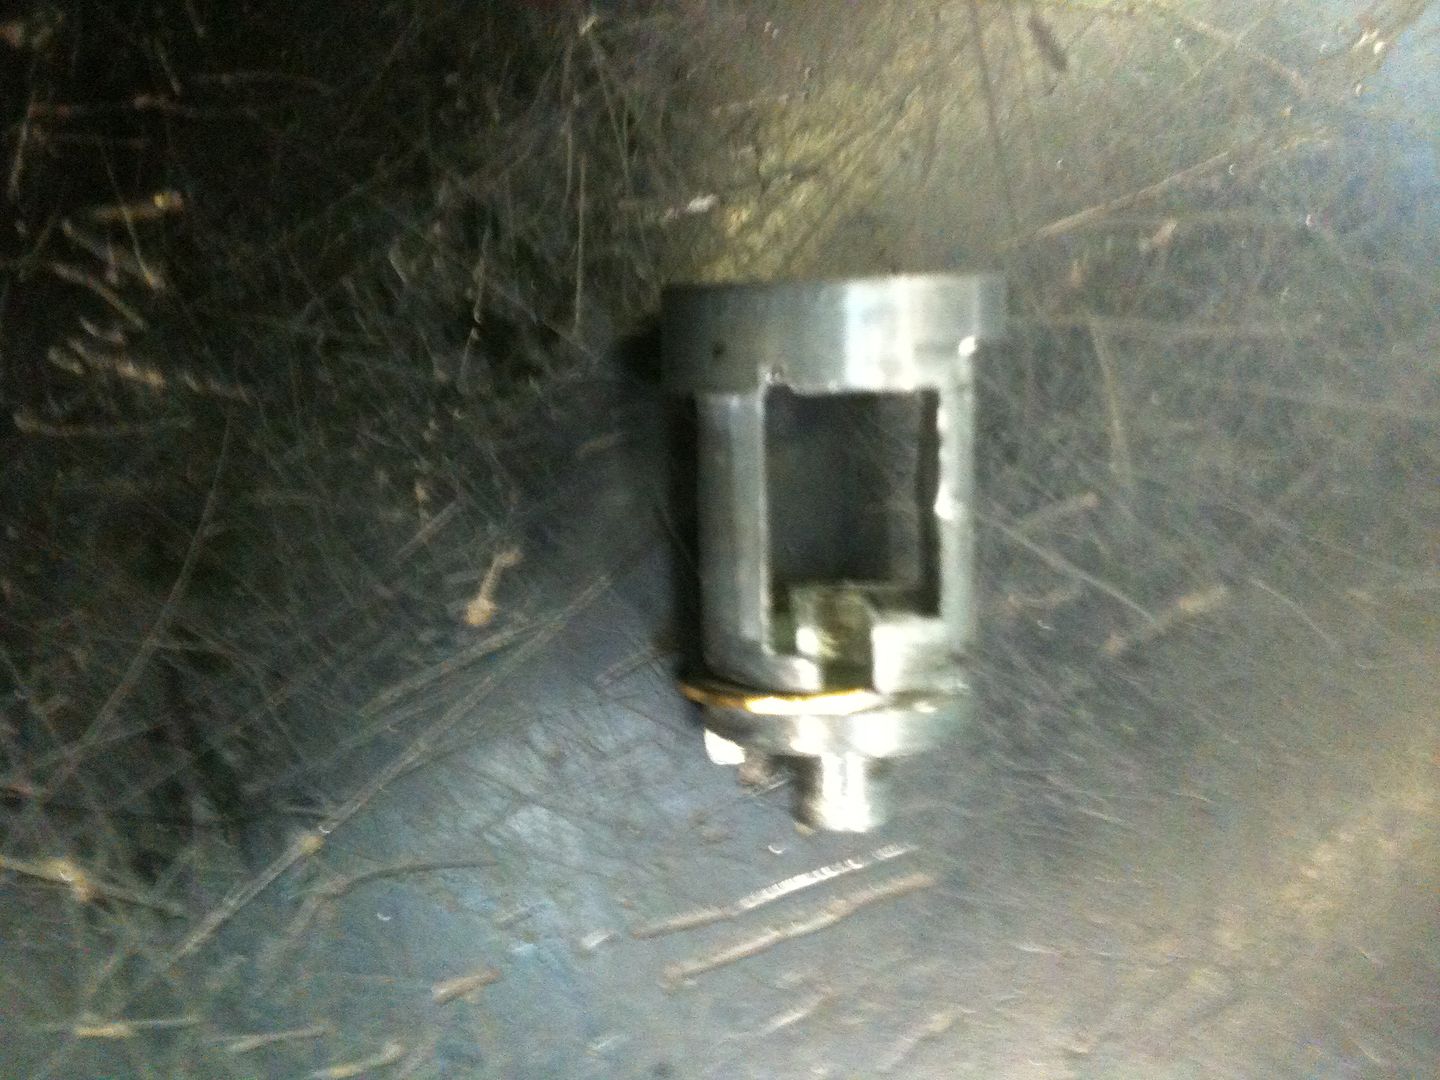
This is the spring loaded plug retaining clip. This is what needs to be moved in to remove the plug.
Image

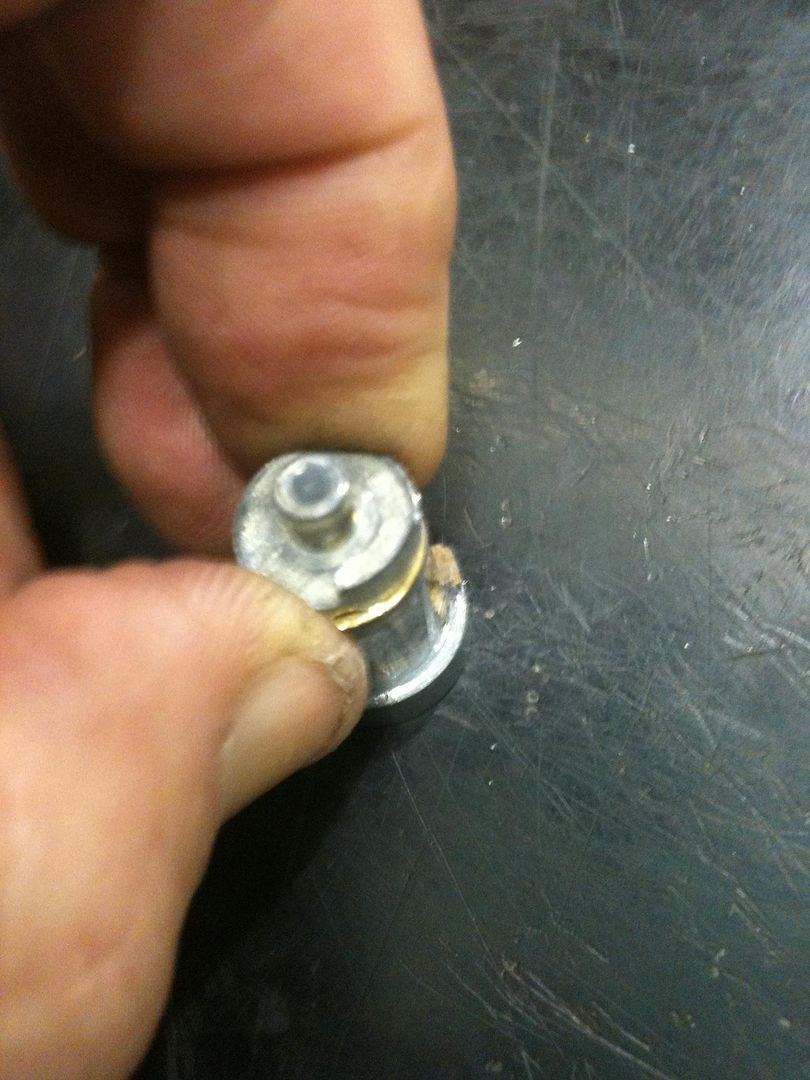
And pushed in… (fgarci - stop laughing! :evil: )
Image

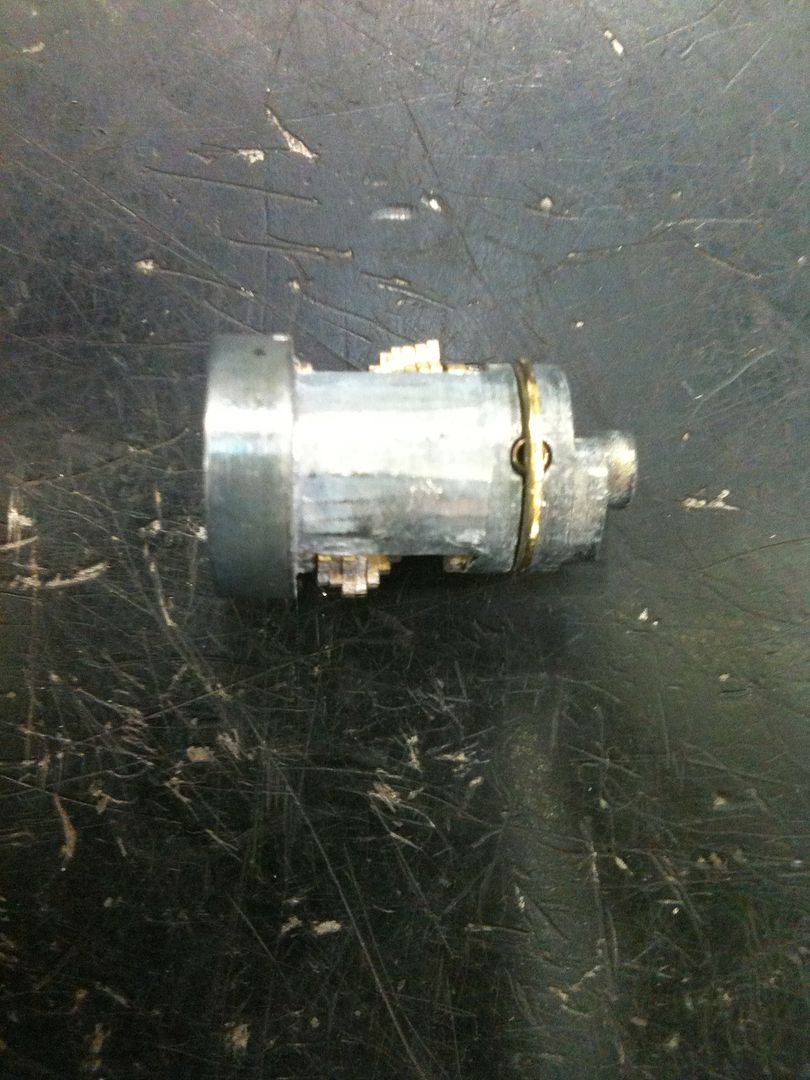
From the top, the plug looks like this: Note how the wafers are higher than the sheer line on one half of the plug, and lower on the other. That will be explained shortly.
Image

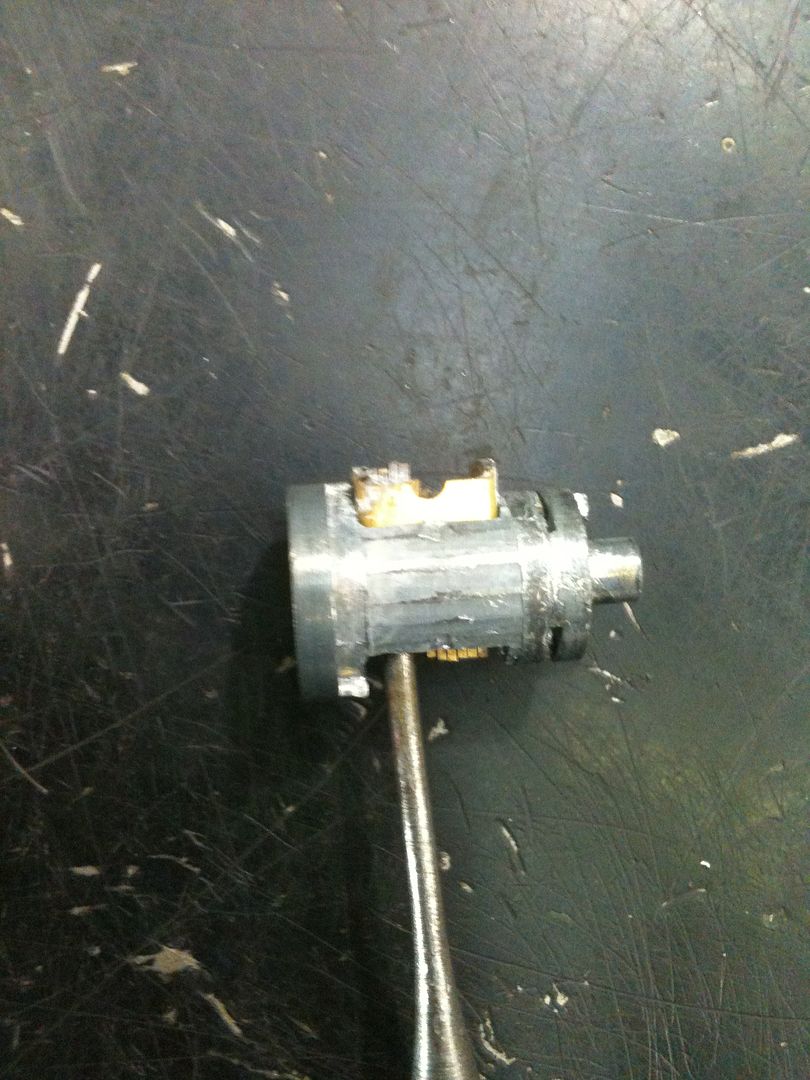
On any wafers that are raised (or lowered) above (or below) the sheer line, can be pushed to the other side as the key would do from the inside. They are spring loaded, so will return when you remove pressure.
Image

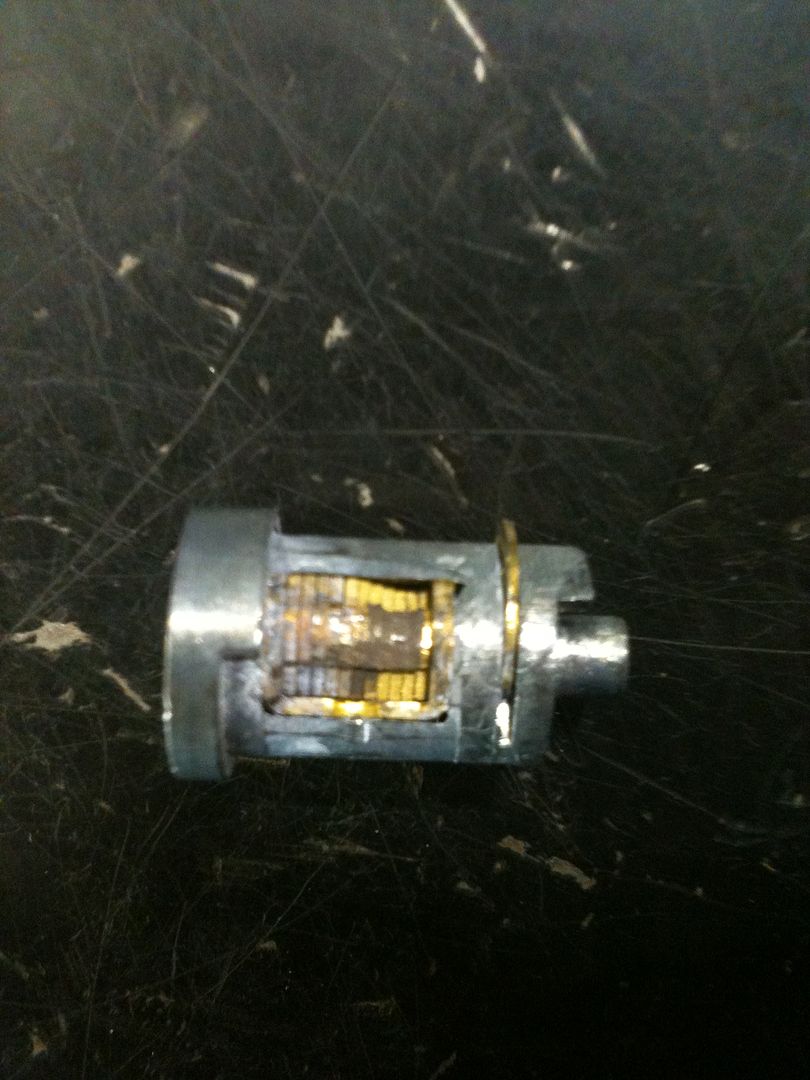
And the top or bottom view of the plug. Note the tiny stake crimp in the center of the plug. You will need to use a small screwdriver to move that back outwards to continue.
Image

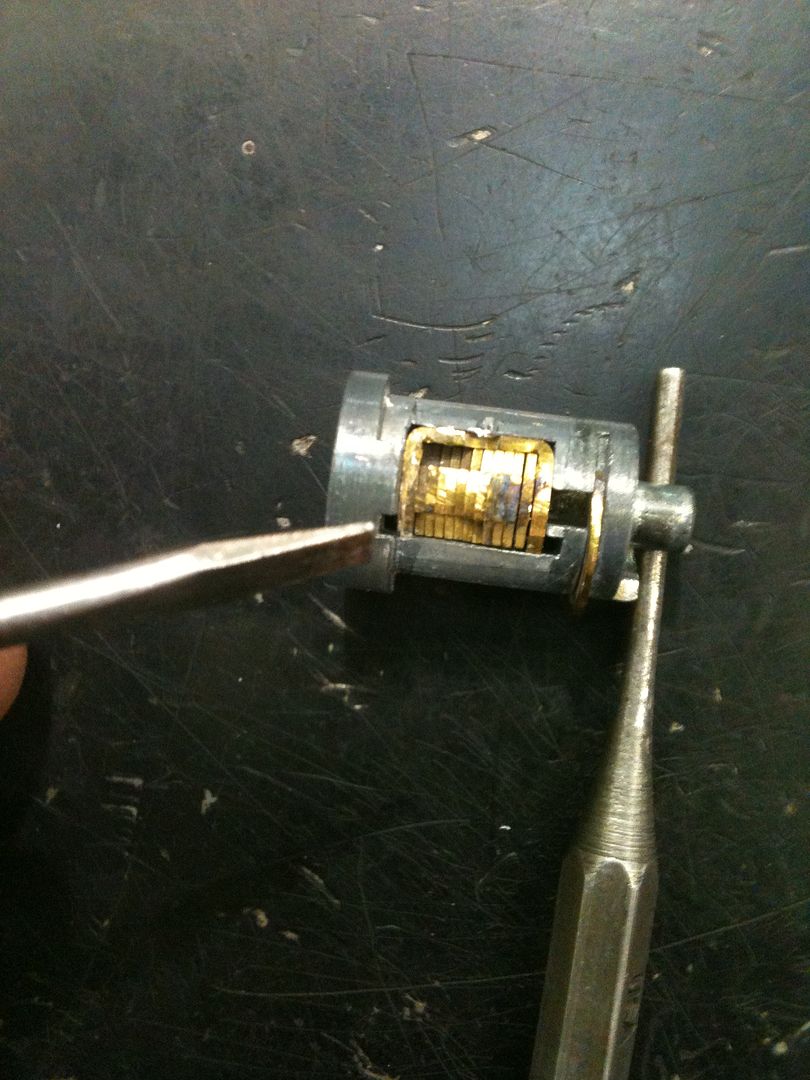
On one side of the plug (we will call this side the top), you will see two notches to the front and rear of the wafer carrier. Those are where the spring can fit when removing the carrier.
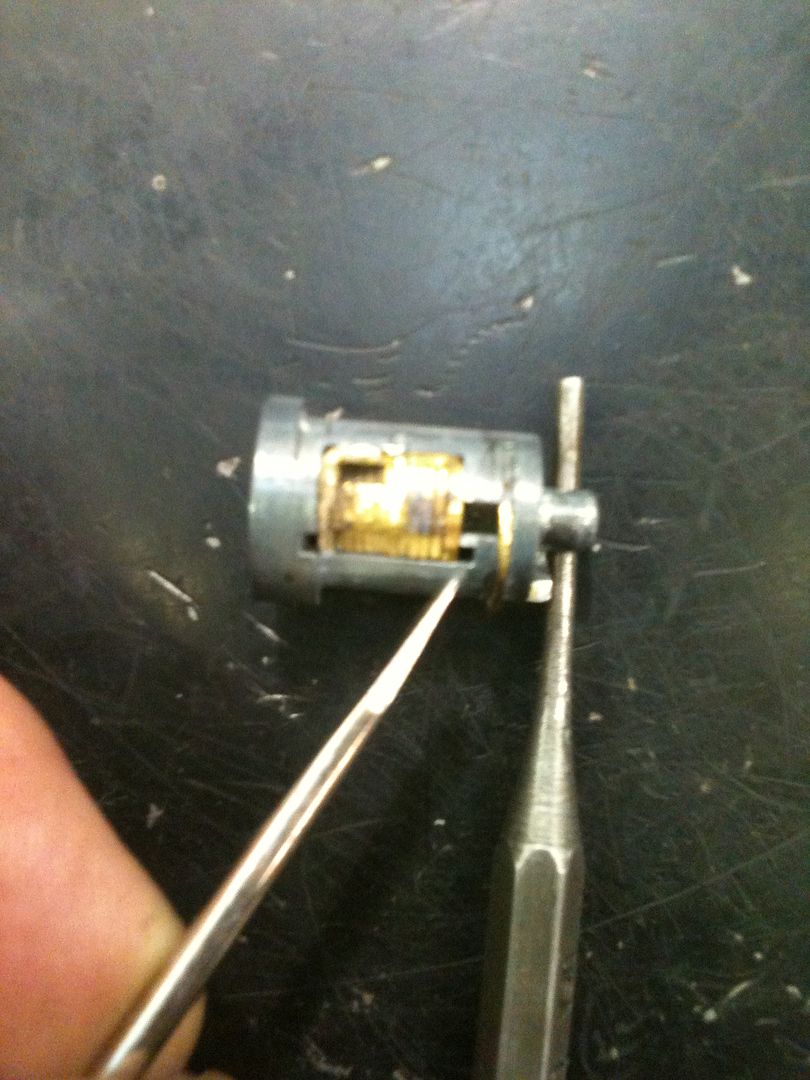
Image

Image

From the bottom of the plug, use a punch or small screwdriver to push the wafer carrier up (towards the side with the notches).
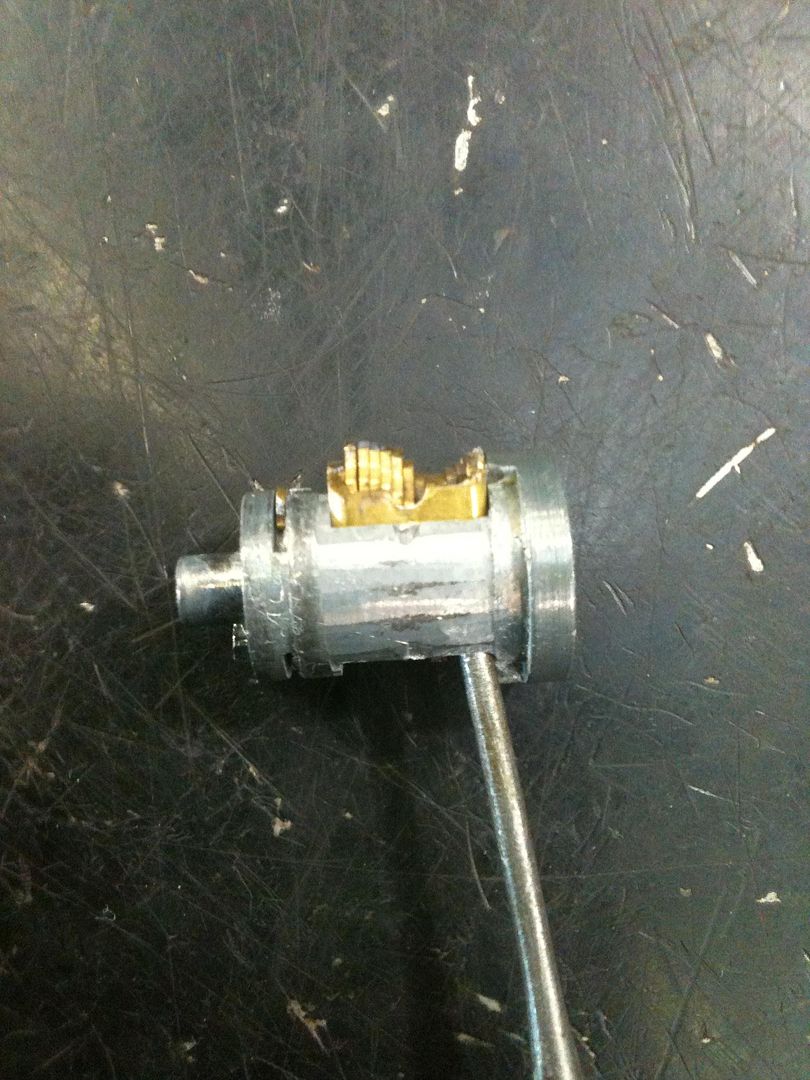
Image

A bit further up, and you can start to see the spring.
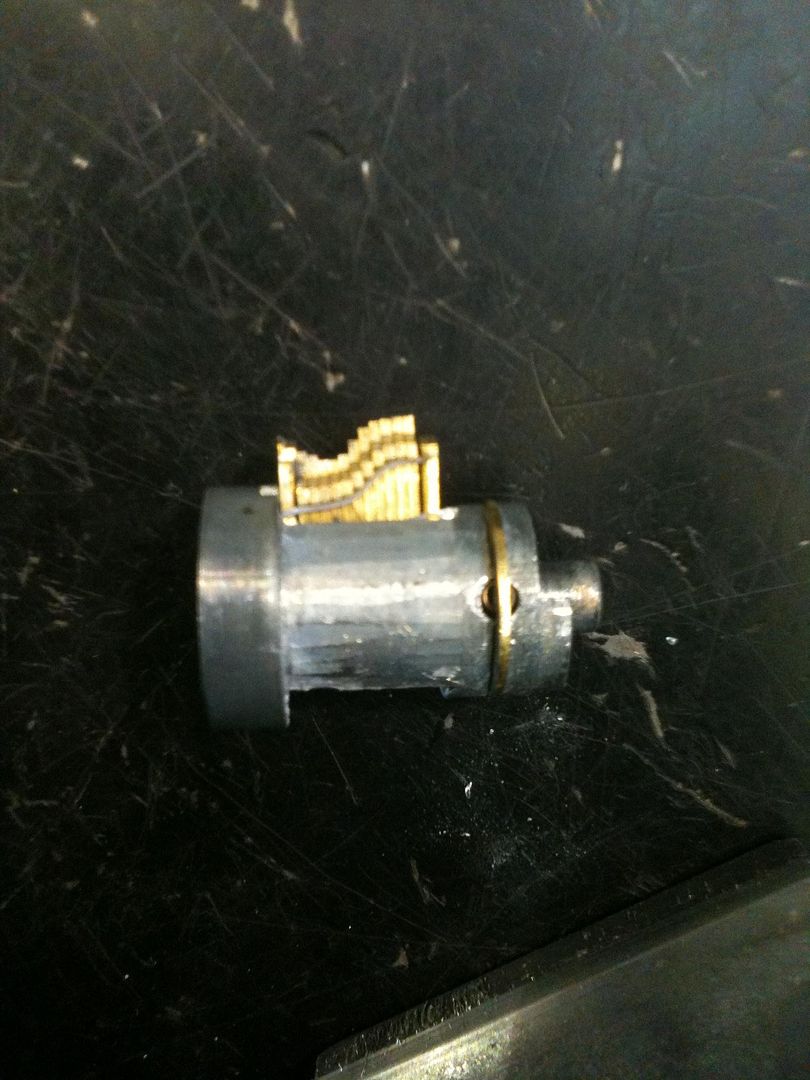
Image

Most of the way out. Now you can see all of the spring, and how the ends fit into those slots pointed out above.
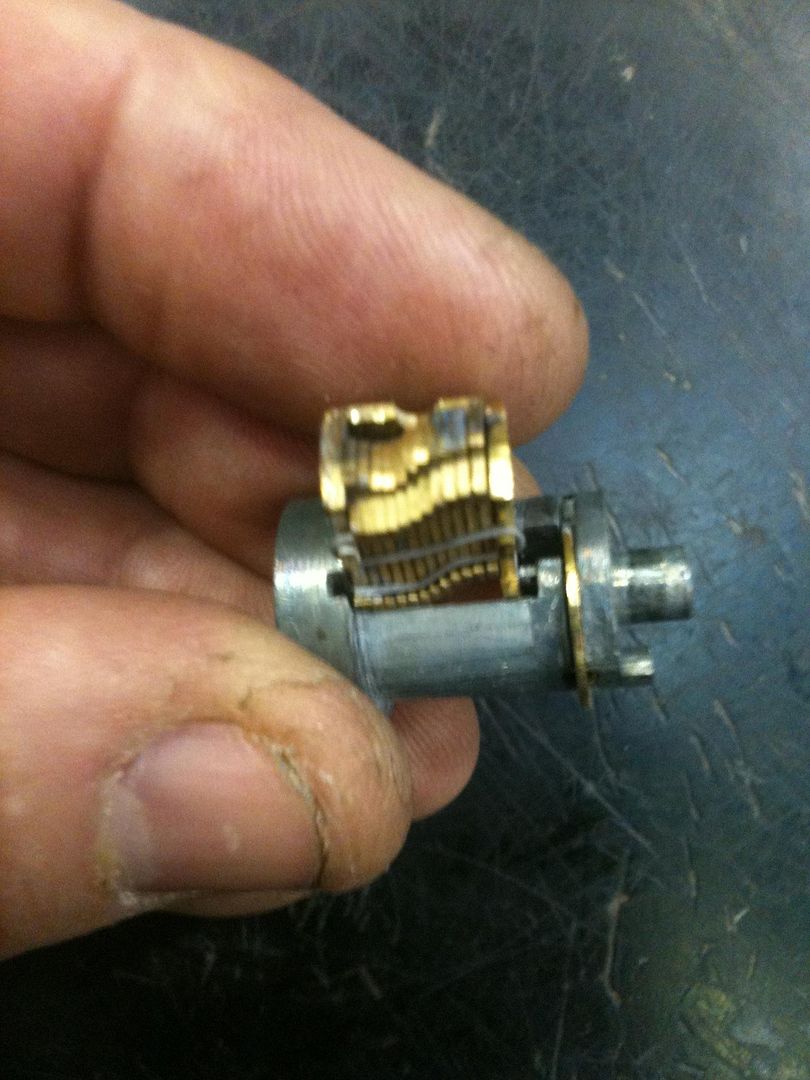
Image

The empty plug

Image

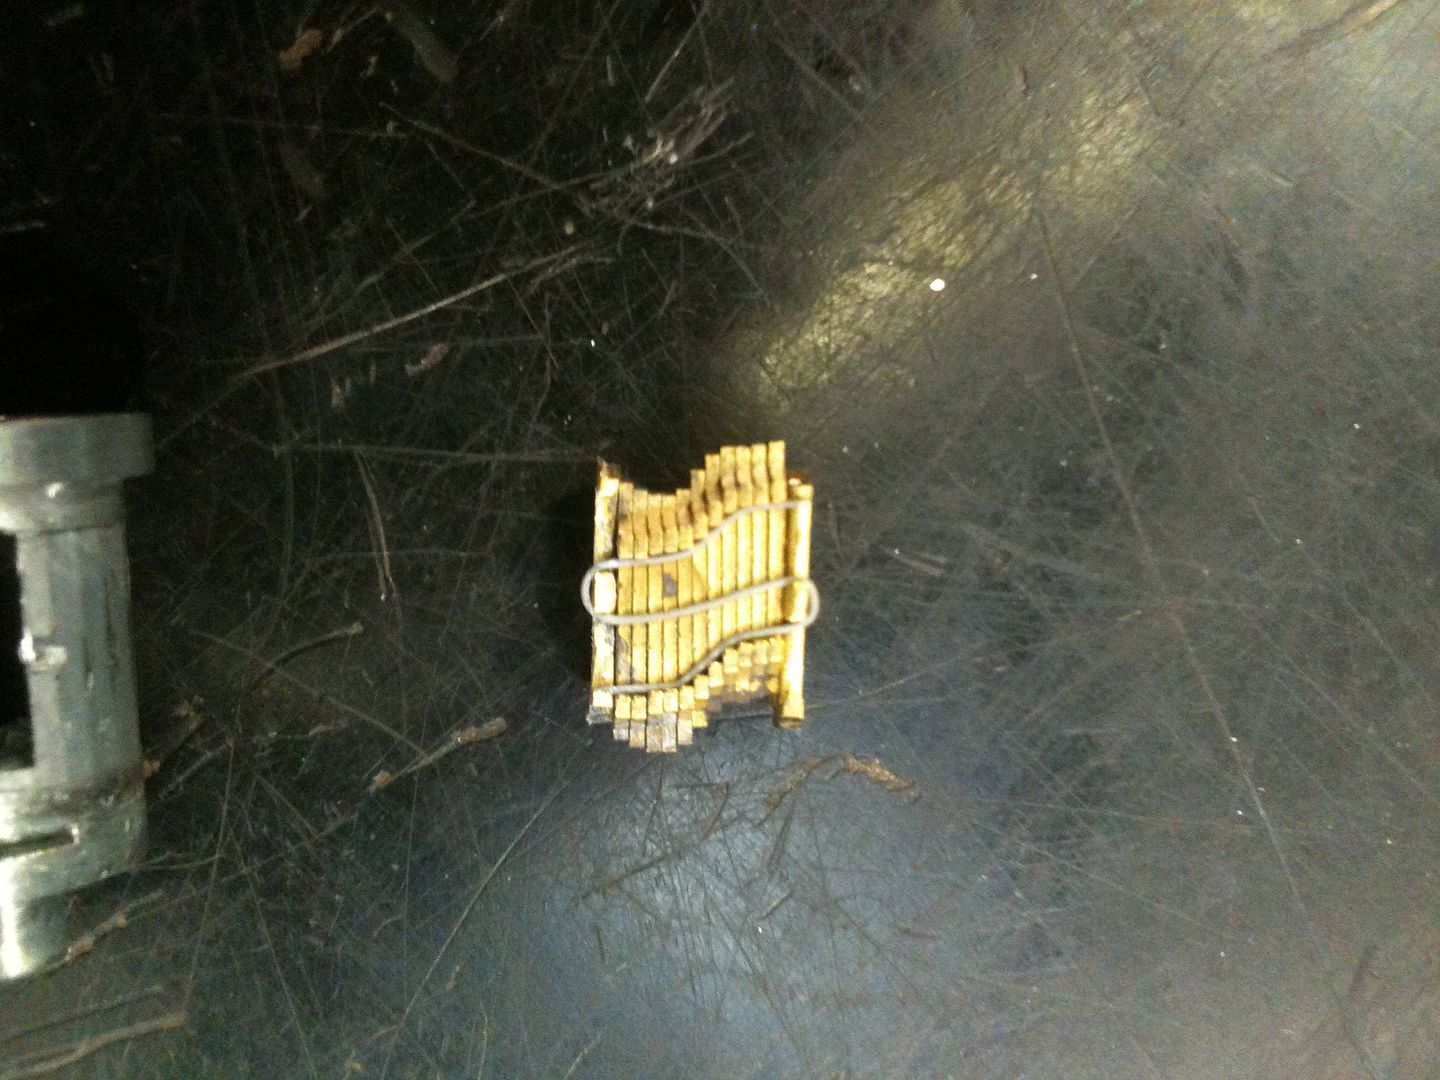
The wafer carrier, wafers and spring. The spring shape shows why half the wafers are up and the other half are down.
Image

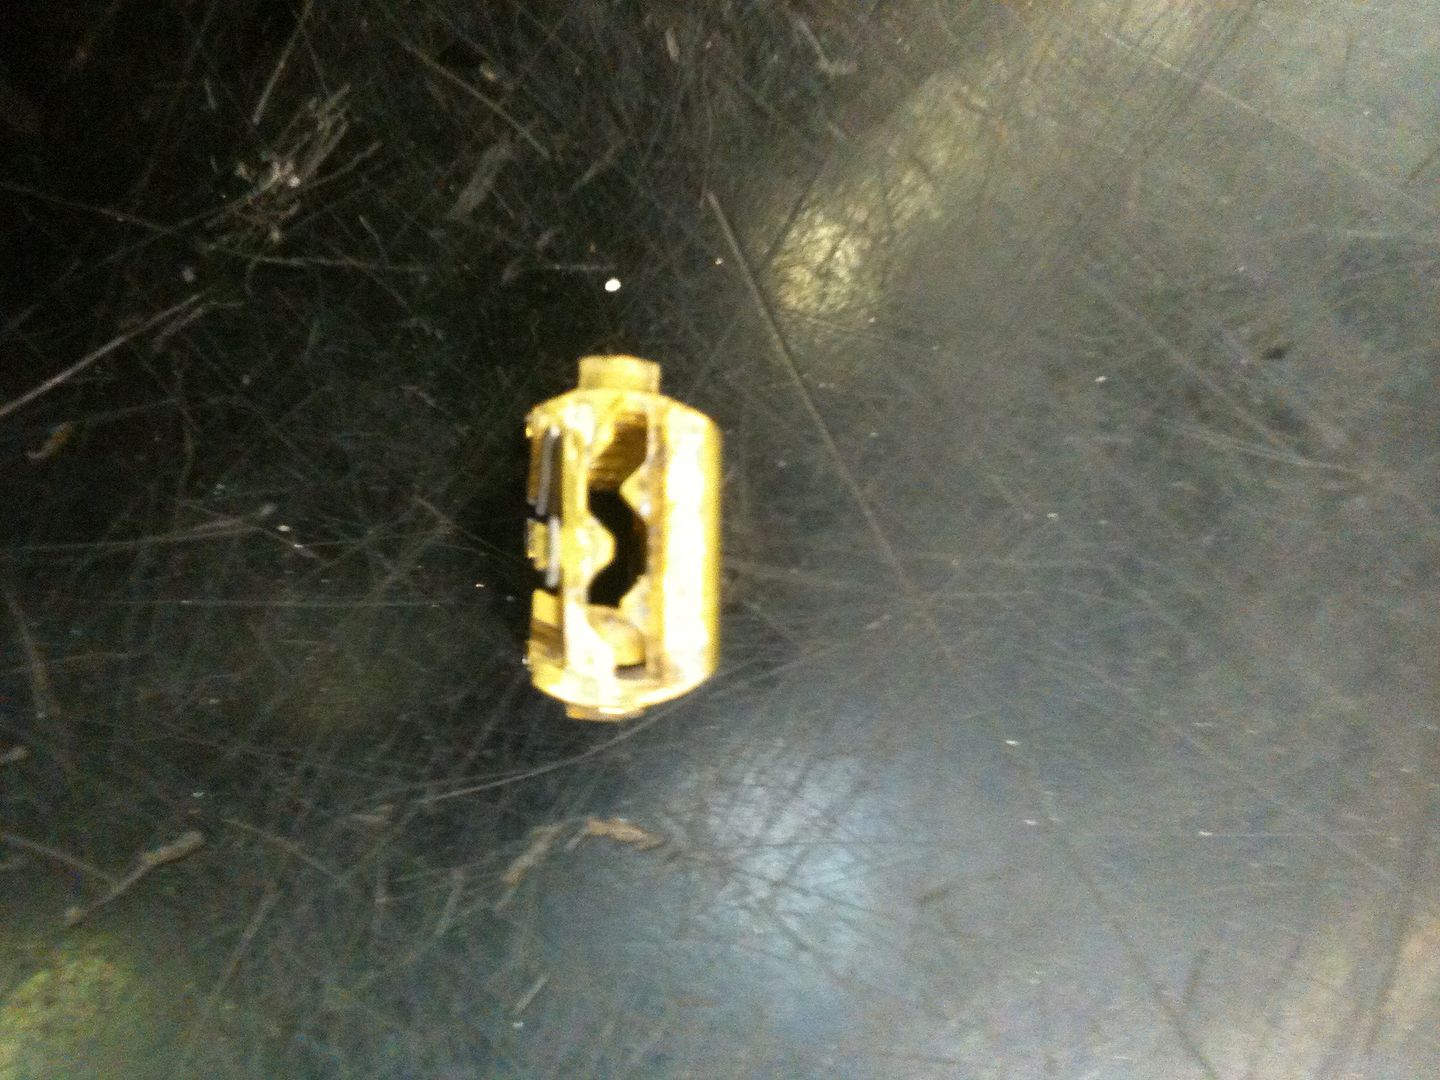
One side of the wafer carrier has the keyway profile that matches the plug keyway profile. This side goes towards the outside of the plug (against the plug keyway profile).
Image

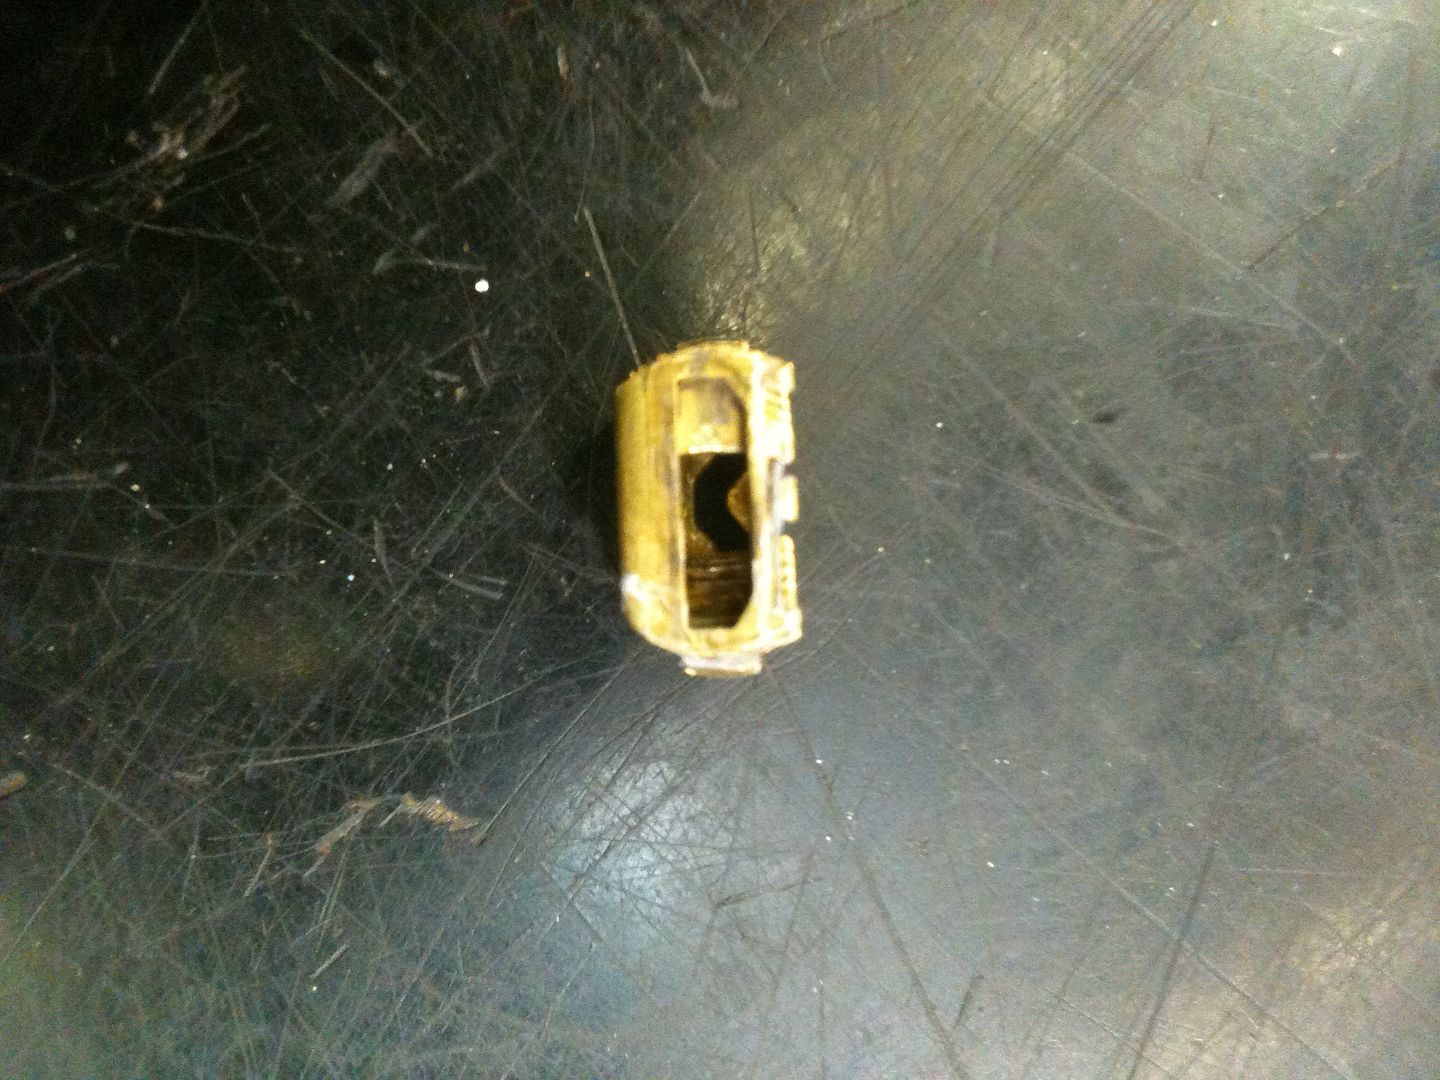
The other side of the wafer carrier, like the wafers themselves, has a simple slot cut in it.
Image

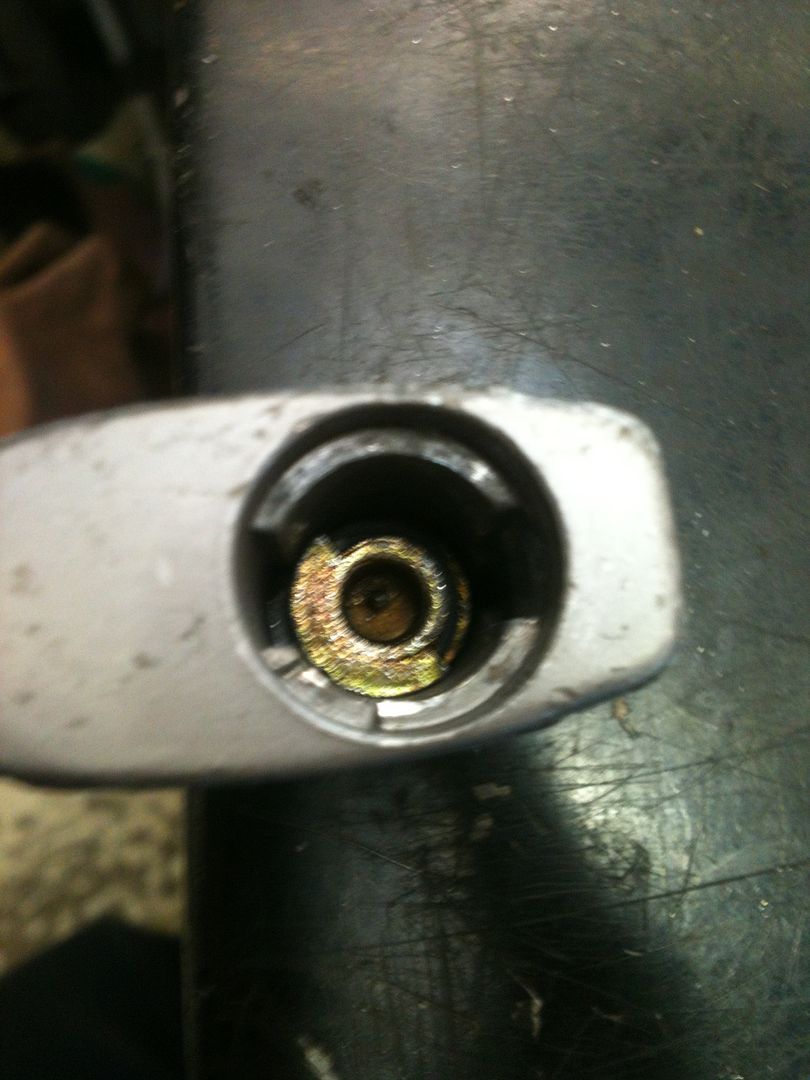
Inside the lock body, you can see the cam that turns to unlock the padlock. This does not move a locking dog - it has a lip that meshes with the shackle, so this lock can not be shimmed open.
Image

Now remove the spring from the wafer carrier/wafers.
Image

Now to decode. This is much easier than you might think! Use a flat piece of metal (the back of a pick, or in this case simply a piece of wiper insert) inside the keyway to push everything down from the inside of the keyway. Be sure that, from the outside edges, you push up the wafers so all the wafers sit against the wiper insert on the inside of the wafers.
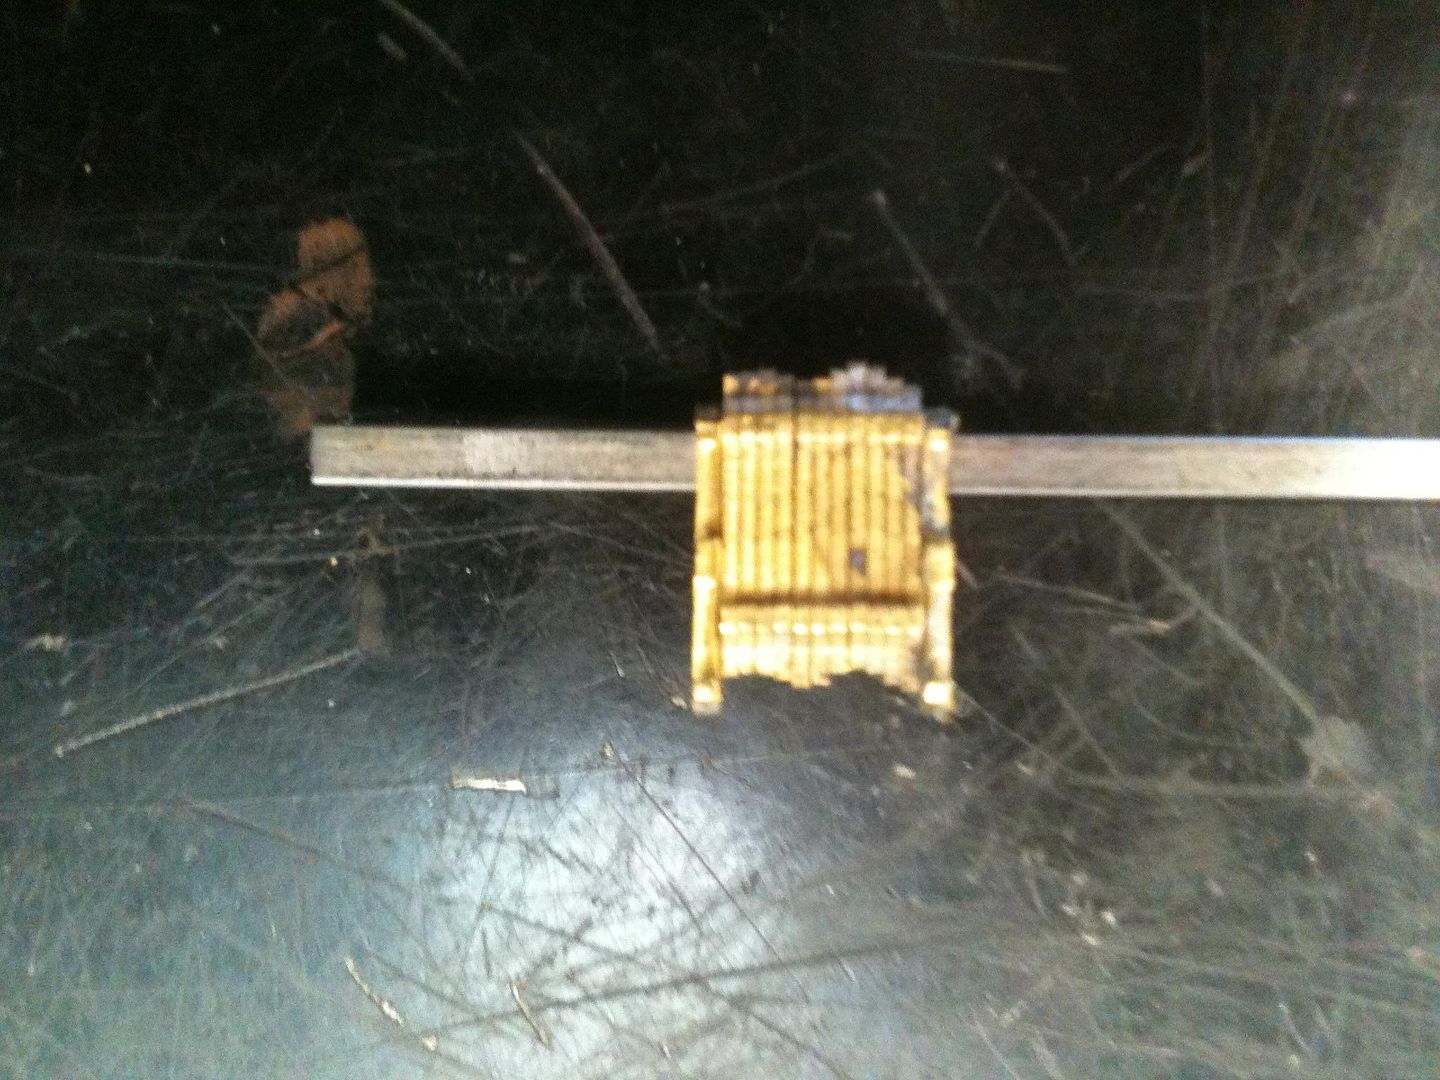
Image

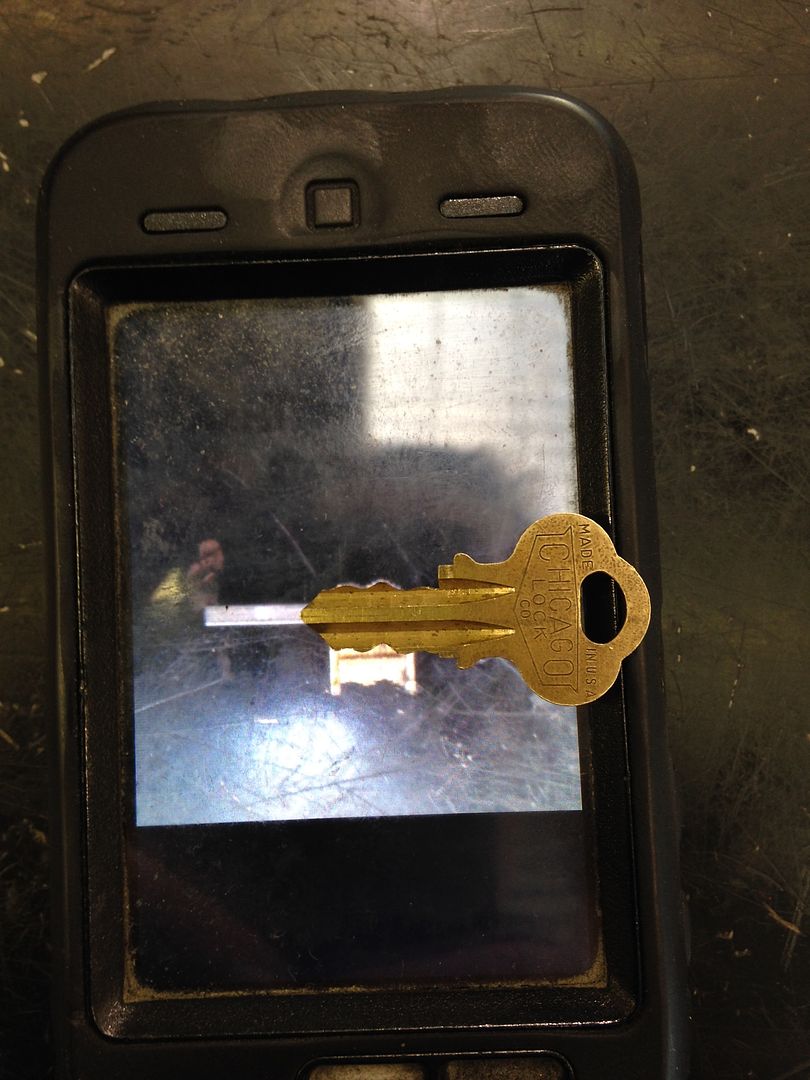
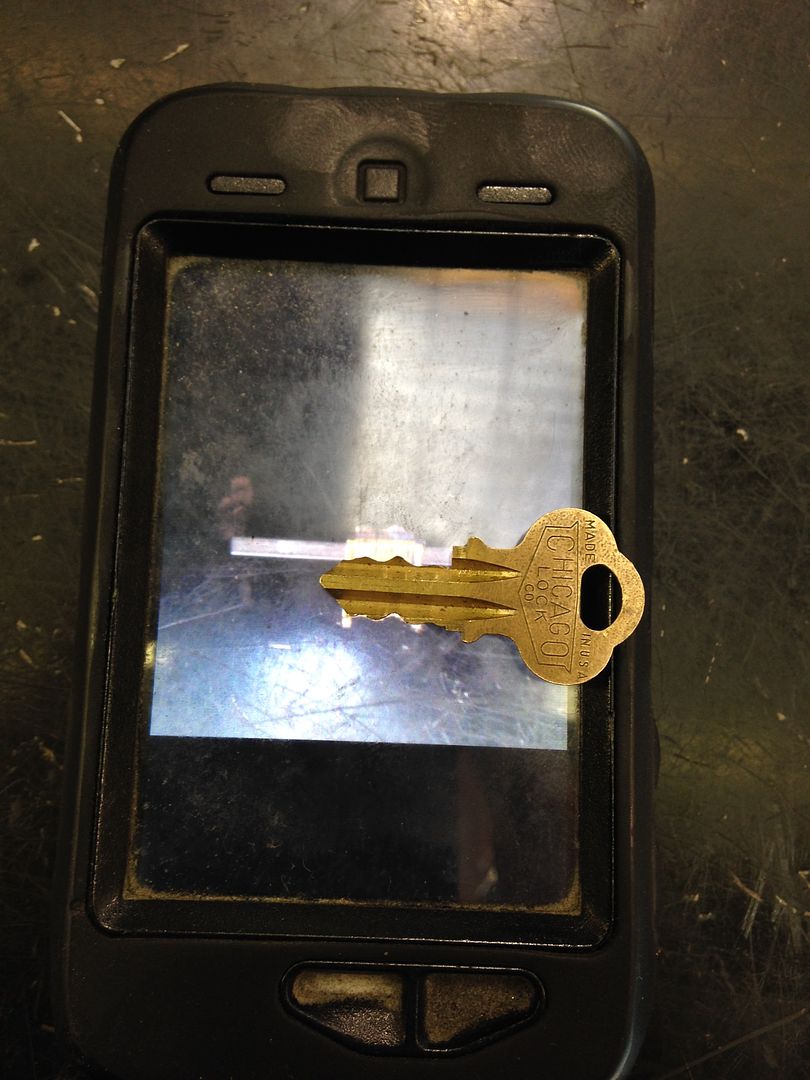
Now you simply trace the pattern of the wafers and cut them onto a blank! Could not take a picture with my phone and lay the key on the picture of the wafers at the same time, so a co-worker loaned me their phone so I could take the next two shots.

Have a key for this particular lock, so you can see how this method shows you the cuts of the key with out any fuss.
Image

Image

Since the wiper insert is not centered in the keyway, you can see the wafer carrier sticking out the bottom of the picture above. And had to have a little of the wafers sticking out above/below the key so you could see how accurately the wiper insert/flat pick method of decoding the key works. You can trace the pattern onto paper, and glue it to a blank, then cut or file the key.

To install the plug, put the plug into the hole, and turn it clockwise so the post that stops the plug from turning forces the retaining clip into the plug. The plug will then drop into the lock. Keep pressing the plug inwards until it stops just short of fully being seated. Then turn the plug more (clockwise) while pressing in the plug, and it will drop the rest of the way, the retaining clip popping into place auto-magically. Then reassembly is done!

Hope this answers some of your questions. If not, then ask! :mrgreen:

Gordon
Just when you think you've learned it all, that is when you find you haven't learned anything yet.
<<

jeffmoss26

User avatar

Sargent Mossberg
Sargent Mossberg

Posts: 2163

Joined: Sun Apr 18, 2010 8:21 pm

Location: Cleveland, OH

Post Sun Feb 16, 2014 10:53 am

Re: Disassembly and Decoding of a Chicago Lock Padlock

Very cool. Had no idea these could be disassembled.
PS, reply to my PM, got some stuff for ya.
femurat: They're called restricted for a reason...
Innerpicked: The more keys you carry, the more important you look
GWiens2001: Great video! Learned a lot about what fun can be had with a forklift and a chainsaw.
pmaxey83: but i first have to submit the proper forms for a new hobby to my wife
<<

innerpicked

User avatar

Familiar Face

Posts: 68

Joined: Sat Feb 15, 2014 6:06 pm

Location: California

Post Sun Feb 16, 2014 11:39 am

Re: Disassembly and Decoding of a Chicago Lock Padlock

Nice tutorial, this will be useful for when I make a keys for the can lock on an antique floor jack.
<<

macgng

User avatar

Contributor / I Fought Tooth and Nail to Acquire BO...

Posts: 991

Joined: Sat Jan 22, 2011 9:38 pm

Location: MD, USA

Post Sun Feb 16, 2014 12:38 pm

Re: Disassembly and Decoding of a Chicago Lock Padlock

i have one of these. didn't know they could be disassembled either! thanks!
Nibbler: The poop-eradication is but one aspect of your importance.
<<

Oldfast

User avatar

OldddffAASSTT the Spin Master Extraordinaire and American Lock Slayer

Posts: 4412

Joined: Thu Mar 31, 2011 9:16 am

Location: Michigan

Post Sun Feb 16, 2014 1:56 pm

Re: Disassembly and Decoding of a Chicago Lock Padlock

Yet another fantastic 'how-to' for all of us to enjoy Gordon!

I have a couple of these along with blanks... but haven't messed with em yet.
This will help alot! Of course, getting a vice attached to my bench first would
be helpful too, lol. And it probably wouldn't hurt to mount the bench to the
wall before attaching the vice to it. haha! I'm gettin' there though.

You've contributed a wealth of these great write-ups now Gordon...
MANY of them I'll be revisiting when the time is right. I keep finding
myself thinking...."Oh, I'm gonna try this! Oooh, I'm gonna do that!"

Thanks for everything! I've learned a GREAT deal from you taking so much time to share :salute:
" Enjoy the journey AS MUCH as the destination."
<<

flywheel

User avatar

Active Member

Posts: 650

Joined: Tue Dec 31, 2013 2:08 pm

Location: USA

Post Sun Feb 16, 2014 2:04 pm

Re: Disassembly and Decoding of a Chicago Lock Padlock

"Focus!"

Nice write up and explanation. I hope you post some pictures when making the key for the other lock. What is the code on the plug used for?

Keep up the good work!
<<

GWiens2001

User avatar

Lock-Goblin-Gordon
Lock-Goblin-Gordon

Posts: 3795

Joined: Thu Oct 25, 2012 9:05 pm

Location: Arizona, United States

Post Sun Feb 16, 2014 2:13 pm

Re: Disassembly and Decoding of a Chicago Lock Padlock

If you have the proper key software, you can enter the code, and it will give you the bitting. If I had flipped the key over, you would see it stamped on the key as well.

Gordon
Just when you think you've learned it all, that is when you find you haven't learned anything yet.
<<

10ringo10

User avatar

Prolific Poster

Posts: 1357

Joined: Fri May 14, 2010 11:45 am

Location: EUROPE

Post Sun Feb 16, 2014 5:21 pm

Re: Disassembly and Decoding of a Chicago Lock Padlock

True Gordon ! code H1634 CUTS 11 no surprise there as there are 11 wafers

the interesting part wafers are set up clearly 0 = 9 - 1 = 8 - 2 = 7 - 3 = 6 - 4 = 5 reversed 5 = 4 - 6 = 3 - 7 = 2 - 8 = 1 - 9 = 0 5 wafer are reversed looks like

your code 01344211232 side 1
98655788767 side 2
9 depths and 5 wafers used in lock 5 being the same in reverse ! :D

thanks for post
<<

PhoneMan

User avatar

I've gone and said something stupid, haven't I?

Posts: 378

Joined: Tue Mar 01, 2011 8:05 am

Location: Missouri

Post Sun Feb 16, 2014 9:58 pm

Re: Disassembly and Decoding of a Chicago Lock Padlock

I had one of these locks, funny thing was, the body was made of lead or some other easily malleable metal. you could literally shave layers off with a knife! No clue why it was lead though. I may still have it somewhere.
<<

GWiens2001

User avatar

Lock-Goblin-Gordon
Lock-Goblin-Gordon

Posts: 3795

Joined: Thu Oct 25, 2012 9:05 pm

Location: Arizona, United States

Post Sun Feb 16, 2014 9:59 pm

Re: Disassembly and Decoding of a Chicago Lock Padlock

It is a cheap die-cast metal. Think it is an aluminum-tin-jello alloy.

Gordon
Just when you think you've learned it all, that is when you find you haven't learned anything yet.
<<

klafaille

Newbie

Posts: 16

Joined: Fri Nov 15, 2013 12:36 am

Location: CT, USA

Post Sun Feb 16, 2014 11:49 pm

Re: Disassembly and Decoding of a Chicago Lock Padlock

Very nice set of photos. Sorry if this isn't the place, but to add to your post and to the discussion of these Chicago locks, here is a video I made a few months back regarding a very similar lock and the internals.


and the patent for the lock in the above video: http://www.freepatentsonline.com/2141748.pdf

I like the construction and way they come apart and how the entire stack comes out in one assembly.

Keith
<<

Oldfast

User avatar

OldddffAASSTT the Spin Master Extraordinaire and American Lock Slayer

Posts: 4412

Joined: Thu Mar 31, 2011 9:16 am

Location: Michigan

Post Mon Feb 17, 2014 7:26 am

Re: Disassembly and Decoding of a Chicago Lock Padlock

Nice addition for this thread Keith. Thanks
" Enjoy the journey AS MUCH as the destination."
<<

GWiens2001

User avatar

Lock-Goblin-Gordon
Lock-Goblin-Gordon

Posts: 3795

Joined: Thu Oct 25, 2012 9:05 pm

Location: Arizona, United States

Post Mon Feb 17, 2014 8:10 am

Re: Disassembly and Decoding of a Chicago Lock Padlock

Finally had time to watch that video, Keith. Nicely done! Definitely a good addition to the thread. :-)

Gordon
Just when you think you've learned it all, that is when you find you haven't learned anything yet.

Return to Tutorials

Who is online

Users browsing this forum: No registered users

Don't forget to visit our sponsors for all of your lockpicking needs!
Powered by phpBB © 2000, 2002, 2005, 2007 phpBB Grop
"CA Black" theme designed by stsoftware