Keying your old Yale & Towne padlocks
There are two pins that hold the guts inside the lock body. They should be visible in the ring around the logo on the face of the lock.

You might be able to tap them out. Either directly, or if you can drill into them beyond the part of the brass pin that has expanded to create the pressure fit, this will make them much easier to tap out. Drilling clean through is not really necessary. Once you have removed these pins, the next step is removing the exteriour shell of the padlock. There is a shackle retainer bar accessable once you slide up the shell. Just slide it out.

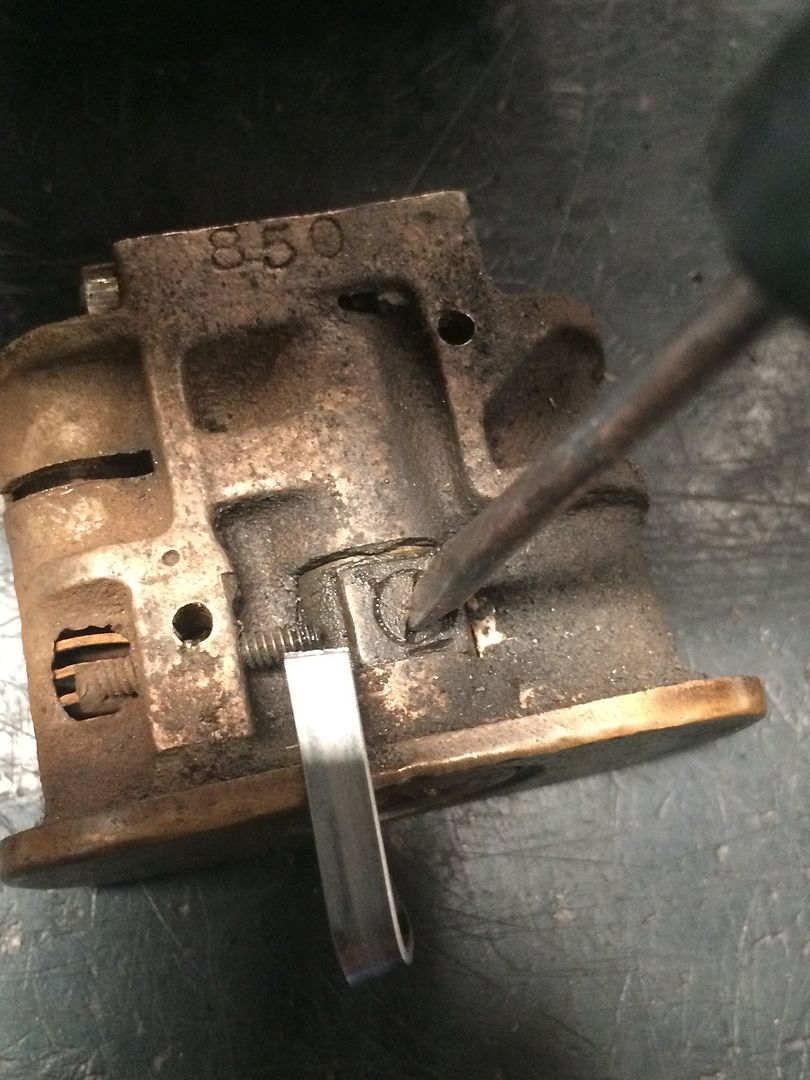
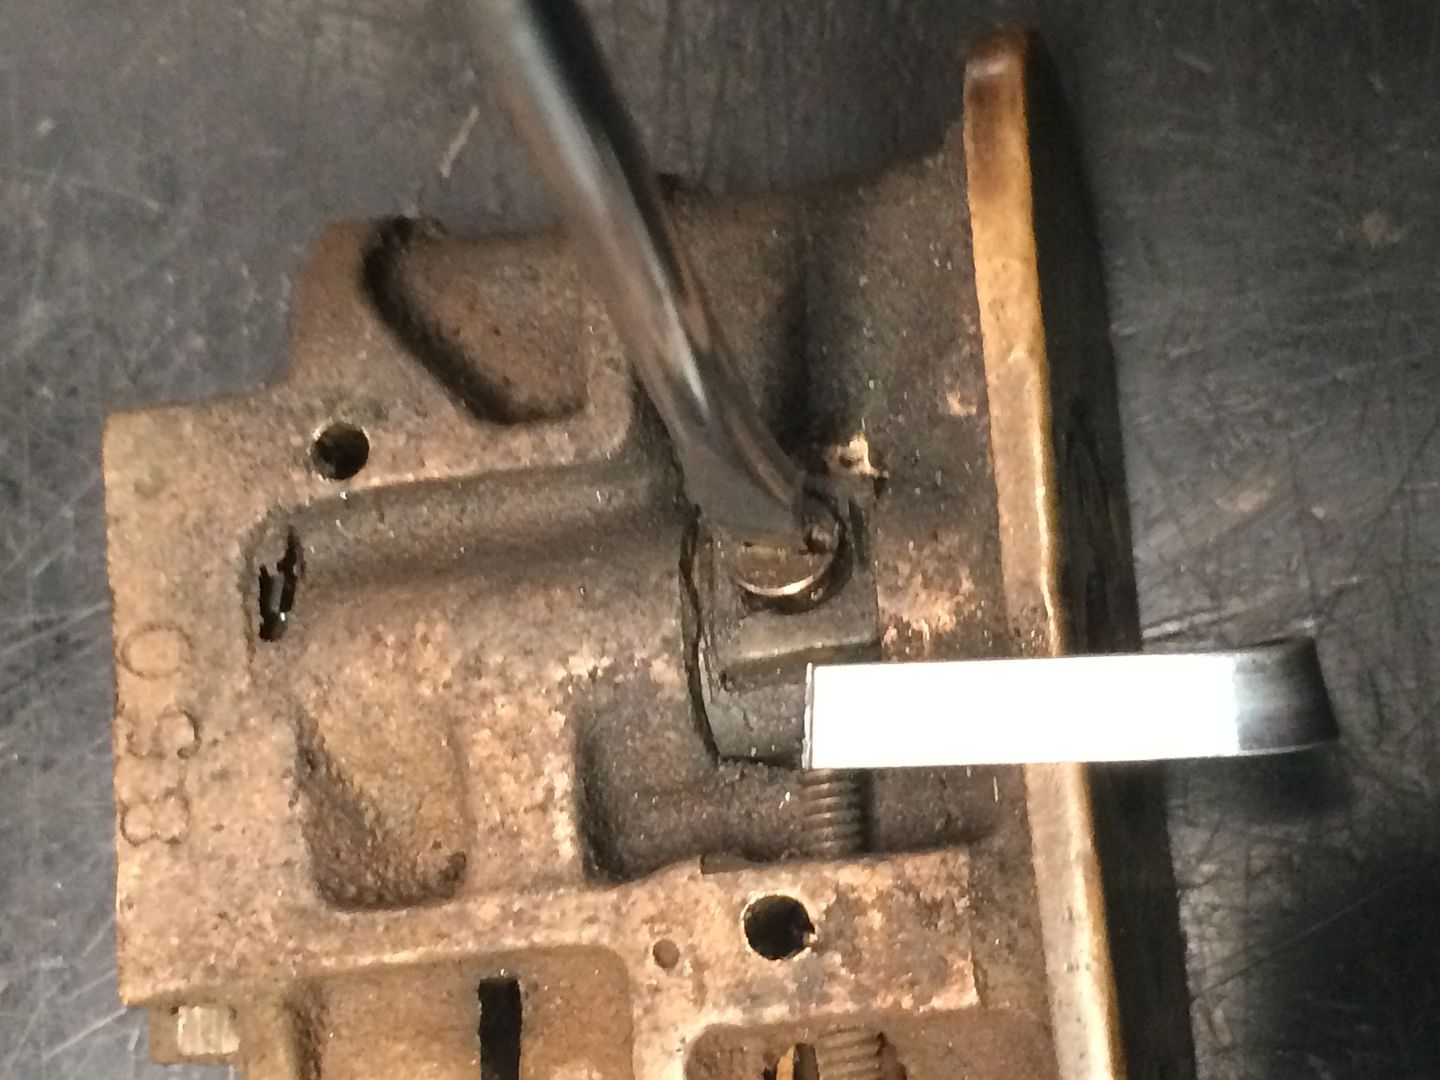
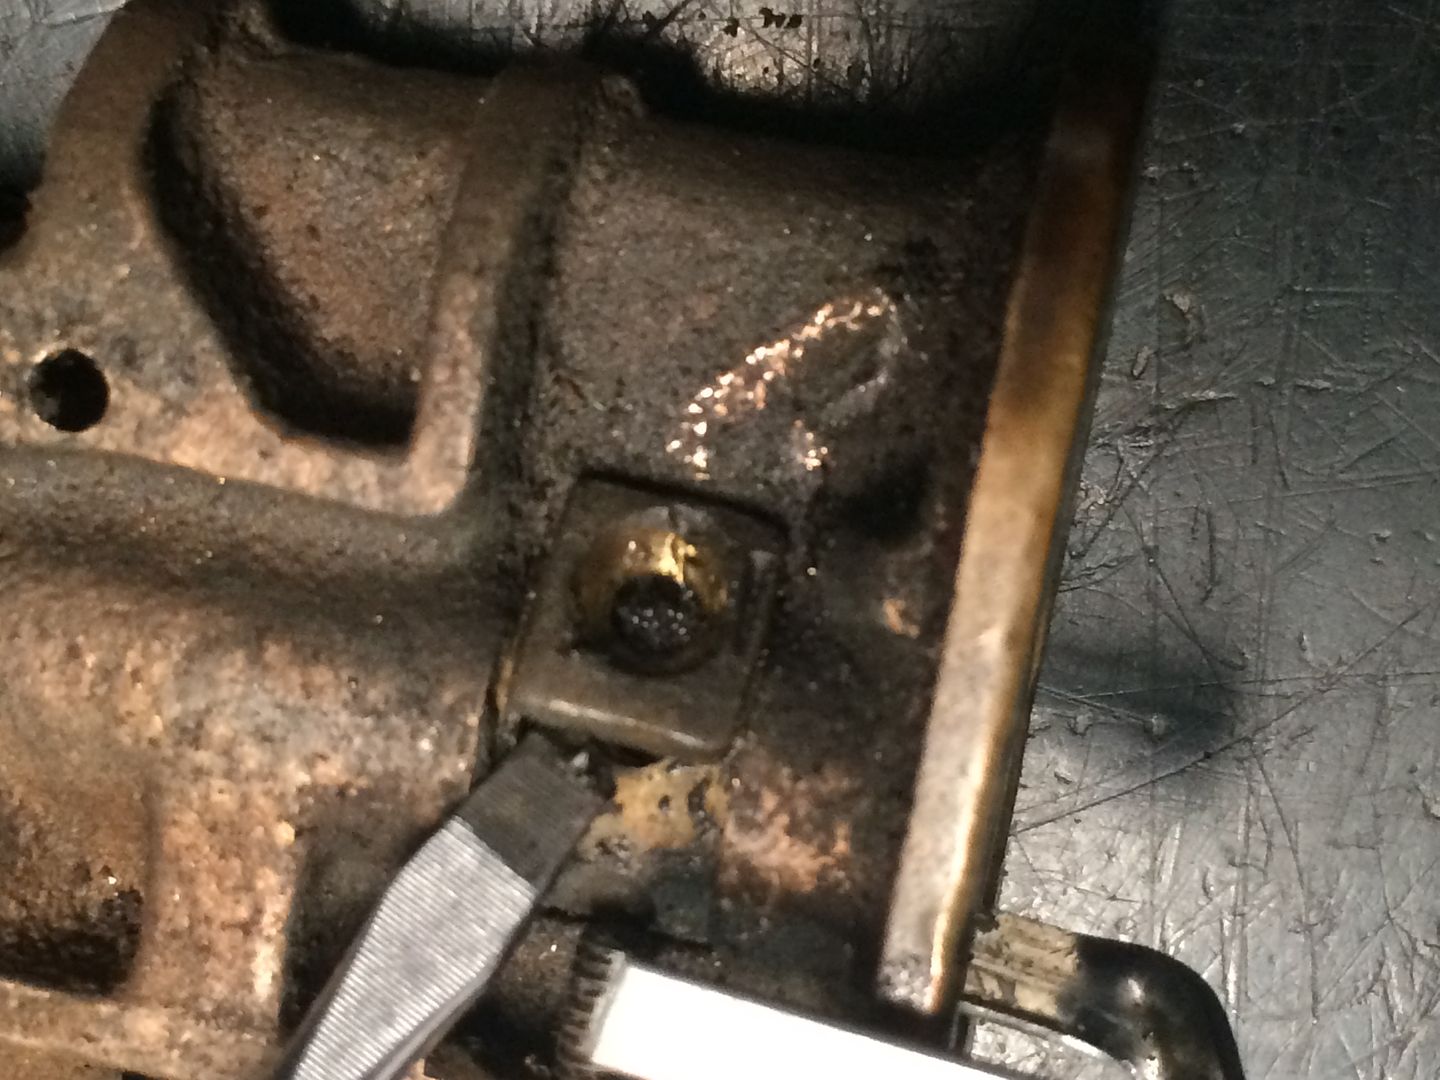
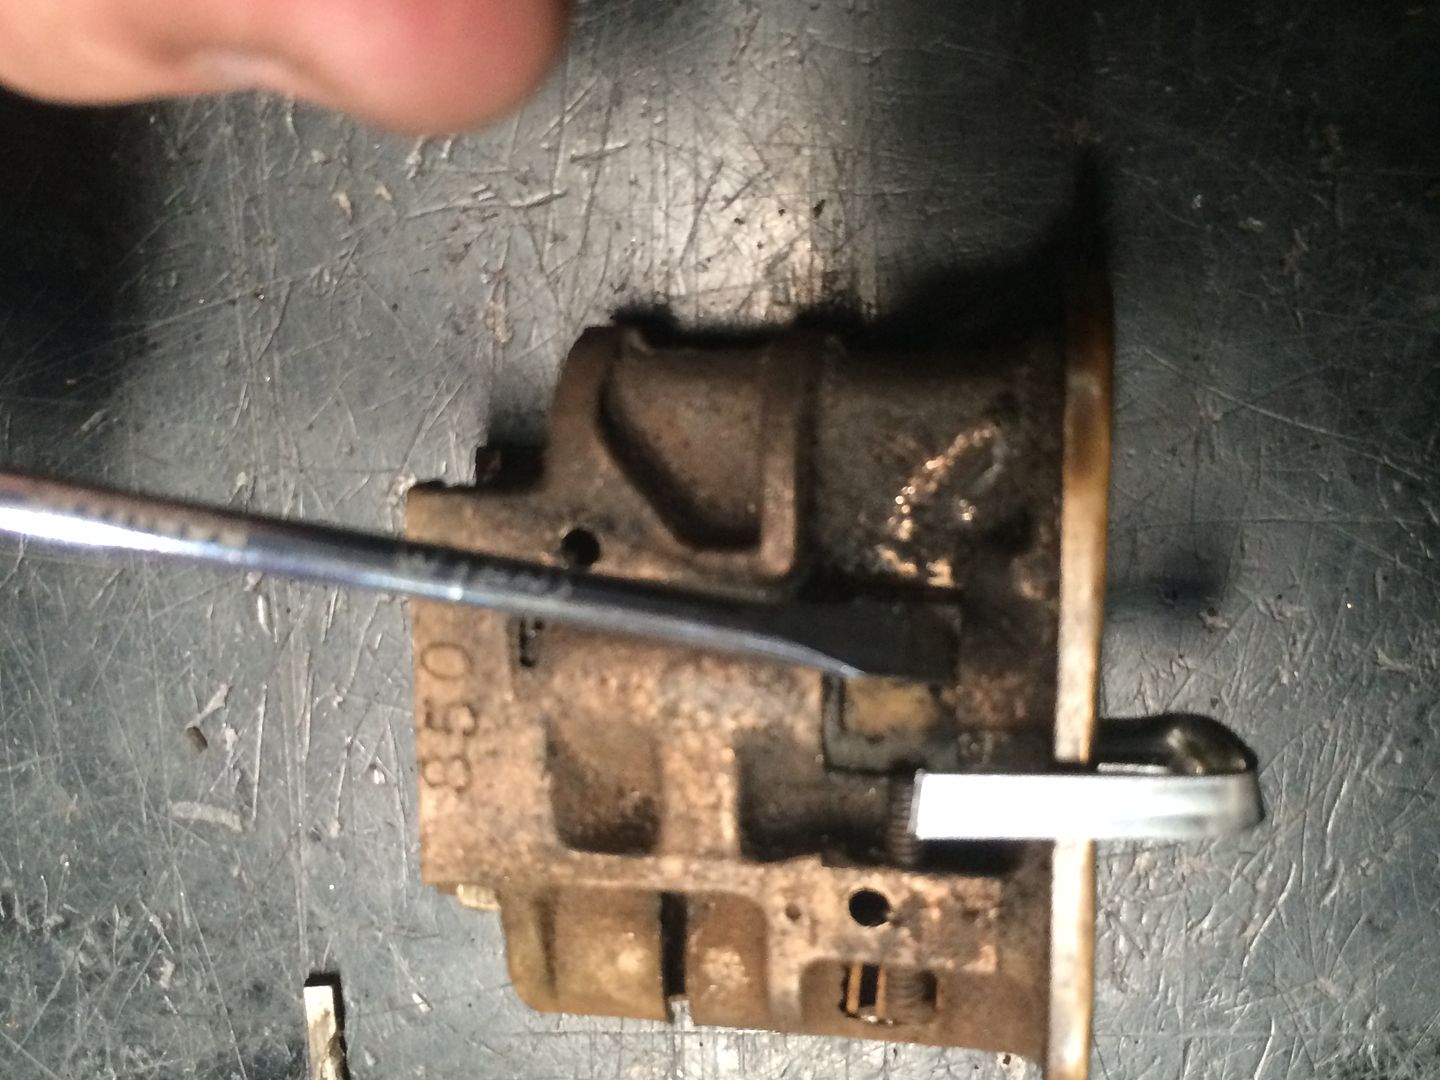
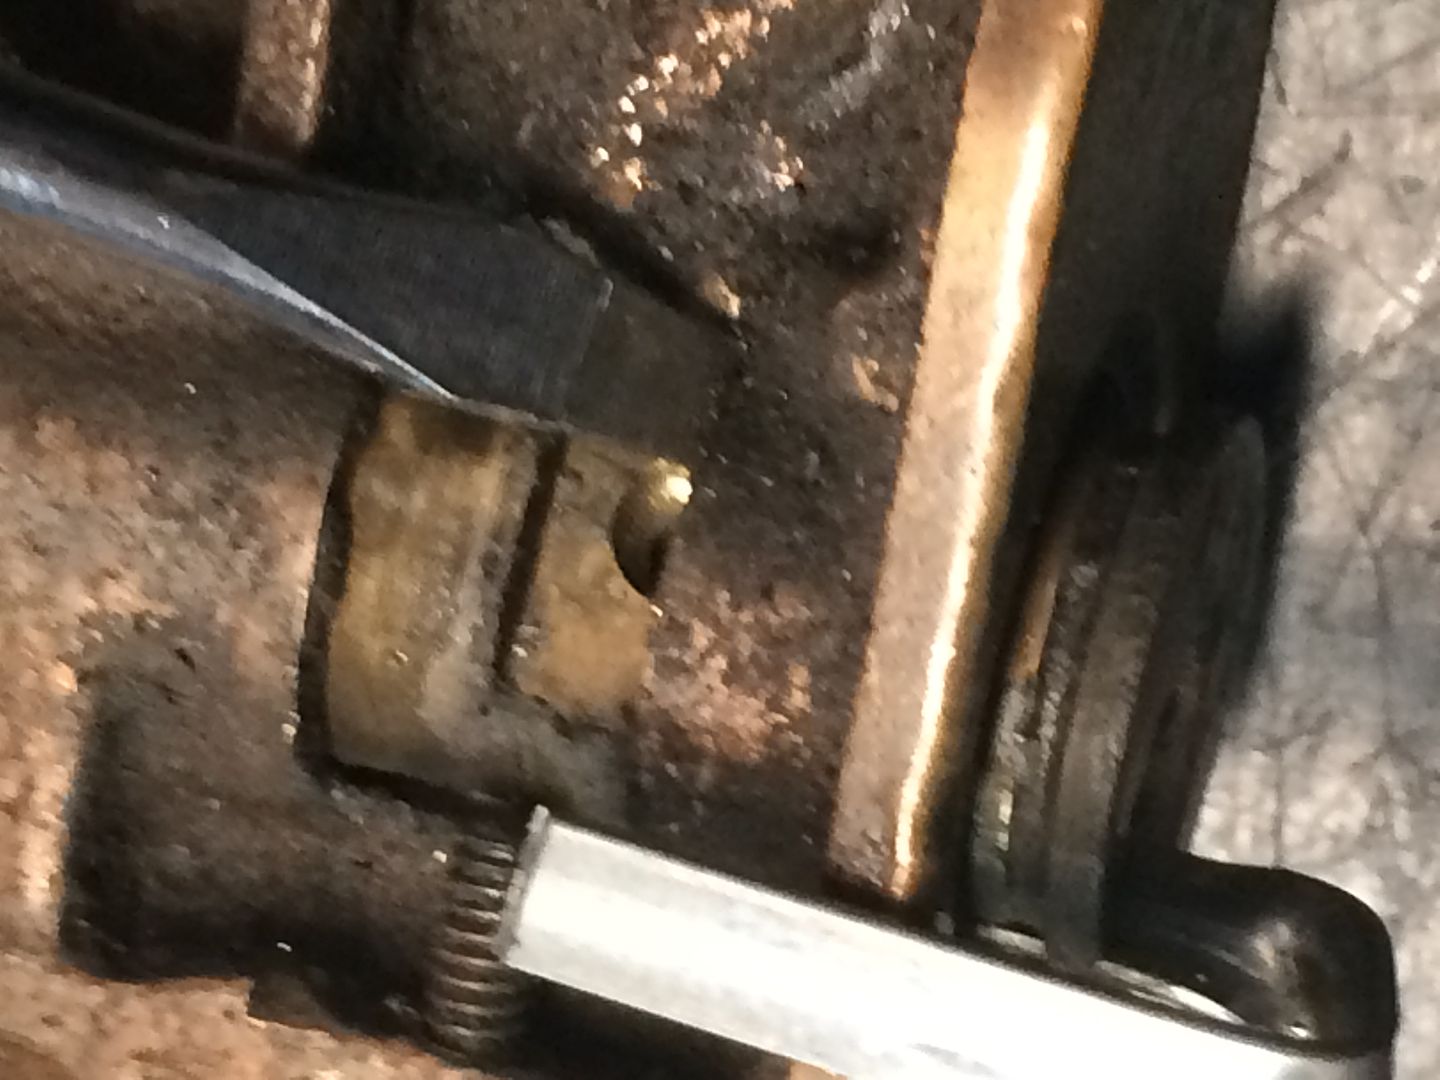
The shackle comes free and we are left with looking at the inside assembly. Which I have shown here, drilled twice. Once for the retainer, and again to remove the 5th pin stack. The retainer pin in this one was held in by a brass cap that was staked into position over the pin. Drill into it deep enough you can pop out that cap and access the retainer. It sounds complicated, but it will become clear once you get through the cap.

So... why did I drill out the 5th pin?

See the groove for the retaining pin? If you pull out the plug a hair too far, the 5th driver pin will jam it in. It will become a factor during reassembly as well unless you keep that in mind. DO NOT draw out the plug even a fraction of an inch before you rotate it far enough that the pin stacks will bypass that groove, or you will be drilling to free it again. Removing the plug this first tiny bit, releases return spring tension on the plug by disengaging the shackles locking mechanism. In other words


The latter being the position you will want the ring on the back of the plug in for reassembly.
On to the good stuff, the pins! Mushrooms pins in balanced pin stacks, can make for a very challenging pick.

I tried to get a good comparsion photo under magnification. It should be obvious.

The lab spool of the same size doesn't have shit on the old Y&T.
The top one is the working key, and the lower was an impressioning fail. L-2 is not the proper key for the keyway, but it fit. I'm not sure exactly which keyway this is, but I have a good idea.


Now, reassembly... use a plug follower to load the spring and top pins. If you drilled the 5th pin, wait on capping it until we are ready to restake the retaining pin. With the key you have cut inserted, slide the plug back into the housing almost all the way. We have to first, replace the ring on the back of the plug in the proper position. Refer to the dissassembly photos for proper orientation. Now slide the locking bars back into place. Compress them all the way together and push the plug in. Now turn the key and the plug will drop into place.
We are ready to repair the inner housing. First replace the retaining pin. For the 5th pin cap, I used a standard size tapered keypin. For the bit I size bit I used to drill, it fit very snug. Then I staked the brass of the housing around it a bit. Easy enough. But for the retainer pin cap I suggest using grub screw if you can.

This locks guts had been rekeyed a time or two already, and my fumbling around left no material for a grub screw to hold, so I had to seat a bit of brass pin as a cap, and stake it as best I could. The grub screw however, will leave you the option to rekey the guts as you see fit before you completely reasemble the lock, and you wont have any complications from the friction of fitting a brass cap over the pin pressing down so hard it effects the plugs range of motion.
Assuming you have this worked out, we are ready for final assembly. Turn the key and reinsert the shackle spring. Place the shackle through the body cover as shown and depress the shackle far enought to let the retaining bar hold it in place in the proper position.

That's it. The only step remaining is to replace the brass pins with the suitable size and seat them into place. The method used to seat them once you have them cut to a suitable length, is peening. Guess what side of a ball peen hammer comes in handy here? Tap on them until the brass expands far enough that they seat firmly. If you leave too much excess, it will roll the top of the pin over into something like a very thin nail head, which you can use to hide any irregularities in the size of the holes you drill to get it apart. If you've done it well, these pins should be the only exteriour evidence you have taken the lock apart at all. Other than your brand new key of course


