![]() Thu Jan 09, 2014 11:36 pm
Thu Jan 09, 2014 11:36 pm
Rekeying a Tubular Lock
Tubular Lock Rekey
Was asked by a co-worker if I could rekey the tubular lock on his new tool cart to match the tubular key on his tool box. Thought somebody here might be interested in locks, and wonder how it was done.
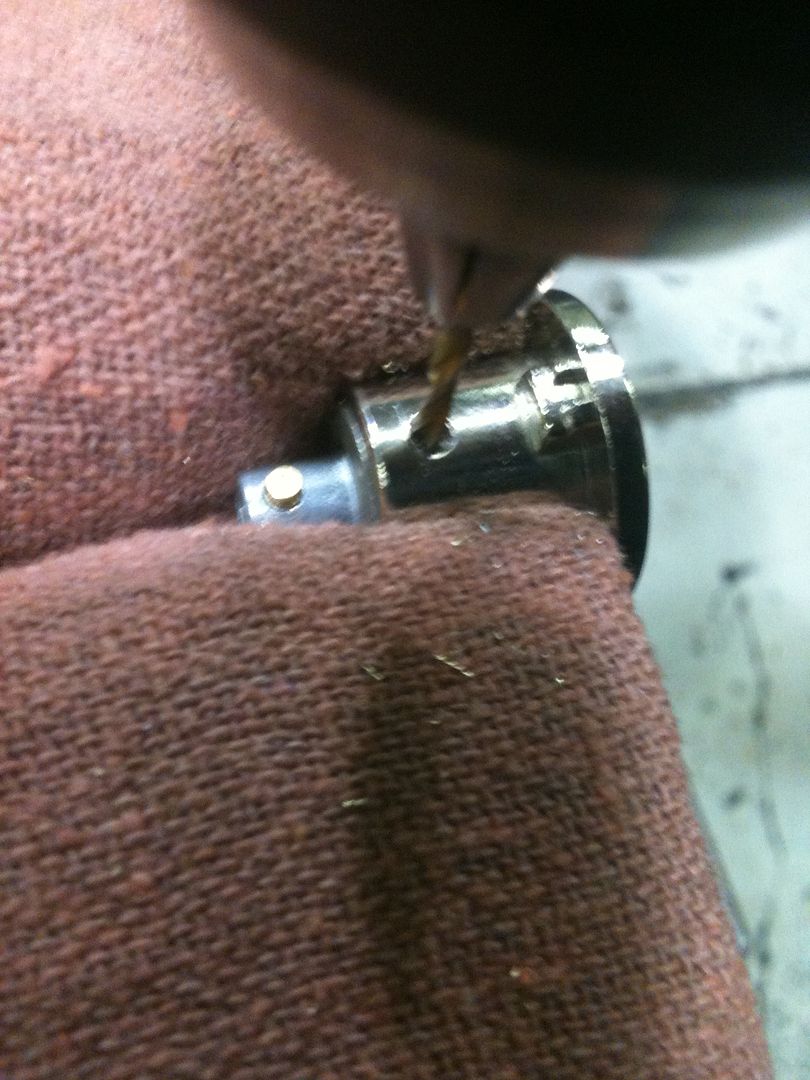
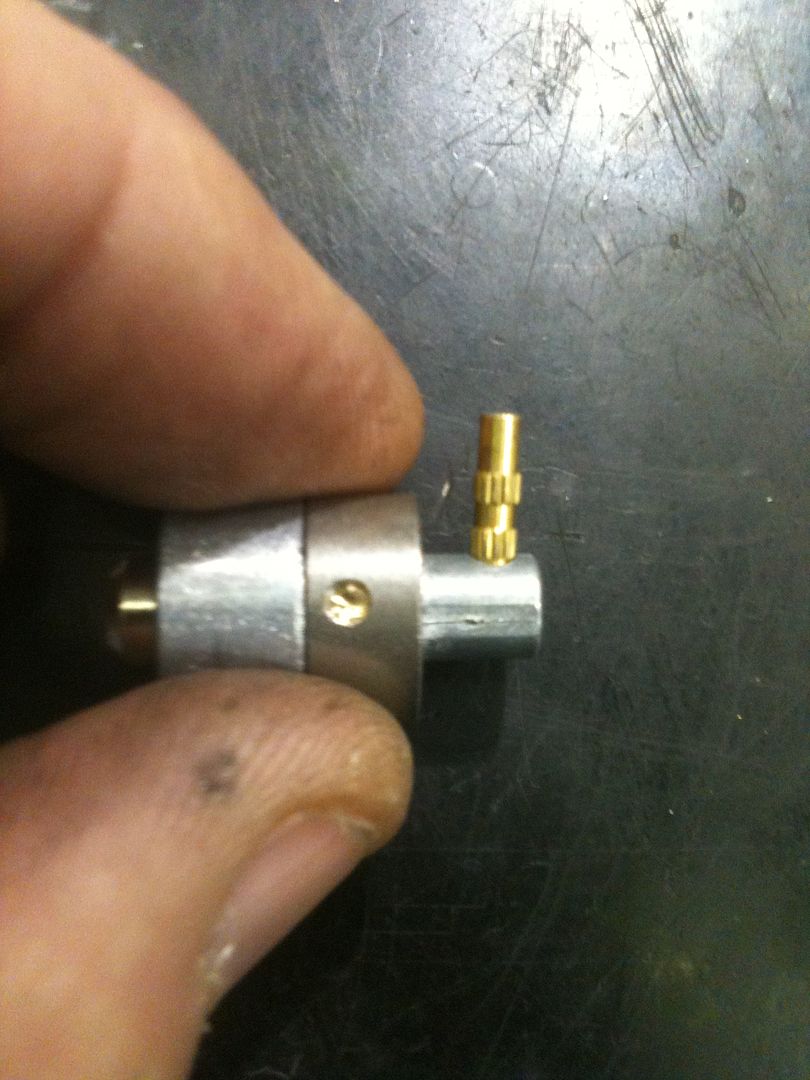
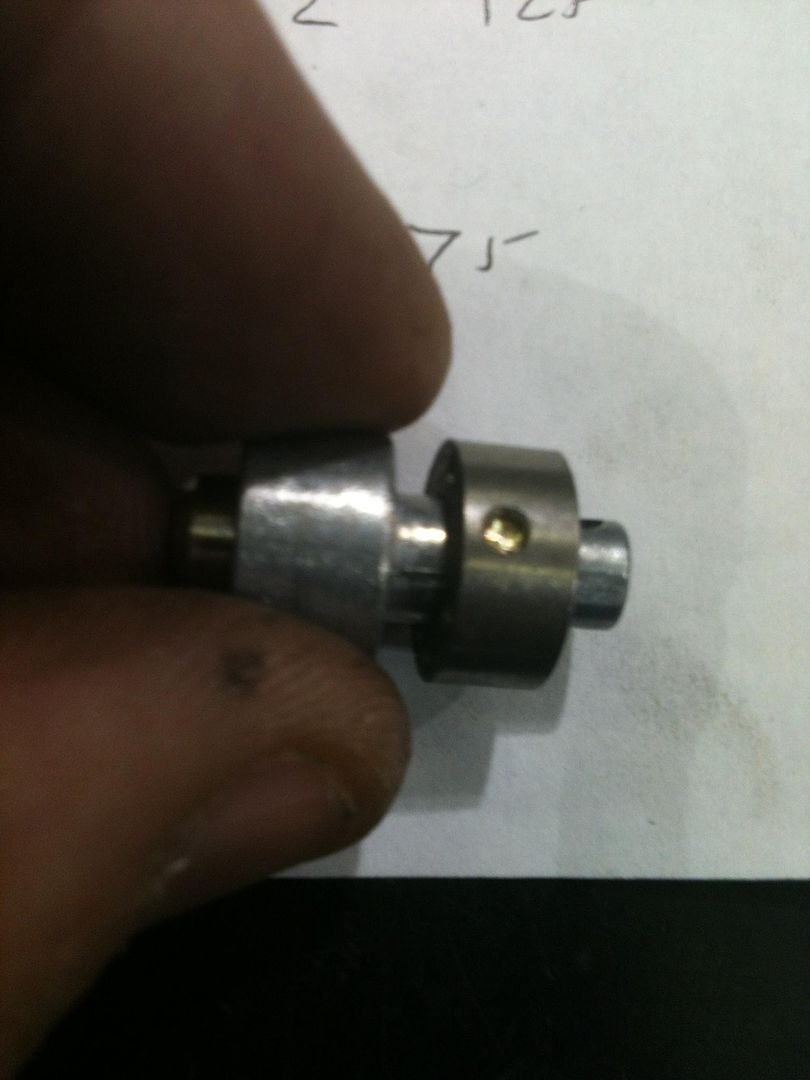
First, most tubular locks are held together by a pin - usually brass.
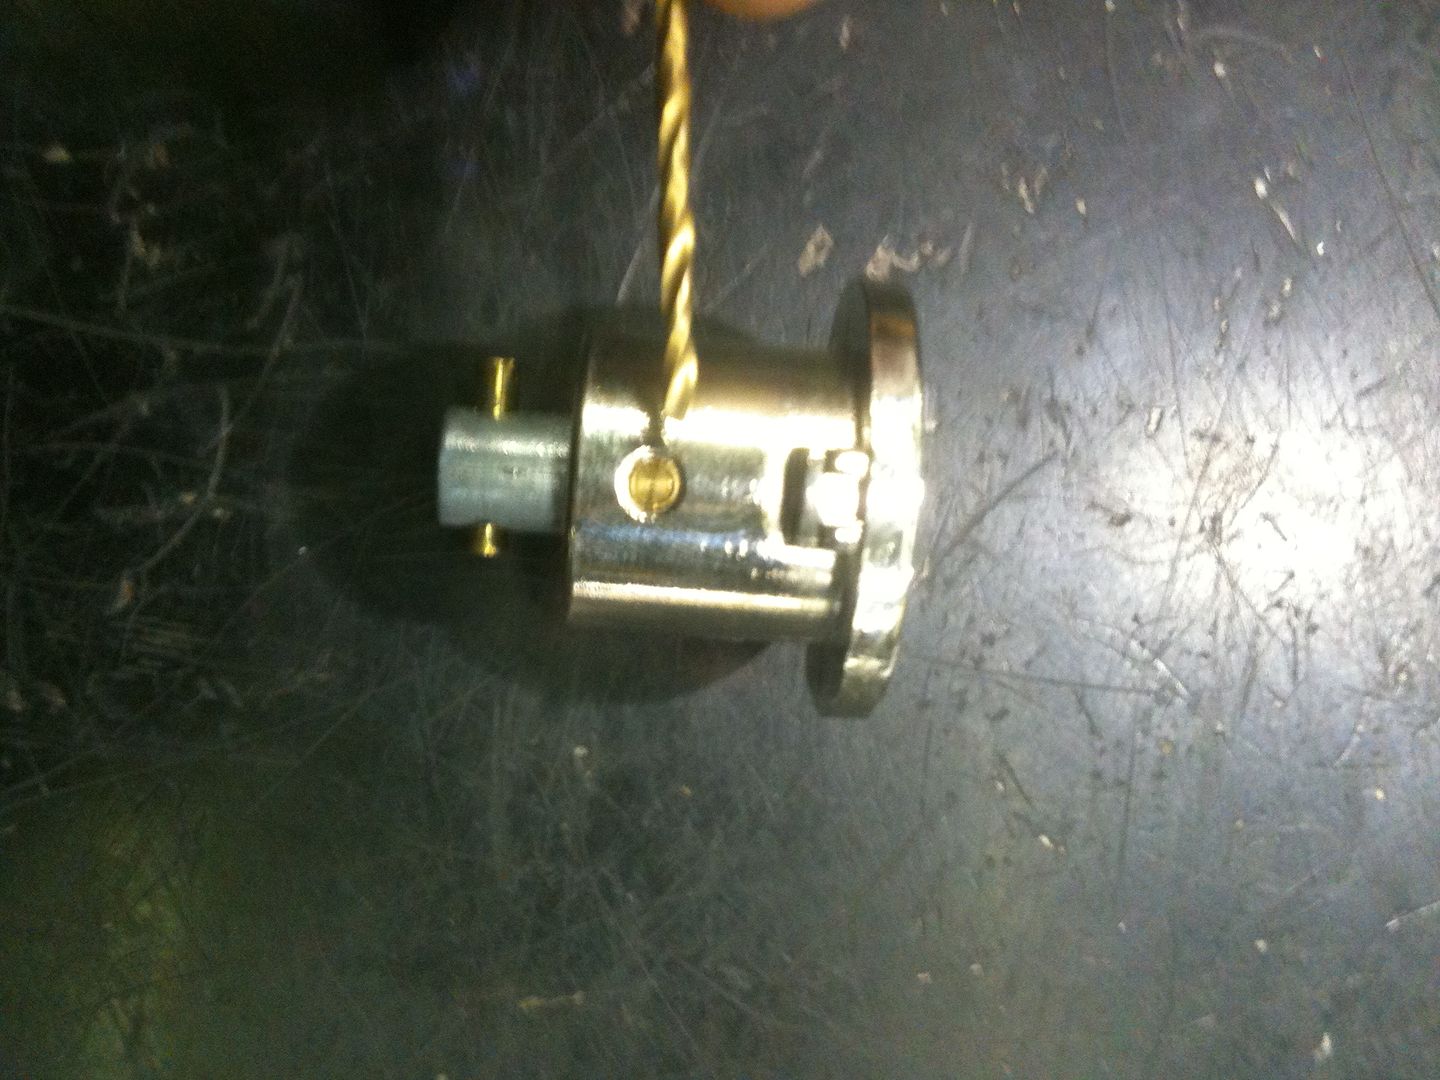
In all tubular locks I have seen, but there are probably exceptions, the pin must be drilled out. Try to use the smallest drill bit that will work to get the pin drilled without expanding the hole.
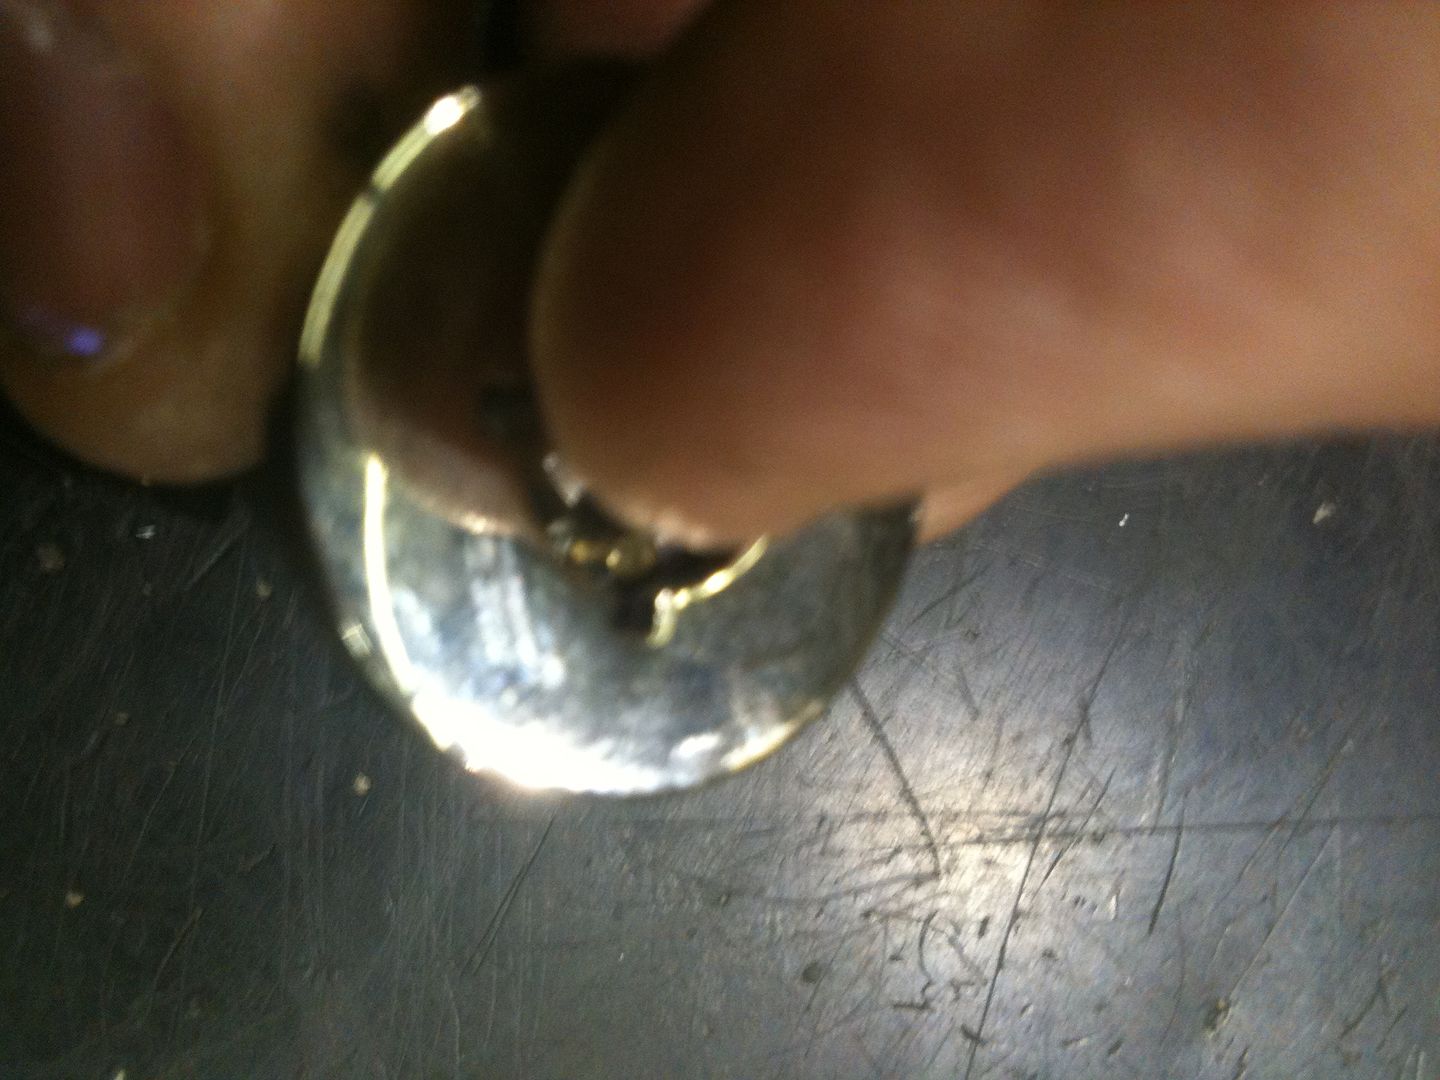
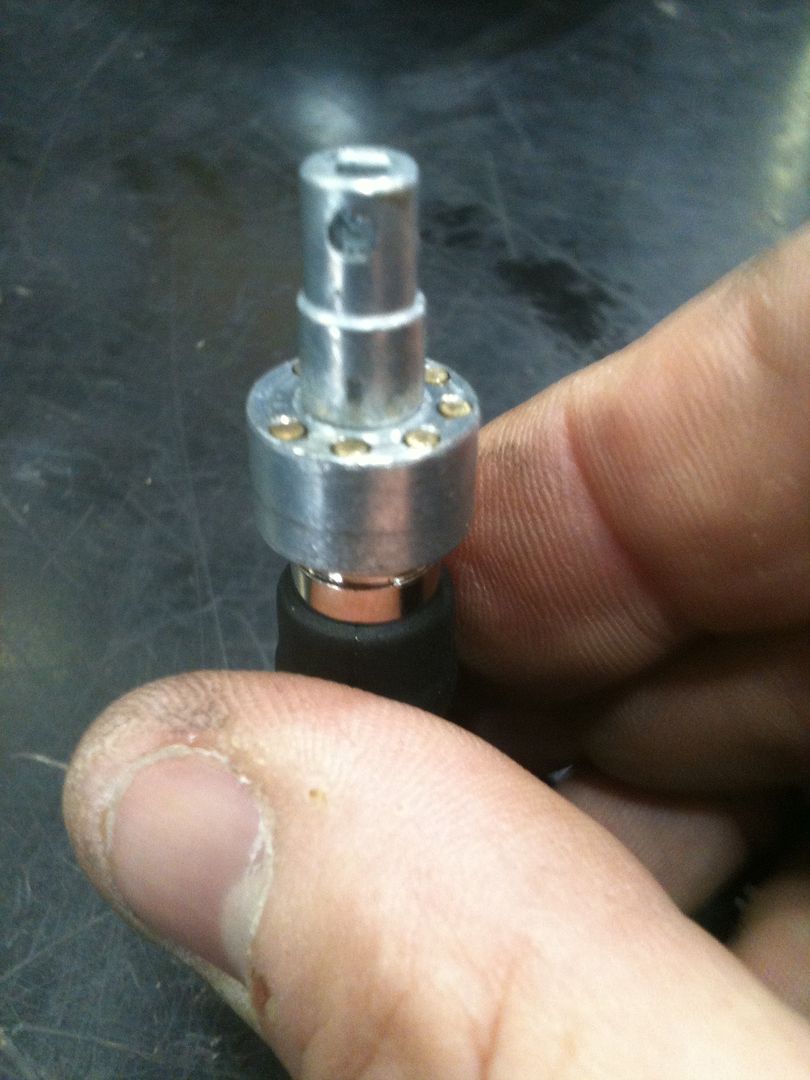
Hold the lock case, and carefully and slowly press the center post of the lock down into the lock body. It is IMPORTANT to do this slowly and carefully, as these locks are the worst I have come across for launching key pins, driver pins and springs. Do not underestimate the ability of these locks to play a skillful game of hide-and-seek.
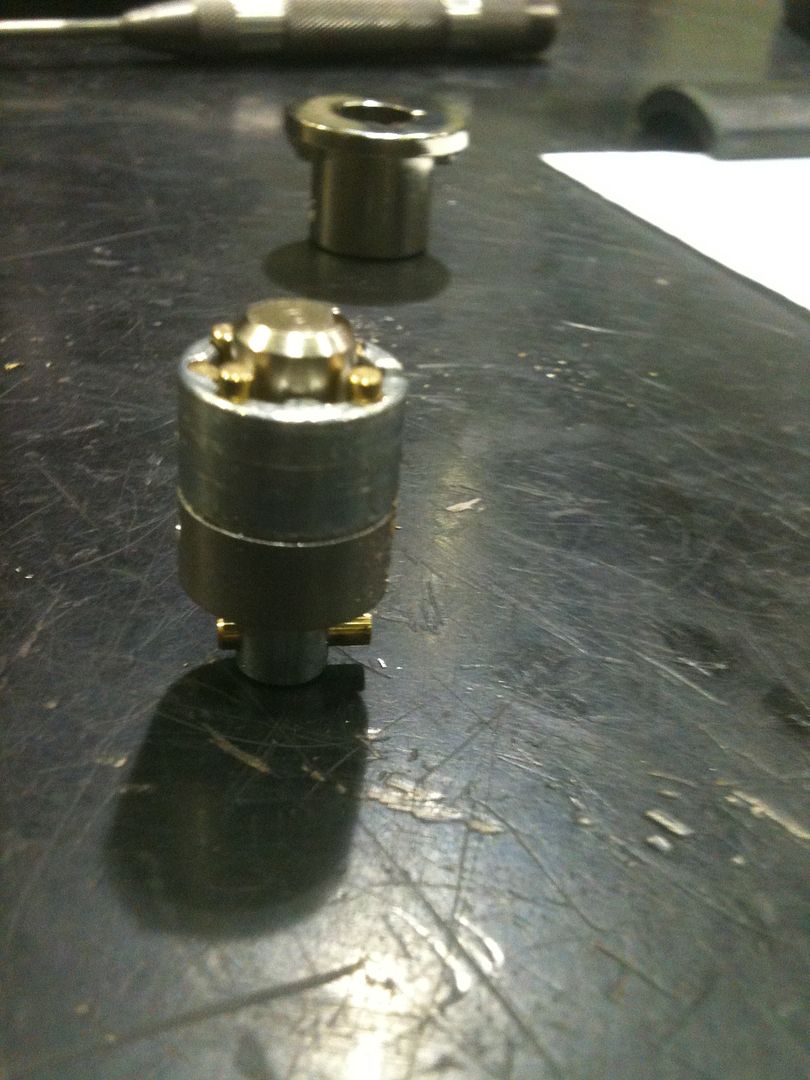
[img]http://i1146.photobucket.com/albums/o525/GWiens2001/Tubular%20Lock%20Rekey/D7E199B7-EDBB-4D4A-9F9C-2C4CFAA90A90_zpsflahk62v.jpg[/img]
In the background, you can see the lock shell. In the foreground, the plug and carrier assembly.
Punching out the pin that fits through the back of the plug in this particular lock is something I should have done earlier. That said, most tubular locks do not have this pin. But here it goes anyway.
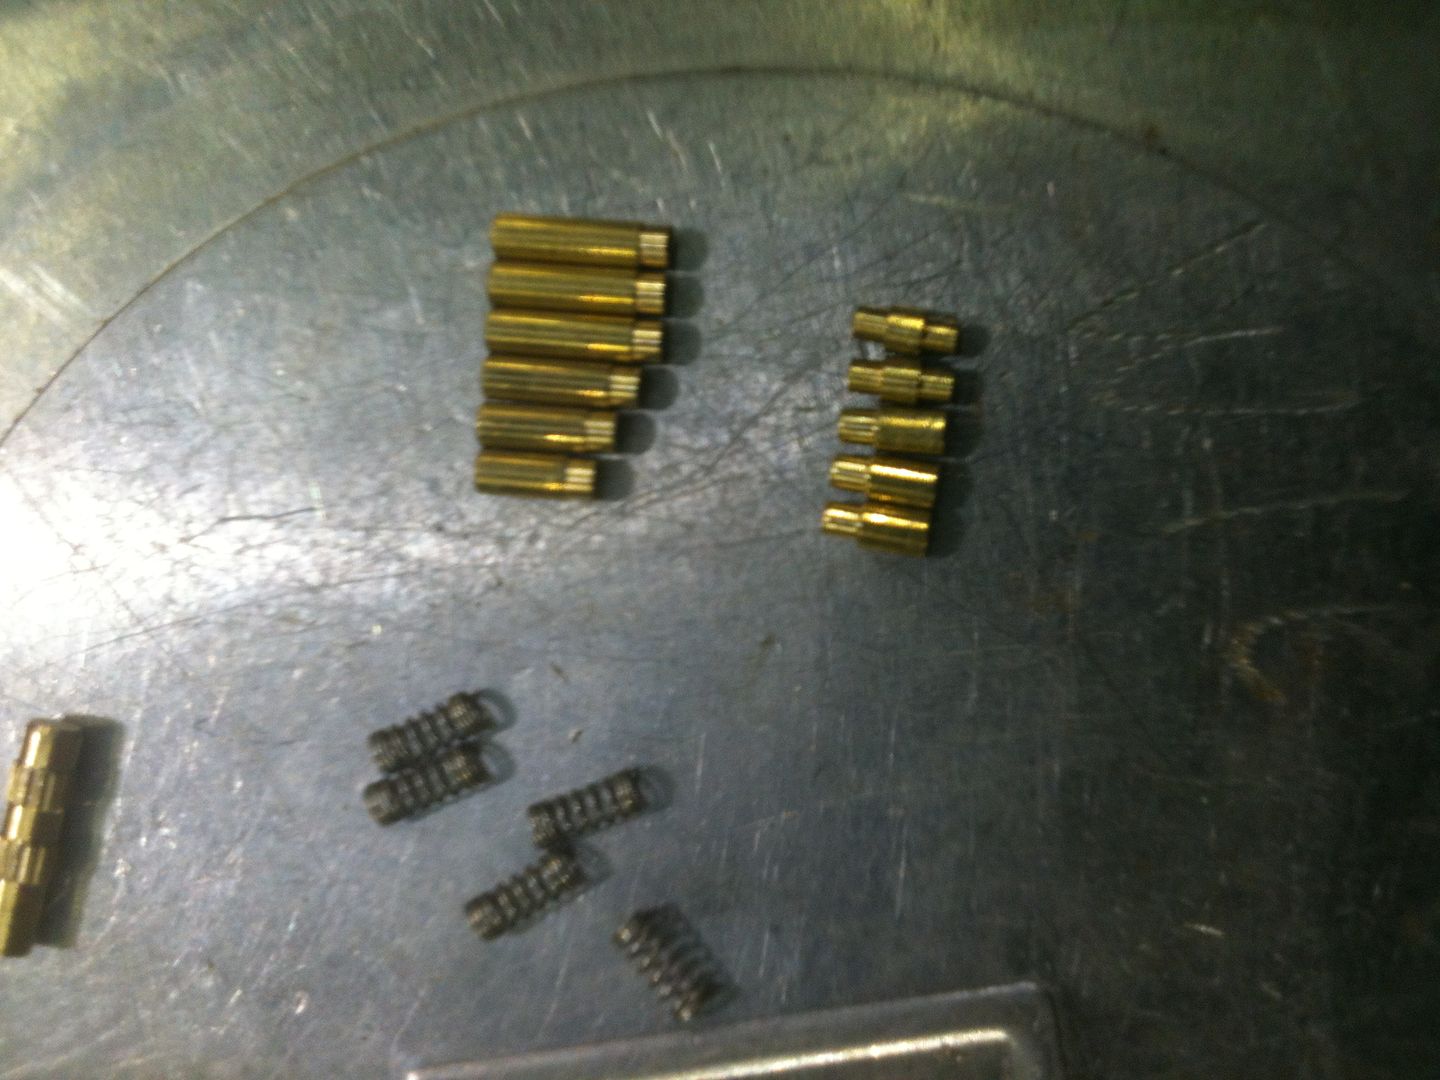
You can now safely (heh heh) dump out the pins and springs into a tray. The row of shorter pins are the driver pins. The narrow ends of the driver pins (for the driver pins that have a narrow end) actually face away from the key pins, instead of towards the key pins as they are arranged in this picture. The narrow end on these particular driver pins fit inside the springs. There are two spool driver pins in this picture. I laid out the pins by size - they were not in the lock this way.
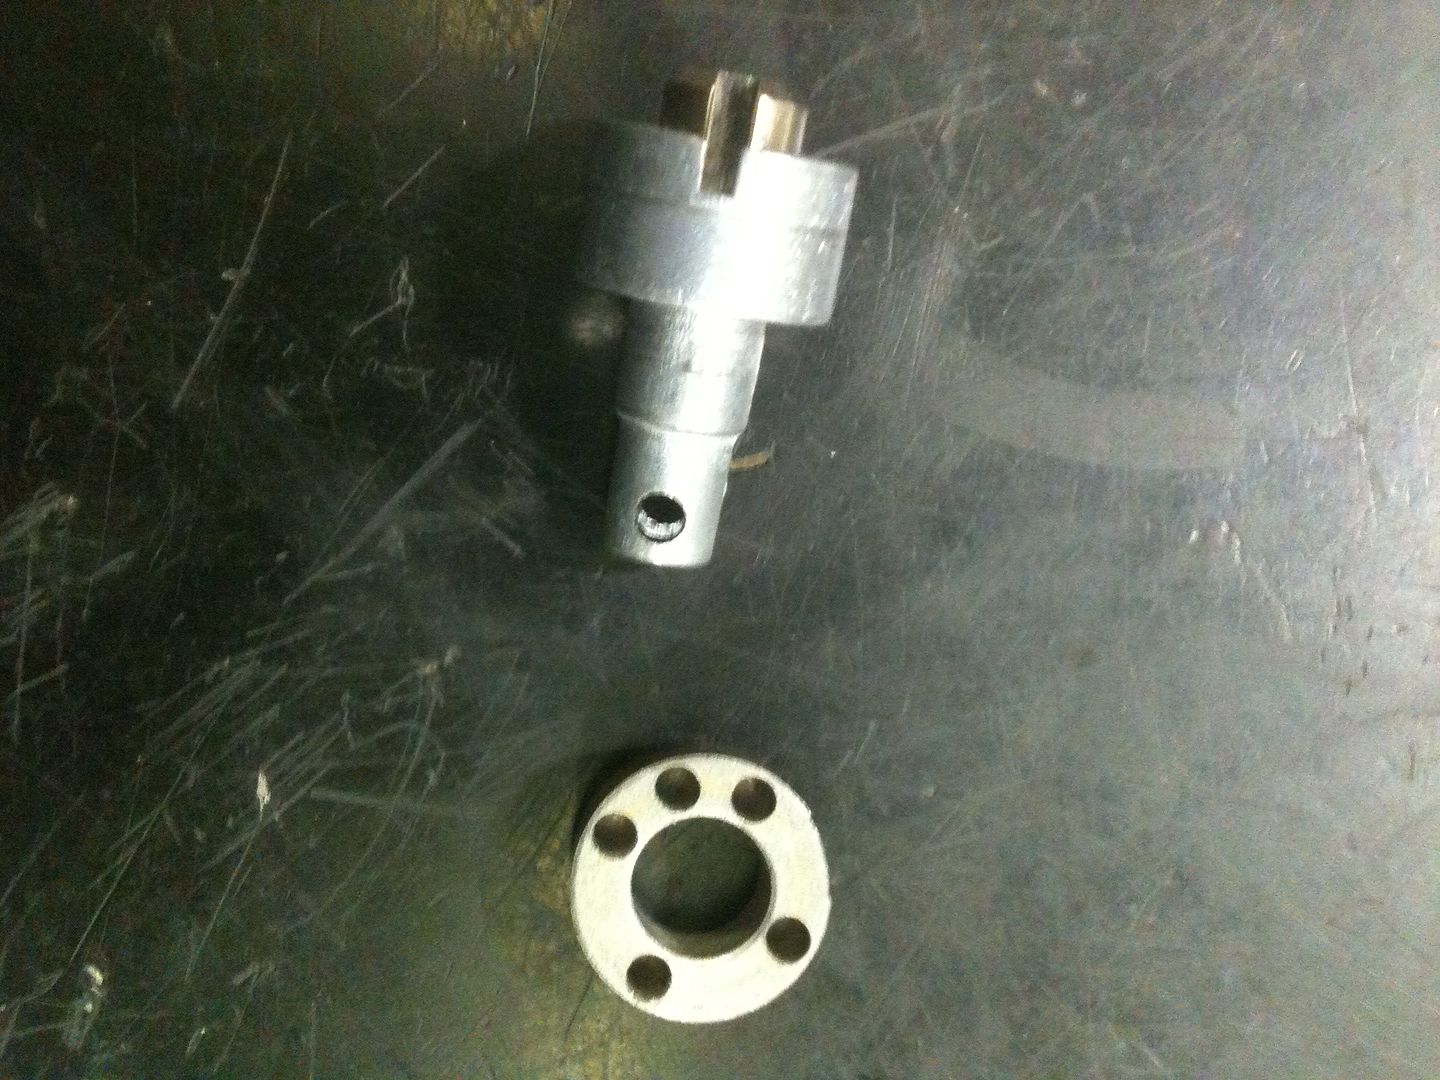
Slide the carrier (ring part) off the plug. Once it is removed, you can either drill the retaining pin(s) from the carrier leaving an empty hole, or on those locks that permit it, you can use a drift punch to punch the remaining section of retaining pin through the hole.
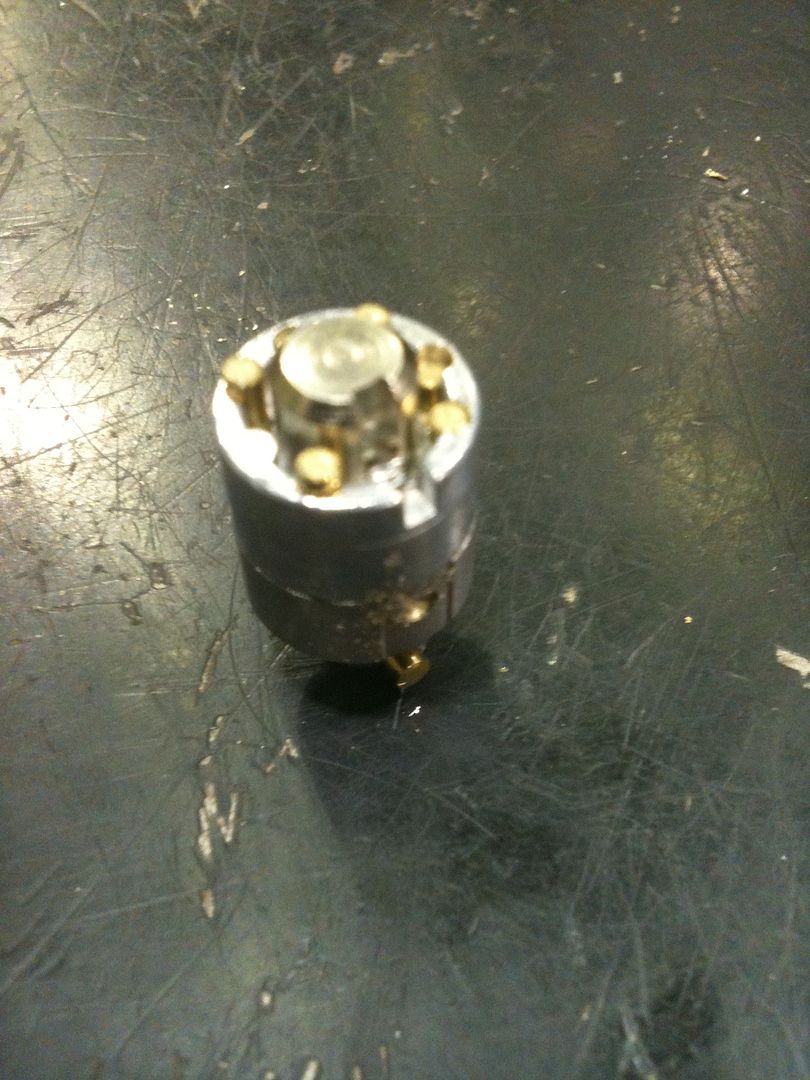
The plug is the top section, the carrier is the lower section. Notice that while this appears to be a seven pin tubular lock from outside the lock, it is actually not! This particular lock has six key pins, one cast piece in the place where you would expect another key pin, and five driver pins.
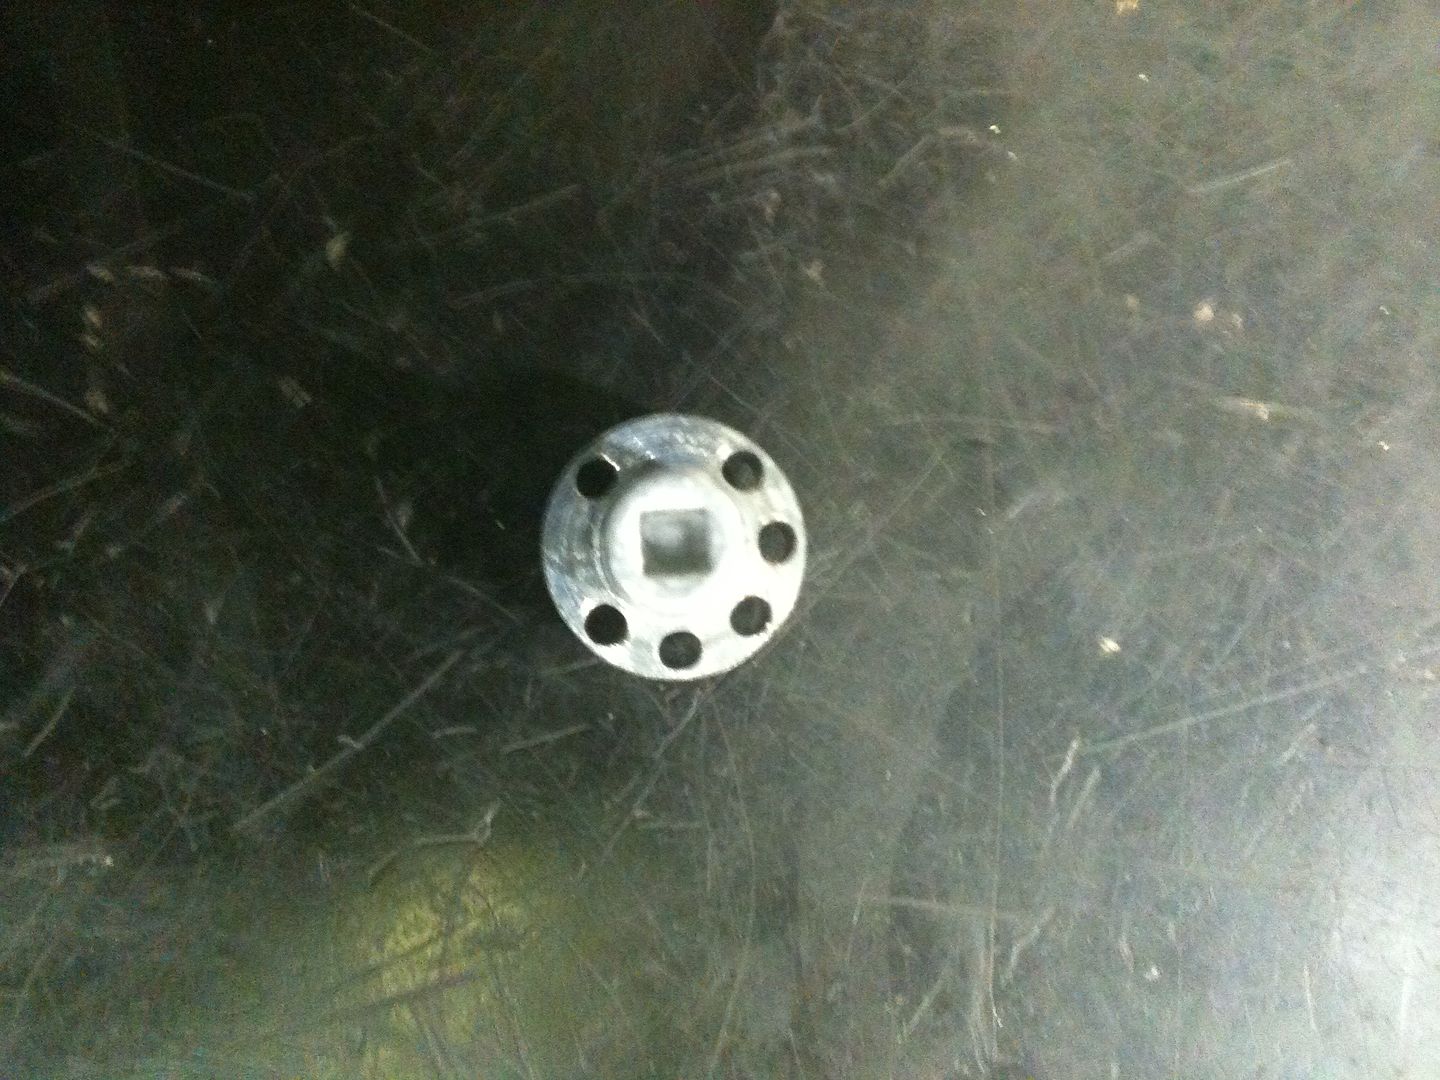
Viewed from the side of the plug that faces the carrier (the shear line side of the plug), you see six holes. One of those holes is filled with a #1 pin in this particular lock. If the pin channel was empty, the driver pin would rise up and (at best) block the shear line, or (at worst) clear the shear line and let the spring bind the shear line.
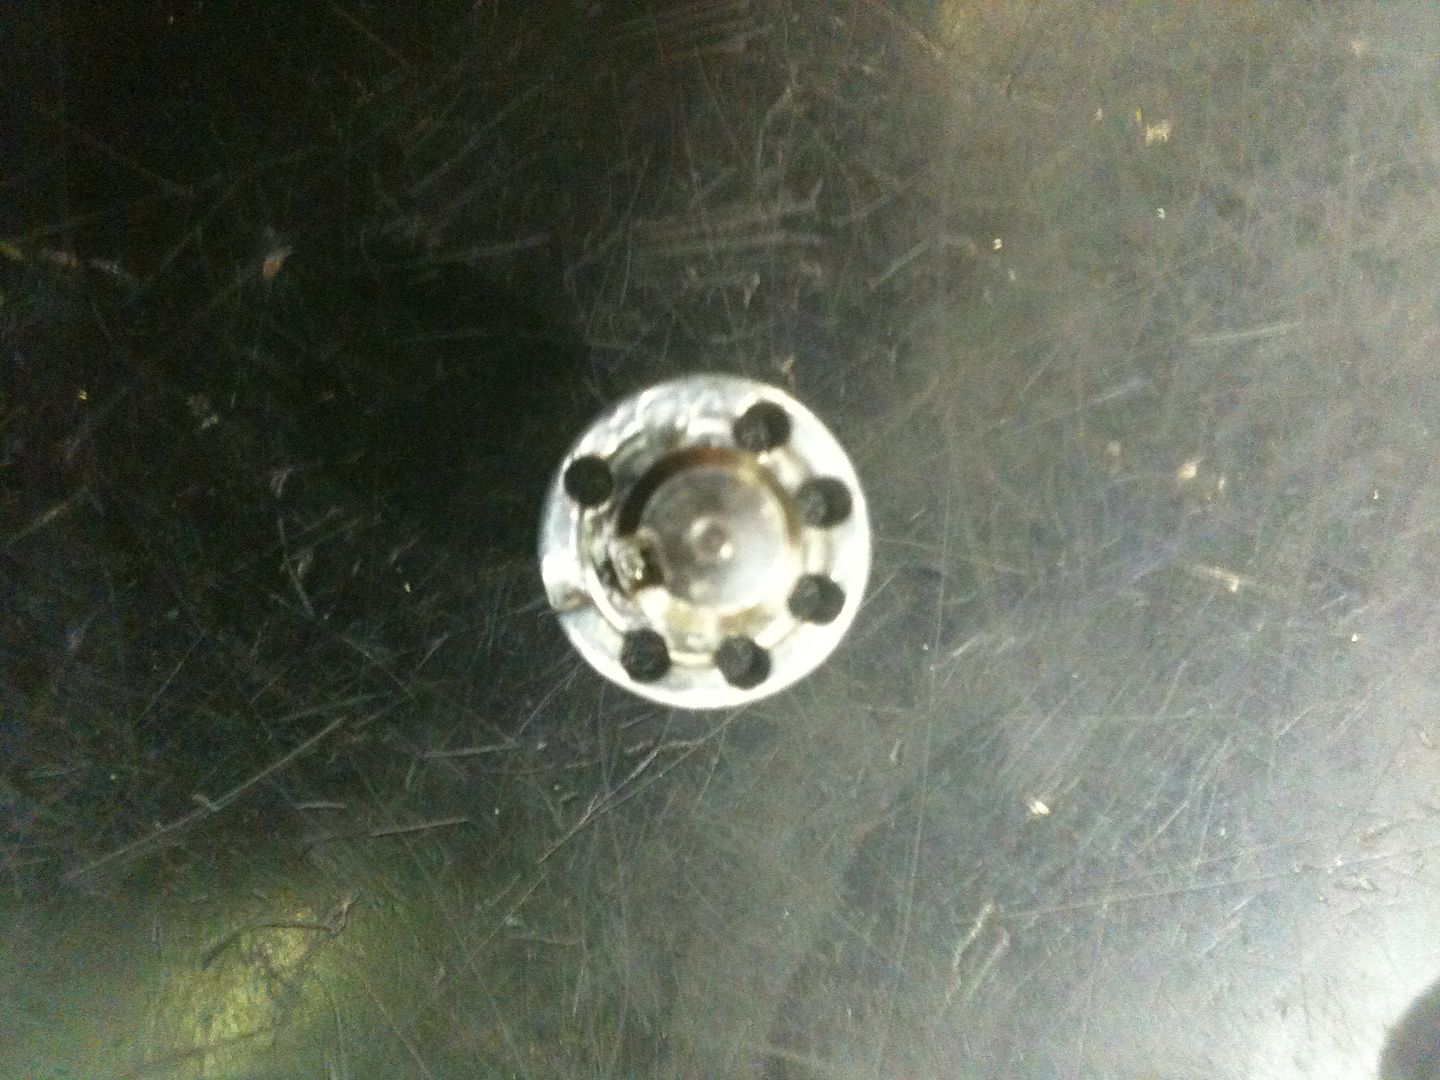
Looking at the keyway side of the plug, you see the same six cavities for pins. But if you look carefully at about the 11 o'clock position, you will see the 'cast pin' - part of the plug casting.
OK, the lock is apart. Hopefully you found all the springs and pins that decided to pretend they are the space shuttle Challenger during its' final flight. Now for reading the pins.
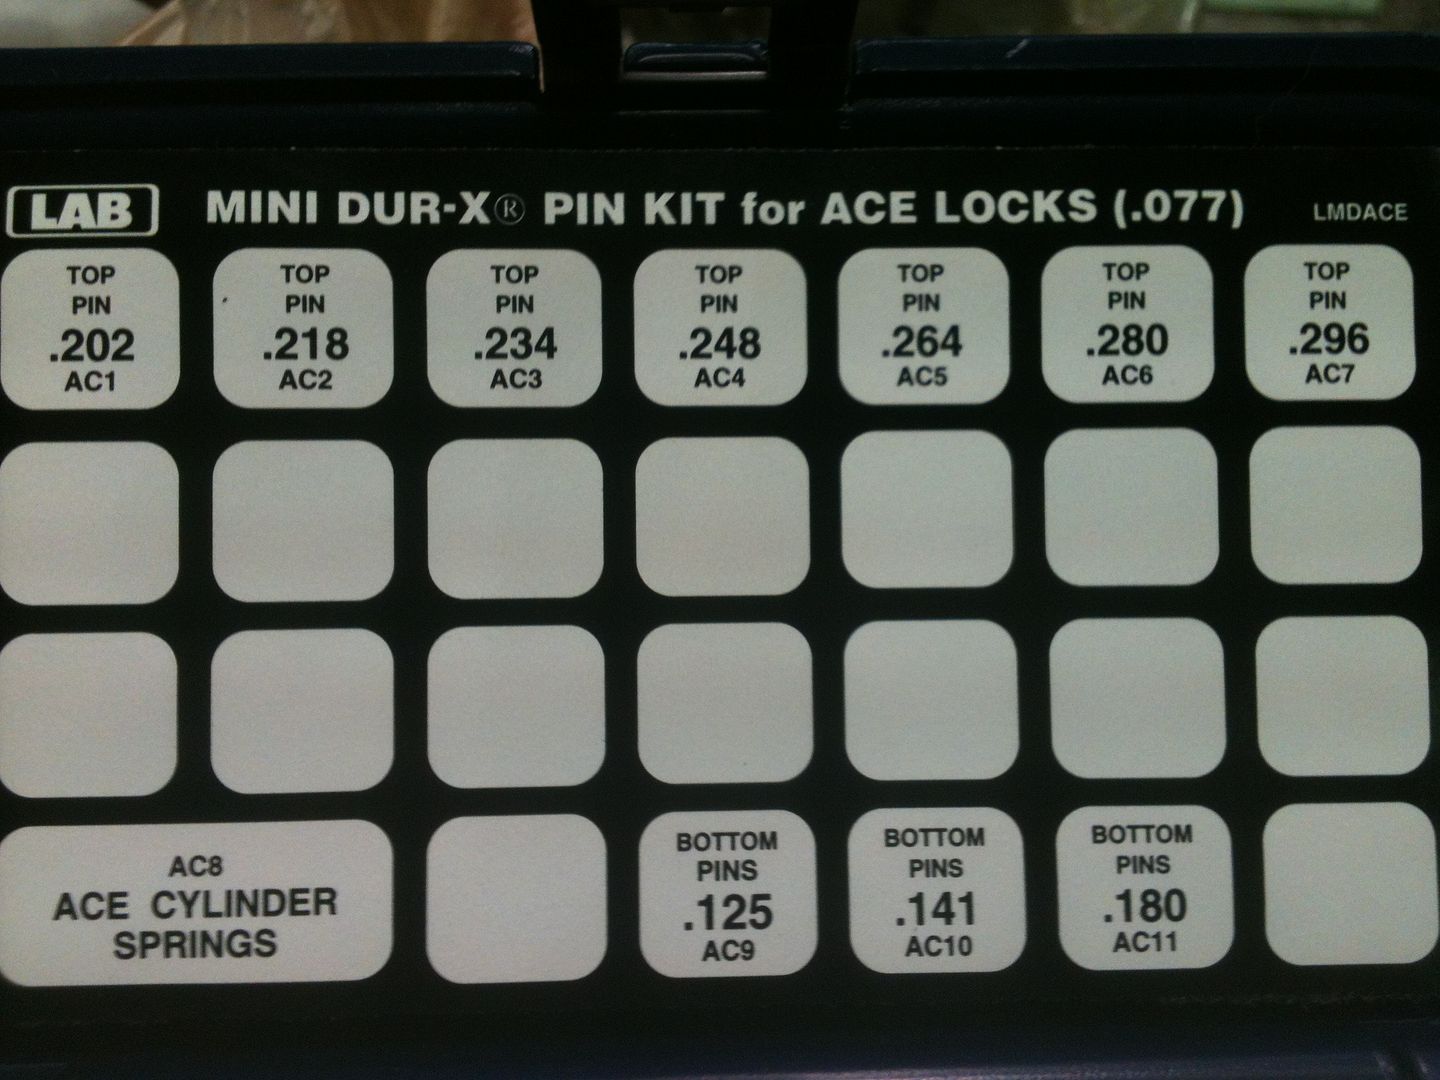
This is from the inside cover of my ACE tubular lock pinning kit. They are pretty standard sizes, but know that there are some manufacturers who do use an oddball size, both in pin diameter and lengths.
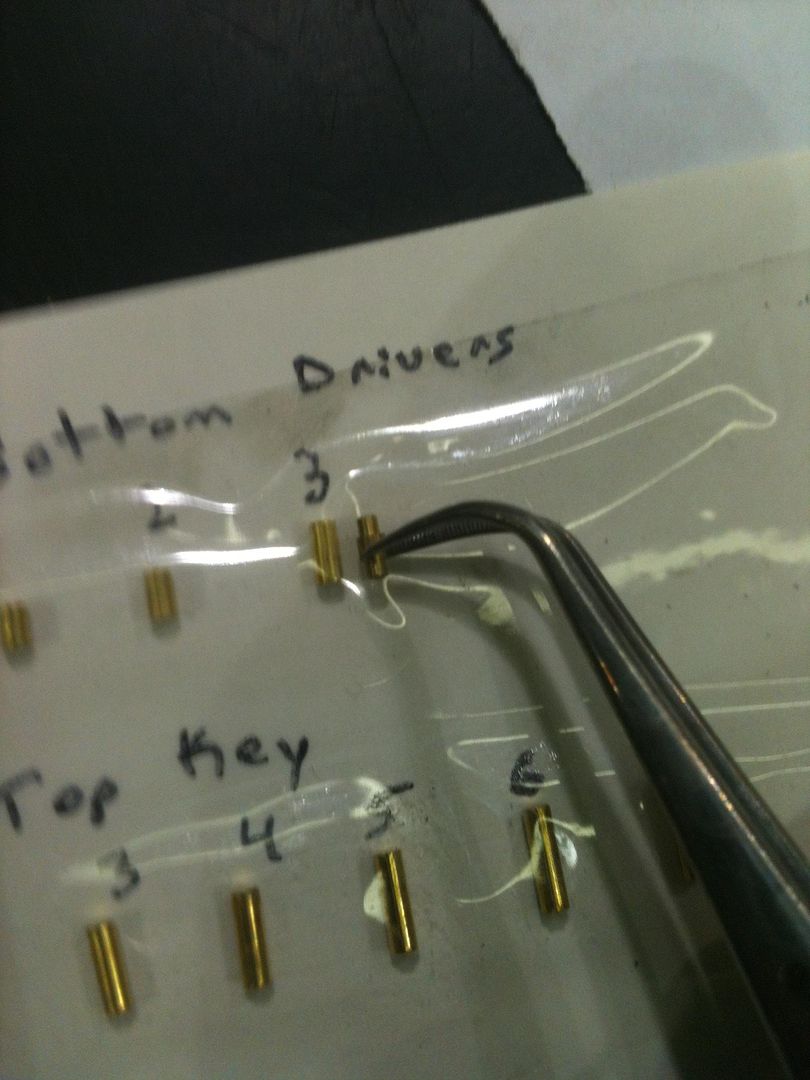
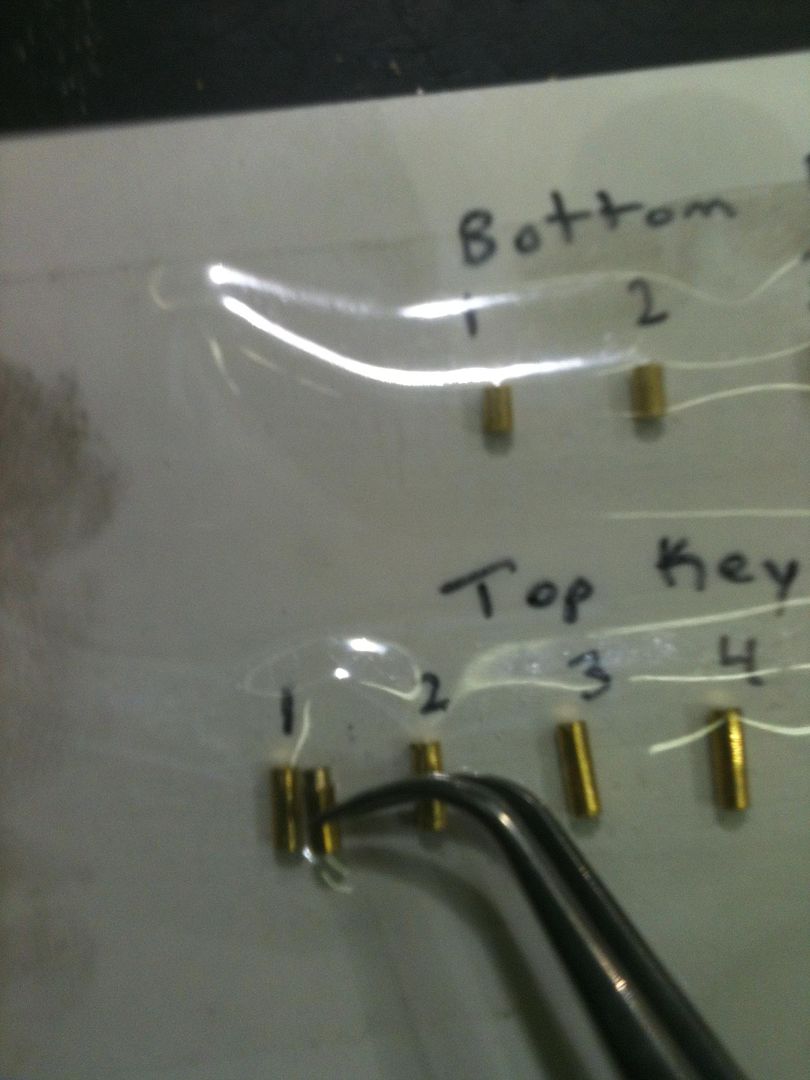
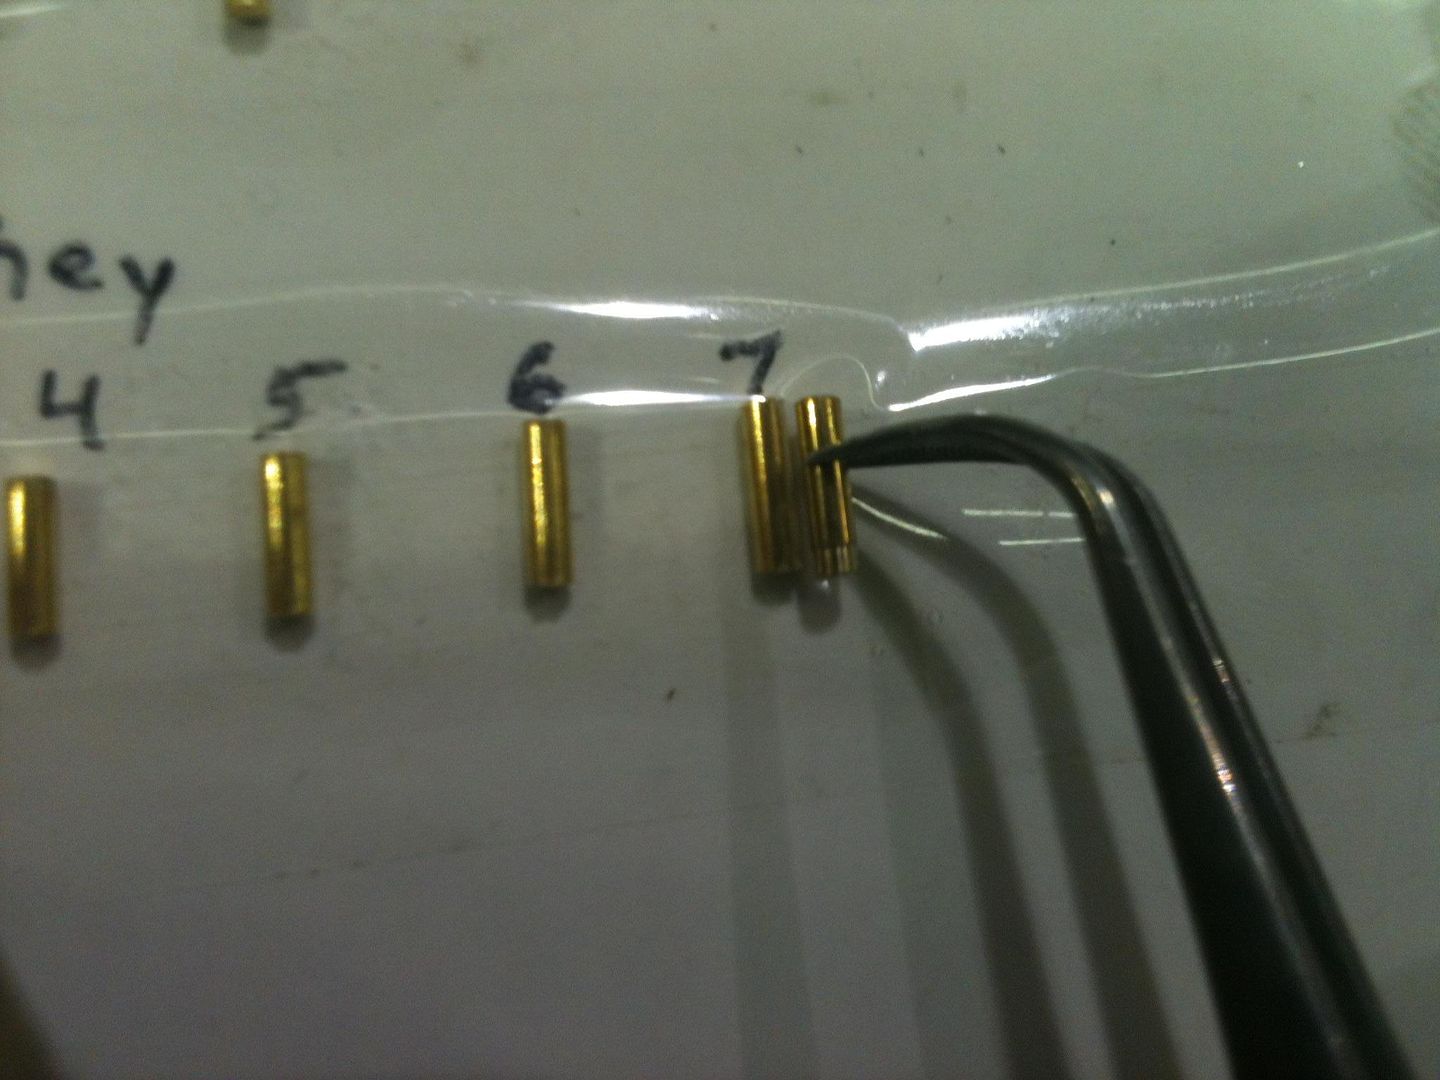
Used some paper, tape and pins to make a quick pin matching guide.

Grab a pin and find the pin on the guide card that matches. Read the number above the pin. Quick and easy!
Since you need to reassemble the lock, and it is a little tricky to do so, here is an easy way to test if the key pins match the key you wish to use. Put the key into a vice (only tight enough to keep it from falling over) and put the plug onto the key. Naturally, have the key in the keyway. Drop in pins until you find the one that fits flush with the shear line.
Note: Since this lock will be in use protecting my friend's tools, all the pins shown have been the ones removed from the lock to be rekeyed, and the key bitting, unlike most of my posts of locks in my collection rather than in use, is not shown.
Keep track of which pins go in which holes, and remove them. (fgarci... mind your manners! ). Put the carrier back onto the plug, and be sure that you have them lined up together. Place your springs, driver pins and key pins into place. Carefully slide the lock shell back over the plug and carrier assembly.
Hold the lock together with your fingers on the top of the lock shell (at the keyway) and under the carrier (other end of the lock). Normally, you just put in new retainer pins and you are done. A better idea before you put those retaining pins in place is to hold the lock together and try out the key. You don't want to have it pinned back together only to find you lined up the pins on your tray/pinning mat/cardboard clockwise from the lock, and installed them counter-clockwise! Not that I have ever done that. Nuh-uh. Not me! Trust me - test the key, and once you are sure you got it right... THEN pin the lock together.
Hope this helps answer some questions on these locks! Thanks with putting up with another of my posts.
Gordon
Was asked by a co-worker if I could rekey the tubular lock on his new tool cart to match the tubular key on his tool box. Thought somebody here might be interested in locks, and wonder how it was done.
First, most tubular locks are held together by a pin - usually brass.
In all tubular locks I have seen, but there are probably exceptions, the pin must be drilled out. Try to use the smallest drill bit that will work to get the pin drilled without expanding the hole.
Hold the lock case, and carefully and slowly press the center post of the lock down into the lock body. It is IMPORTANT to do this slowly and carefully, as these locks are the worst I have come across for launching key pins, driver pins and springs. Do not underestimate the ability of these locks to play a skillful game of hide-and-seek.
[img]http://i1146.photobucket.com/albums/o525/GWiens2001/Tubular%20Lock%20Rekey/D7E199B7-EDBB-4D4A-9F9C-2C4CFAA90A90_zpsflahk62v.jpg[/img]
In the background, you can see the lock shell. In the foreground, the plug and carrier assembly.
Punching out the pin that fits through the back of the plug in this particular lock is something I should have done earlier.
You can now safely (heh heh) dump out the pins and springs into a tray. The row of shorter pins are the driver pins. The narrow ends of the driver pins (for the driver pins that have a narrow end) actually face away from the key pins, instead of towards the key pins as they are arranged in this picture. The narrow end on these particular driver pins fit inside the springs. There are two spool driver pins in this picture. I laid out the pins by size - they were not in the lock this way.
Slide the carrier (ring part) off the plug. Once it is removed, you can either drill the retaining pin(s) from the carrier leaving an empty hole, or on those locks that permit it, you can use a drift punch to punch the remaining section of retaining pin through the hole.
The plug is the top section, the carrier is the lower section. Notice that while this appears to be a seven pin tubular lock from outside the lock, it is actually not! This particular lock has six key pins, one cast piece in the place where you would expect another key pin, and five driver pins.
Viewed from the side of the plug that faces the carrier (the shear line side of the plug), you see six holes. One of those holes is filled with a #1 pin in this particular lock. If the pin channel was empty, the driver pin would rise up and (at best) block the shear line, or (at worst) clear the shear line and let the spring bind the shear line.
Looking at the keyway side of the plug, you see the same six cavities for pins. But if you look carefully at about the 11 o'clock position, you will see the 'cast pin' - part of the plug casting.
OK, the lock is apart. Hopefully you found all the springs and pins that decided to pretend they are the space shuttle Challenger during its' final flight. Now for reading the pins.
This is from the inside cover of my ACE tubular lock pinning kit. They are pretty standard sizes, but know that there are some manufacturers who do use an oddball size, both in pin diameter and lengths.
Used some paper, tape and pins to make a quick pin matching guide.
Grab a pin and find the pin on the guide card that matches. Read the number above the pin. Quick and easy!
Since you need to reassemble the lock, and it is a little tricky to do so, here is an easy way to test if the key pins match the key you wish to use. Put the key into a vice (only tight enough to keep it from falling over) and put the plug onto the key. Naturally, have the key in the keyway. Drop in pins until you find the one that fits flush with the shear line.
Note: Since this lock will be in use protecting my friend's tools, all the pins shown have been the ones removed from the lock to be rekeyed, and the key bitting, unlike most of my posts of locks in my collection rather than in use, is not shown.
Keep track of which pins go in which holes, and remove them. (fgarci... mind your manners! ). Put the carrier back onto the plug, and be sure that you have them lined up together. Place your springs, driver pins and key pins into place. Carefully slide the lock shell back over the plug and carrier assembly.
Hold the lock together with your fingers on the top of the lock shell (at the keyway) and under the carrier (other end of the lock). Normally, you just put in new retainer pins and you are done. A better idea before you put those retaining pins in place is to hold the lock together and try out the key. You don't want to have it pinned back together only to find you lined up the pins on your tray/pinning mat/cardboard clockwise from the lock, and installed them counter-clockwise! Not that I have ever done that. Nuh-uh. Not me!
Hope this helps answer some questions on these locks! Thanks with putting up with another of my posts.
Gordon
Just when you think you've learned it all, that is when you find you haven't learned anything yet.