![]() Wed Jan 13, 2016 9:00 pm
Wed Jan 13, 2016 9:00 pm
Re: LocksportSouth's Stash
It's been a while! 
I've got two small updates today, but they're cool ones!
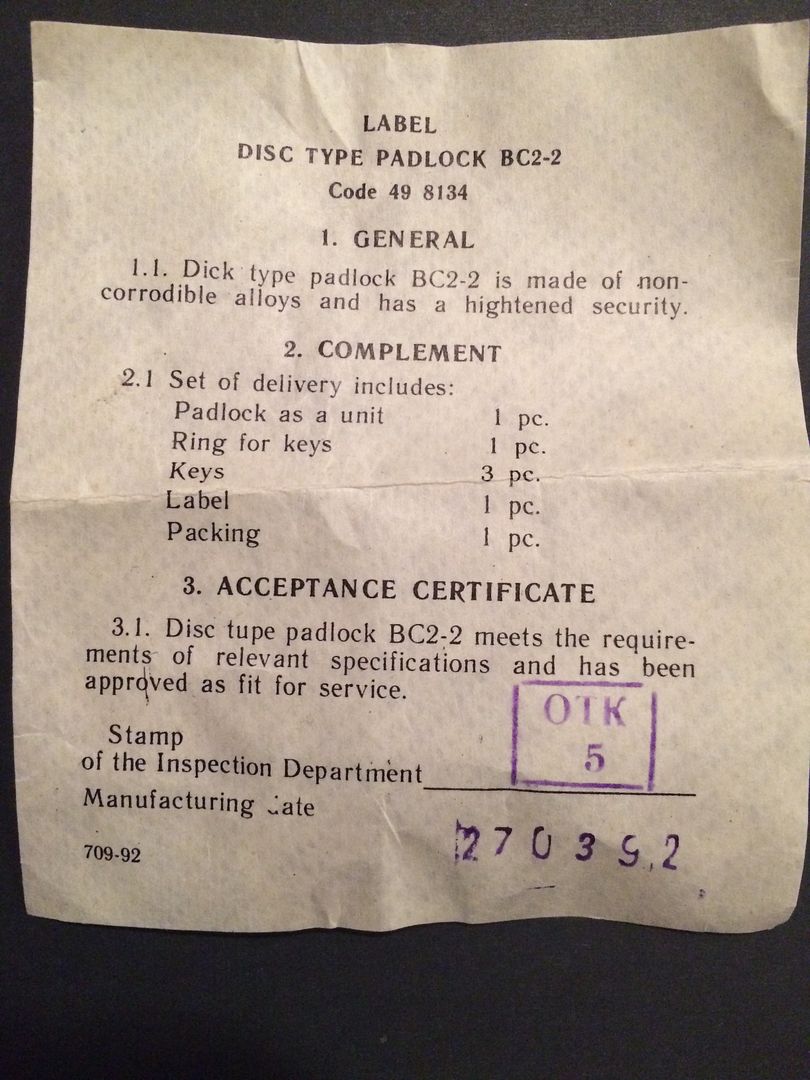
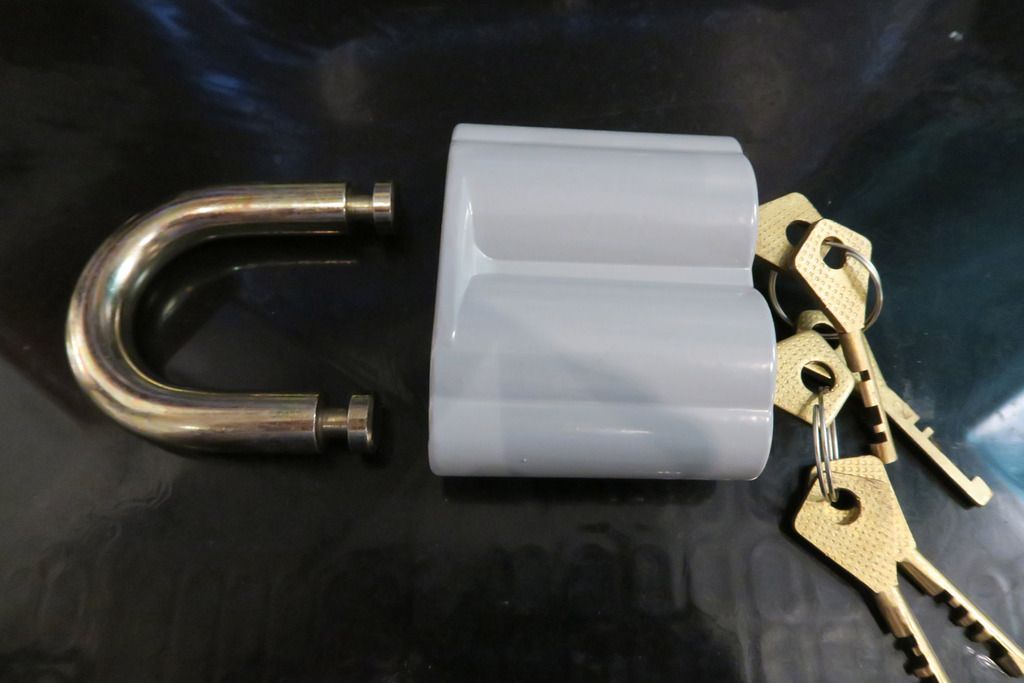
First up we have something really different, and special IMO. It's a Bicentric, Dual Custody padlock which uses the Abloy Classic style keys (disc detainer) - and not only that, it cost less than £5! If you're so inclined, you can get one Here.
I love Bicentric and Dual custody locks but unfortunately they are either hard to come by, or very expensive. This padlock is certainly an unusual addition to a collection and is a great start to this sort of niche collection goal. It's a bit of a deviation for me, having been focusing mostly on high security locks but definitely a worthwhile one - and a very interesting lock for sure. Let's take a look!
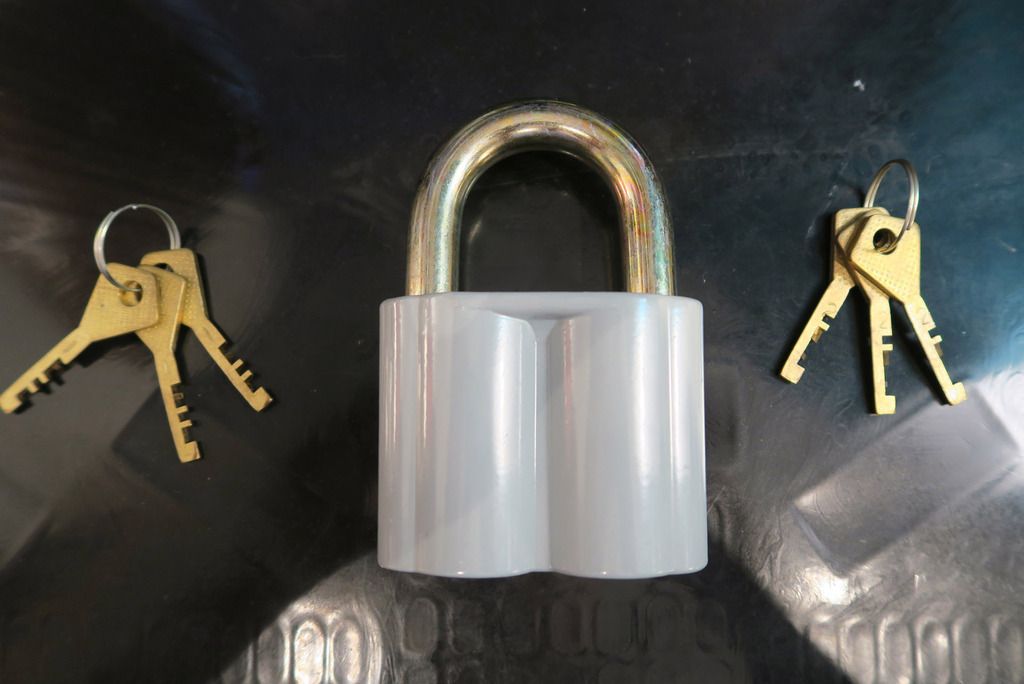
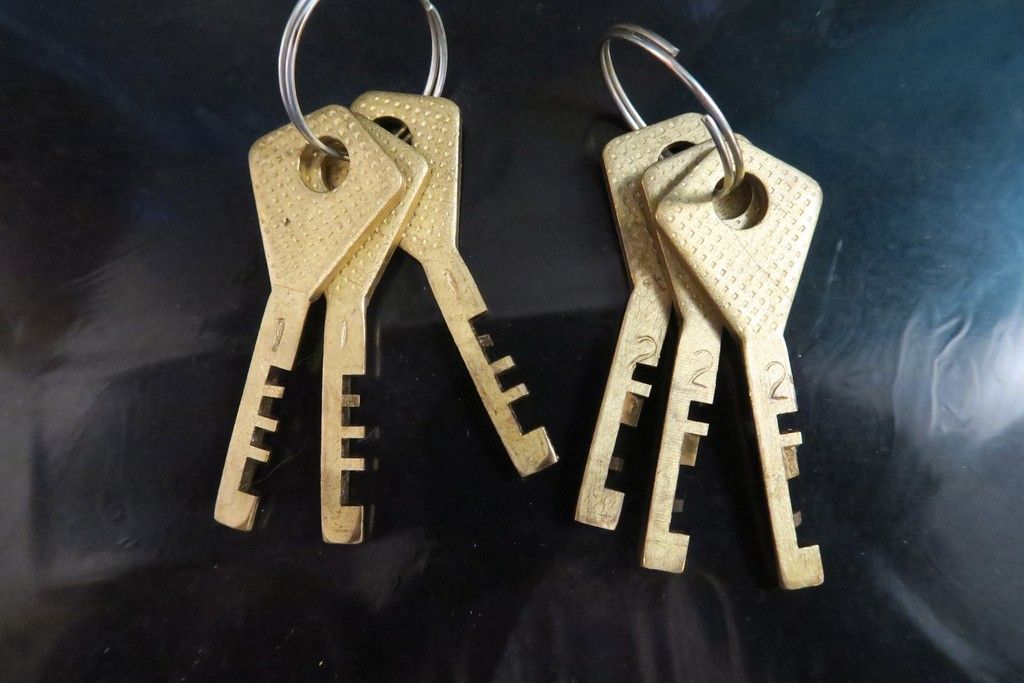
As you can see, three keys are provided per "side". Both sides have an individual cylinder, and locking pole. Both sides must be unlocked in order to release the shackle.
I also like how this thing looks like one of those snap-off ice lollies .
.
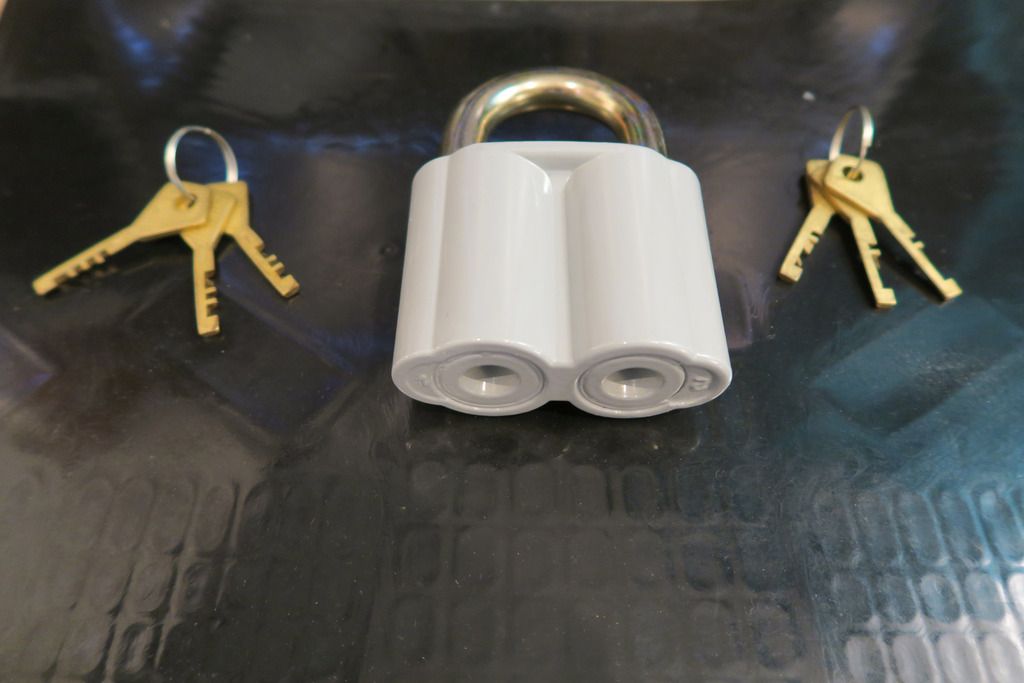
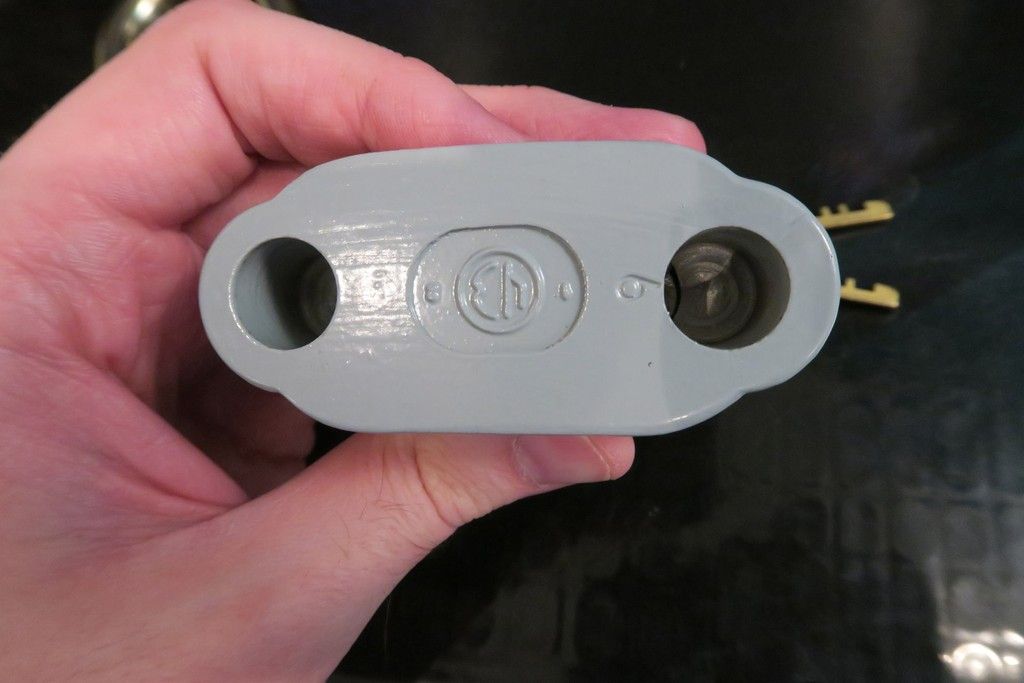
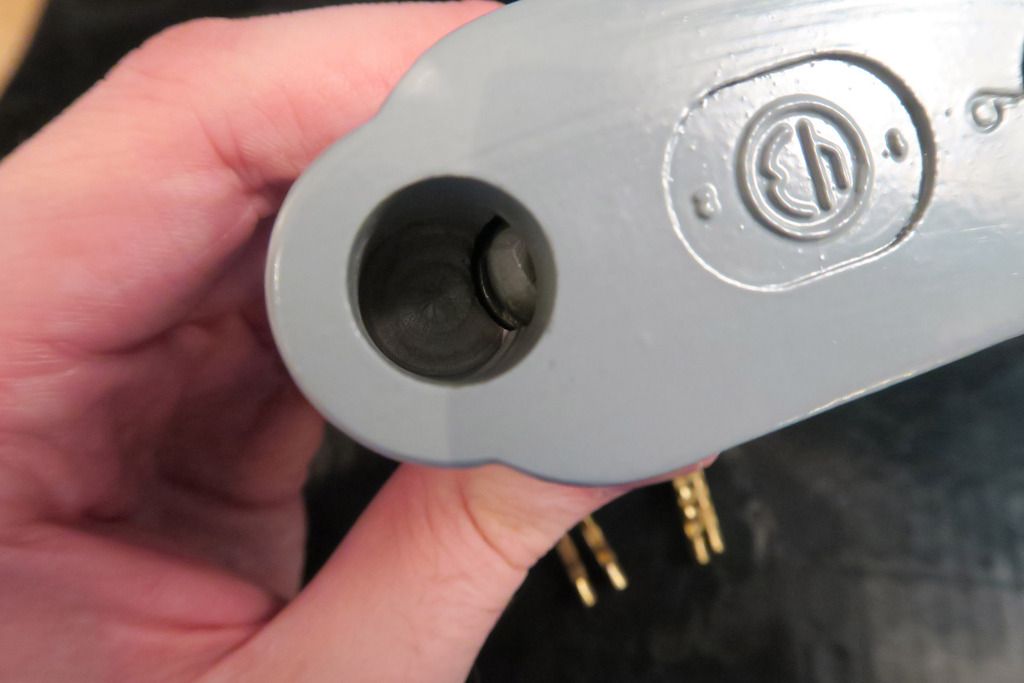
Photo of the bottom showing the tell-tale disc detainer cylinders:
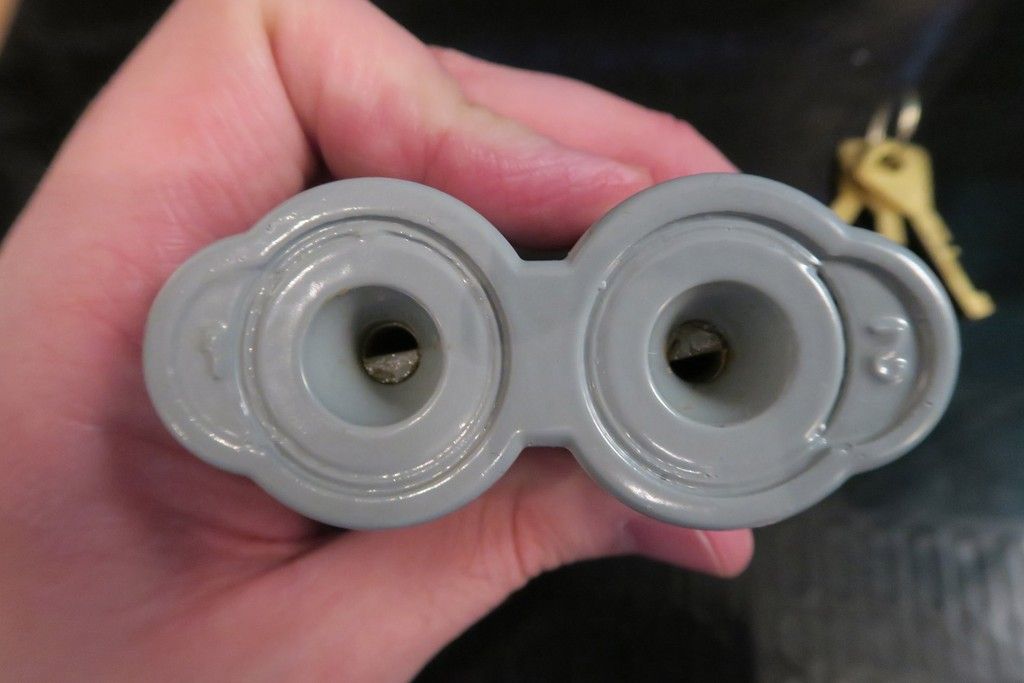
Here you can see the number "2" stamped onto the side (you could see the "1" stamp in the last photo, also). The keys are also stamped with 1 and 2 which identifies which key is for which lock.

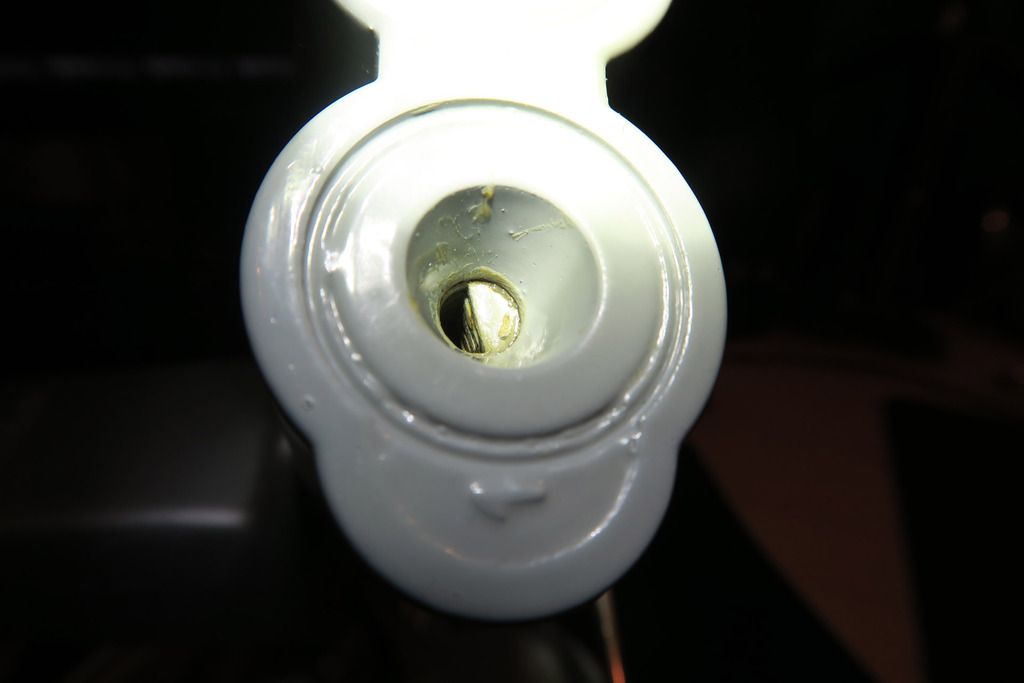
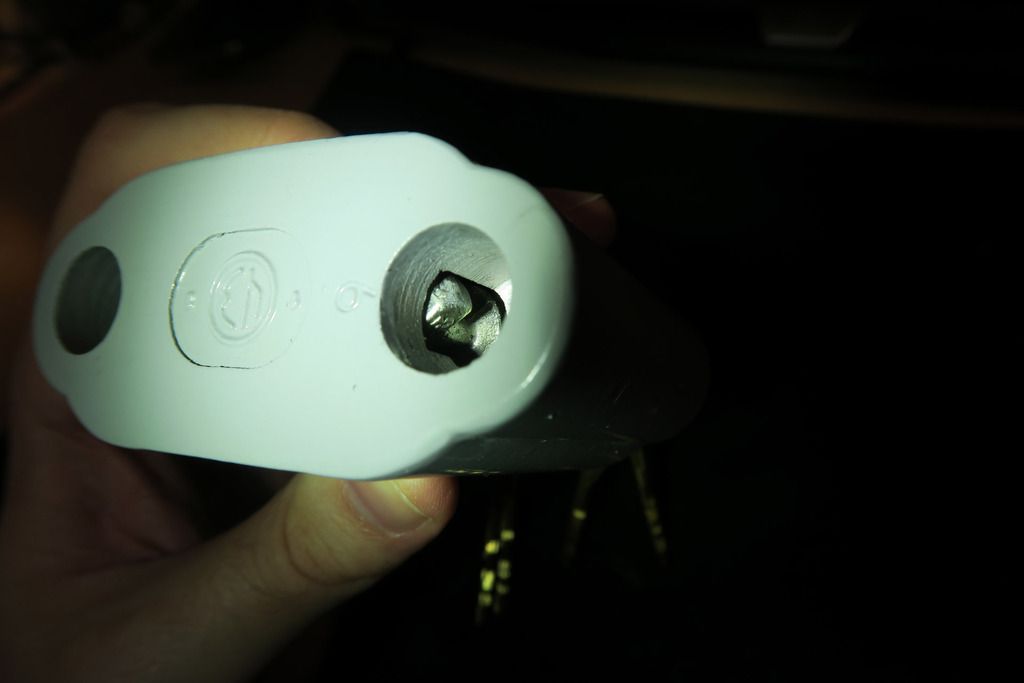
Shining a light down inside the keyway to see the disks. Sadly these are totally sealed padlocks so a breakdown will not be possible:
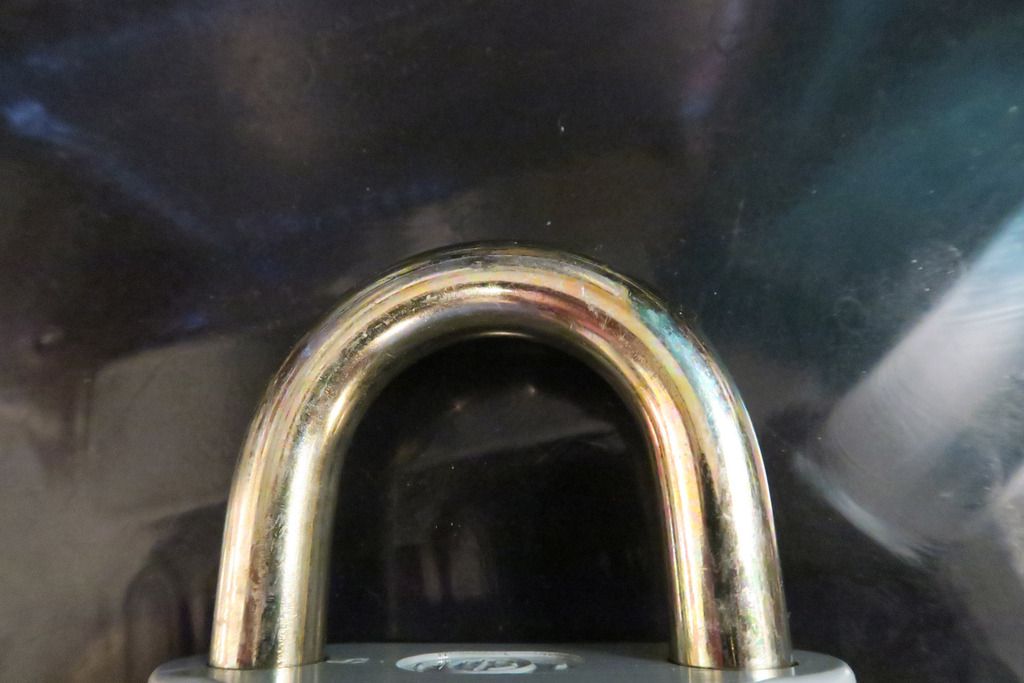
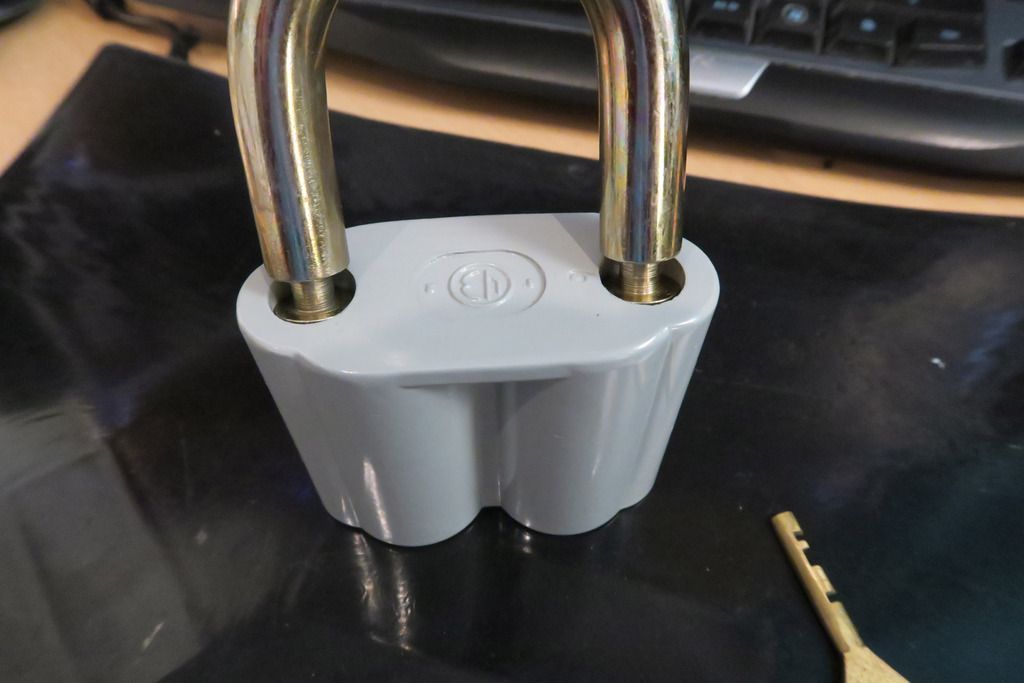
It's got a pretty chunky shackle! The whole padlock feels very light though; it might be resistant to manipulation and surreptitious entry with its disc detainer cylinders and dual custody nature but I very much doubt it'll stand up to destructive entry. This lock will certainly suit some very specific purposes but isn't your average tool chest padlock:
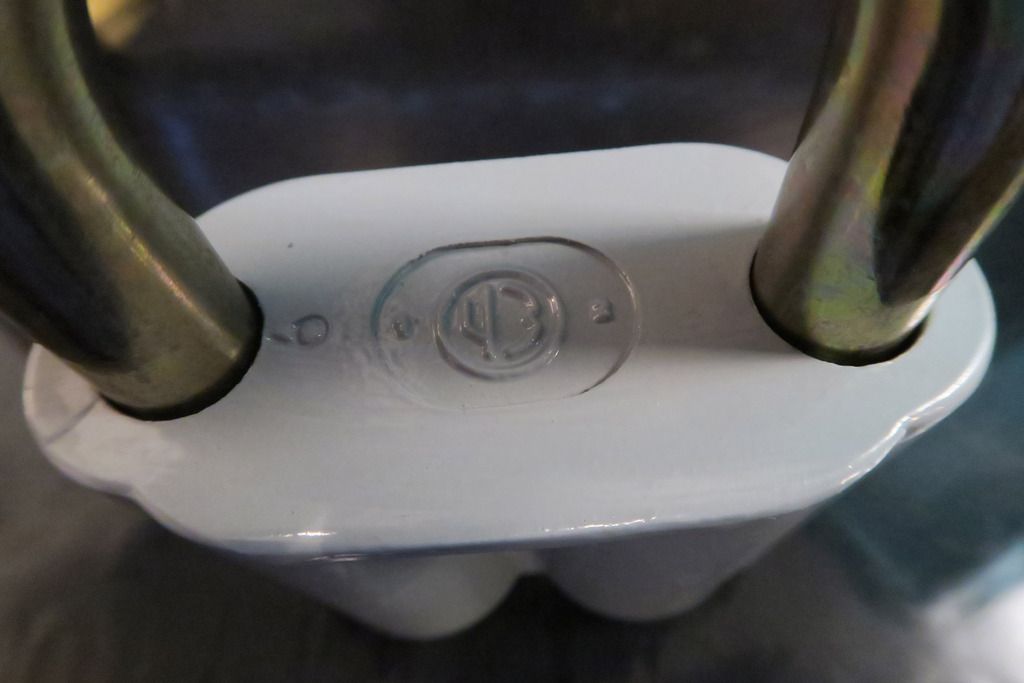
On the top of the lock is stamped this "43" logo. I almost thought it was a Wilson-Bohannan logo for a while there!
The two sets of keys. Note that they are stamped with 1 and 2 so you know which set is which:
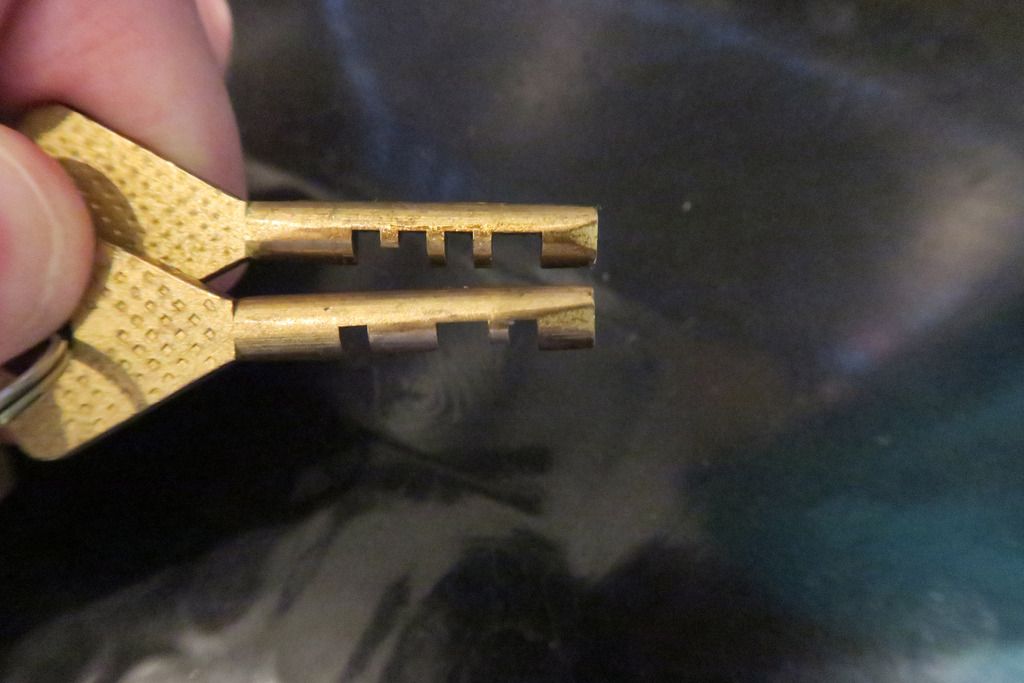
Here's a key from each set next to each other - as you can see, they have different bitting ensuring that both sets of keys must be present to open the lock:
Once both keys have been turned and the locking poles are clear of the very short shackle hole, the shackle pops out. Note the cuts into the shackle to allow the locking pole in. I feel they could have made it more secure by having just one (or two, to allow the shackle on both ways around) notches in the shackle, but it's probably cheaper this way and this isn't a lock build for destructive security anyway:
Looking down inside the shackle hole:
Locking pole in the "locked" position:
Half unlocked:
With the padlock locked, the shackle will sit on top of the locking poles, like this:
So, yeah! That's the "43" brand bicentric, dual custody padlock in a nutshell. It's a nifty little lock, obviously with some very specific niche use in mind (it's not high security by any means and could be cut through easily, but by using disc detainers and making it dual custody it'd be very hard to sneak into. Maybe good as a church donations box lock where there must be two people present to count the cash, or for a couple's savings box, or something).
Right then, moving on!
Okay, so I've been looking for one of these for a while now, ever since I got its brother, but I've been unable to find an "original", only the new version. What am I talking about?
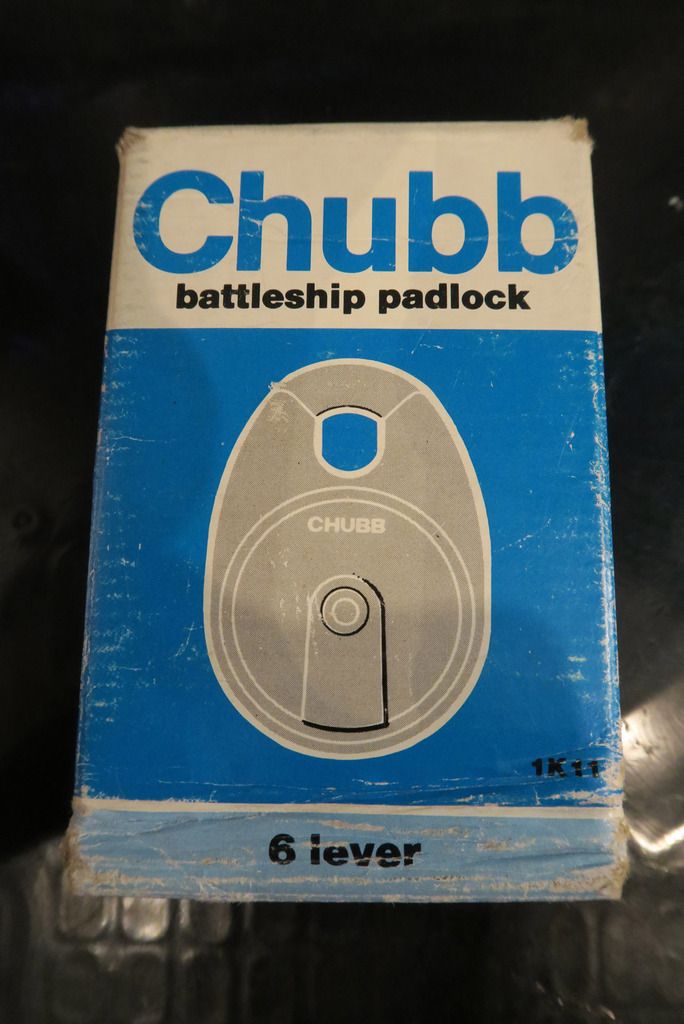
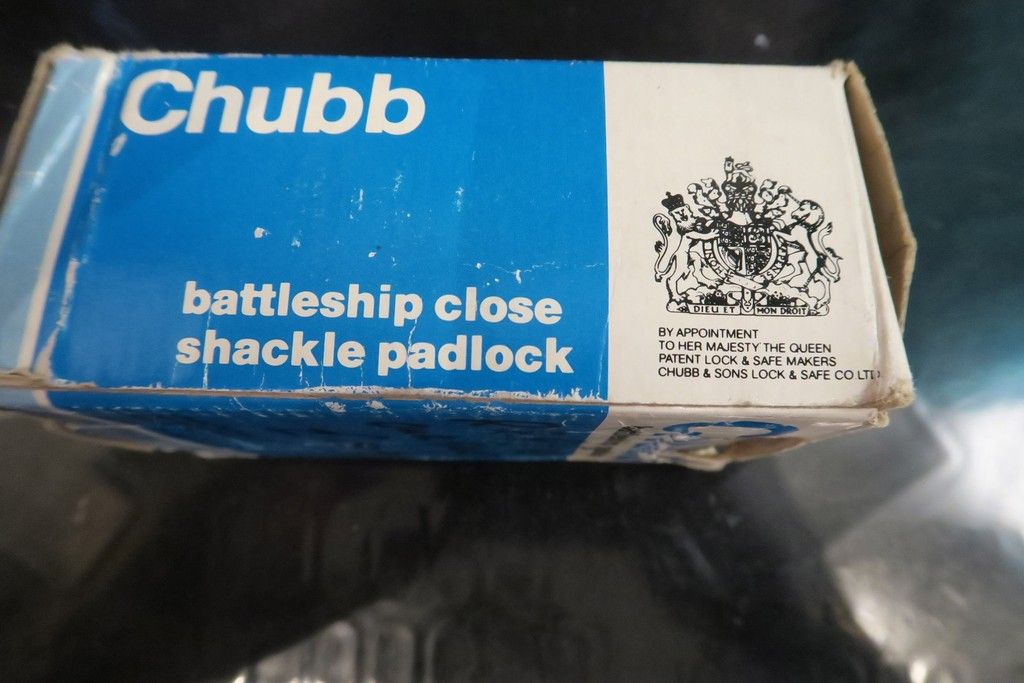
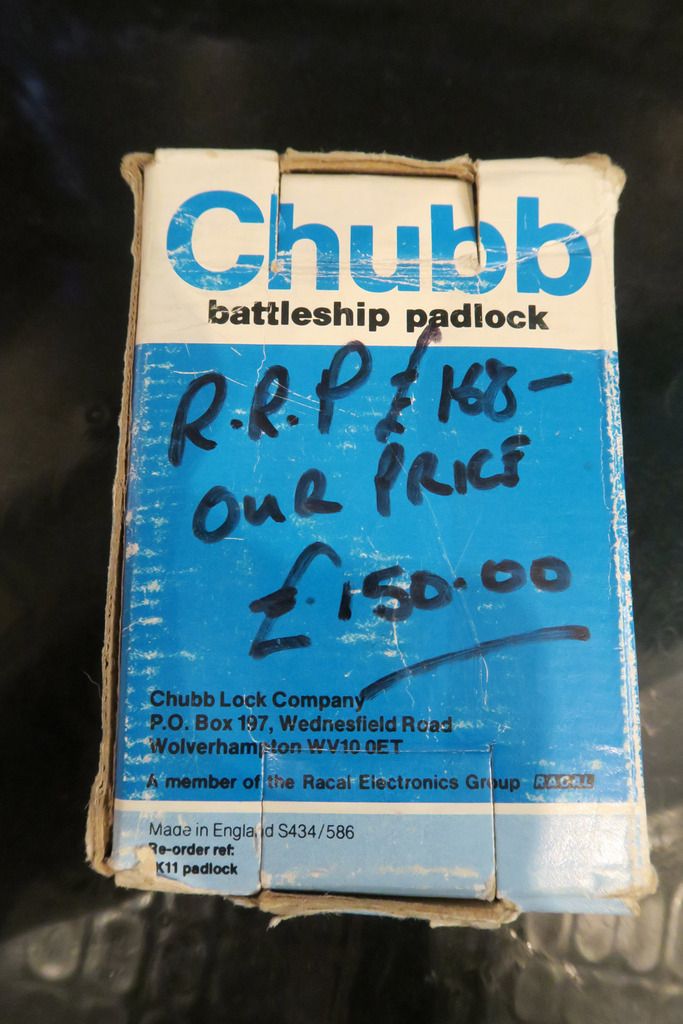
With its original blue Chubb packaging, no less! Whilst Chubb Cruisers weren't especially easy to find, and original (pre-union/Assa ones) even less so, Battleships are a mysterious gem indeed, with only the lightest smattering of them available for sale around the web, and all of those were the new style. Basically, Assa/Union bought over Chubb, and also the Cruiser and Battleship are still being made, they are now stamped with the lock name (Cruiser or Battleship), and come in the new Union red and white packaging. Are they still built to the same standard? No idea, probably. But I have fond memories of Chubb from a long time ago and wanted to collect the originals, so when I saw this one pop up on eBay I just *had* to grab it. Let's have a look around the packaging first - in the pic above you can see that it's a little shop-worn.
Box side:
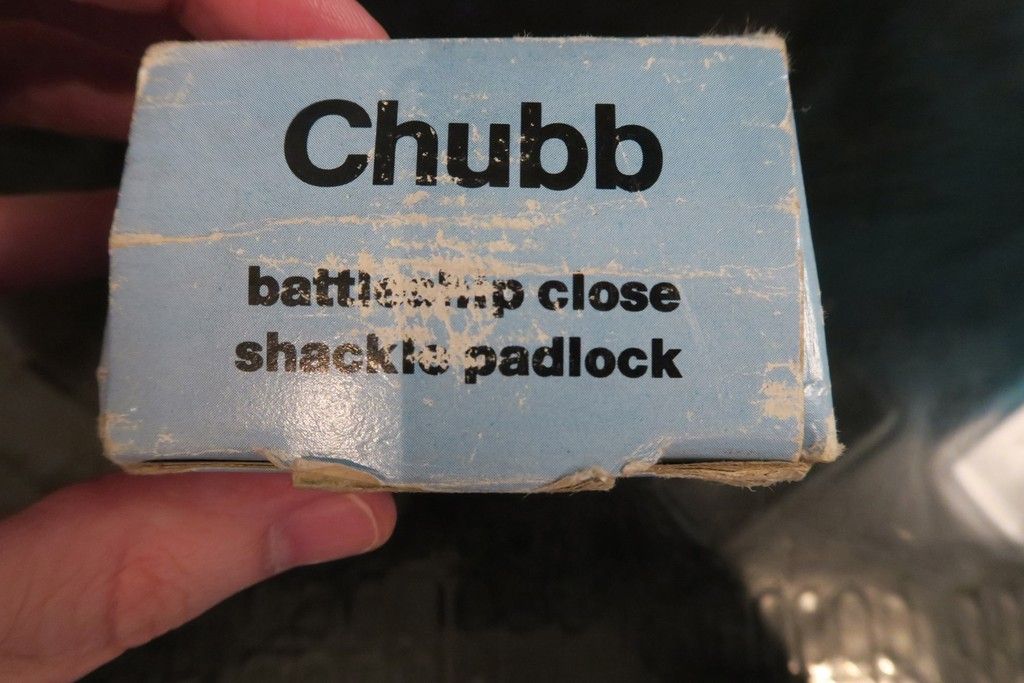
Box end:
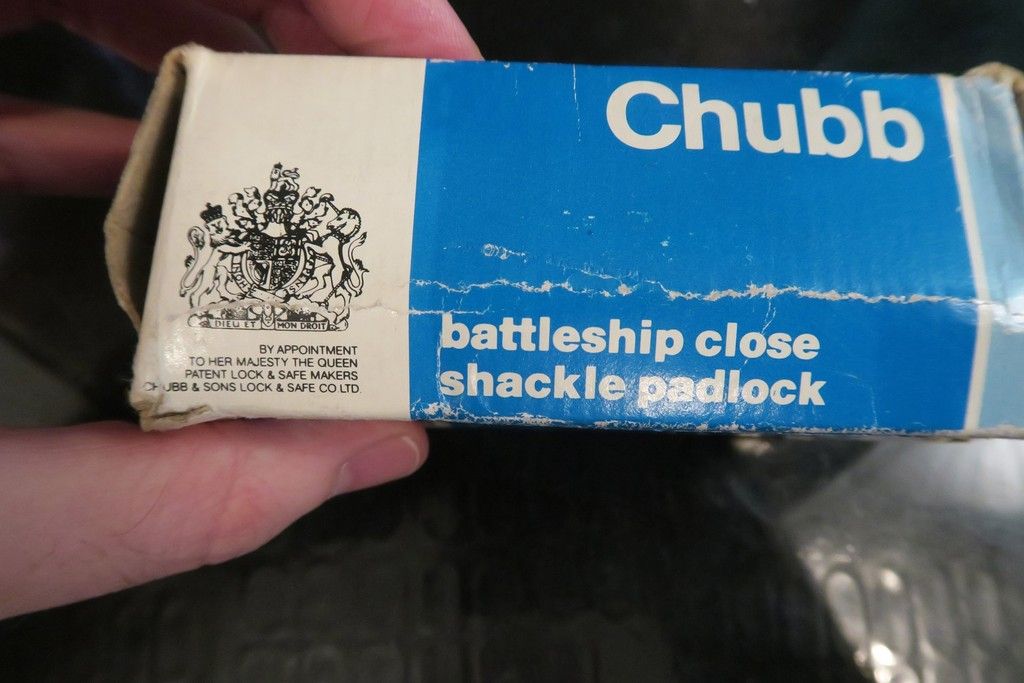
Other box side:
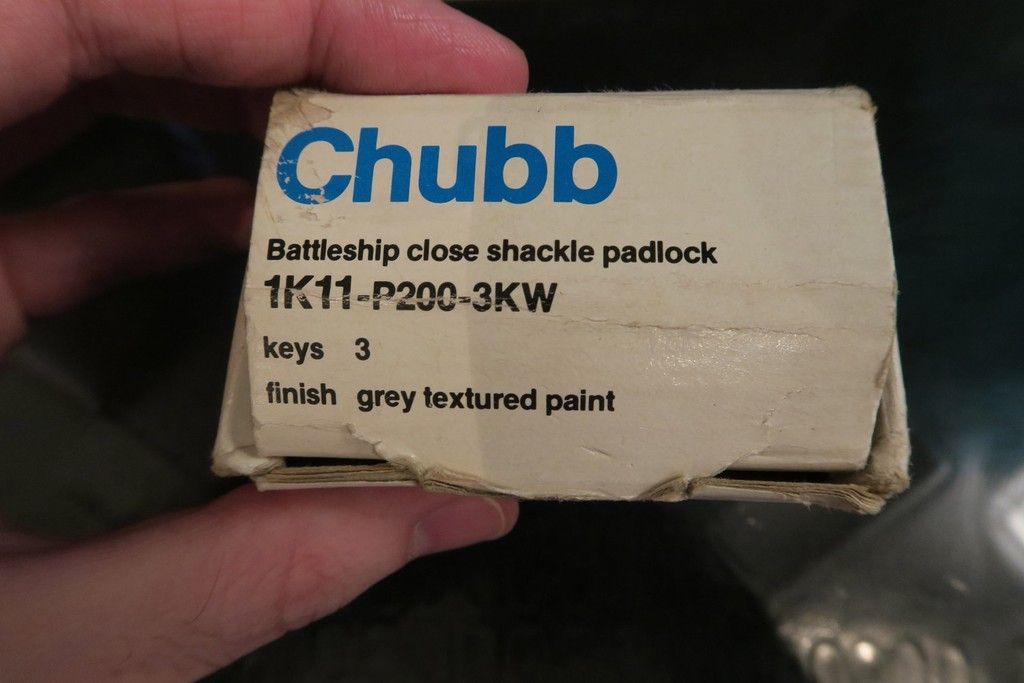
Other end, with the product number:
The back is the only letdown, with this shop graffiti (for the record, I paid quite a bit less then that, which is cool):
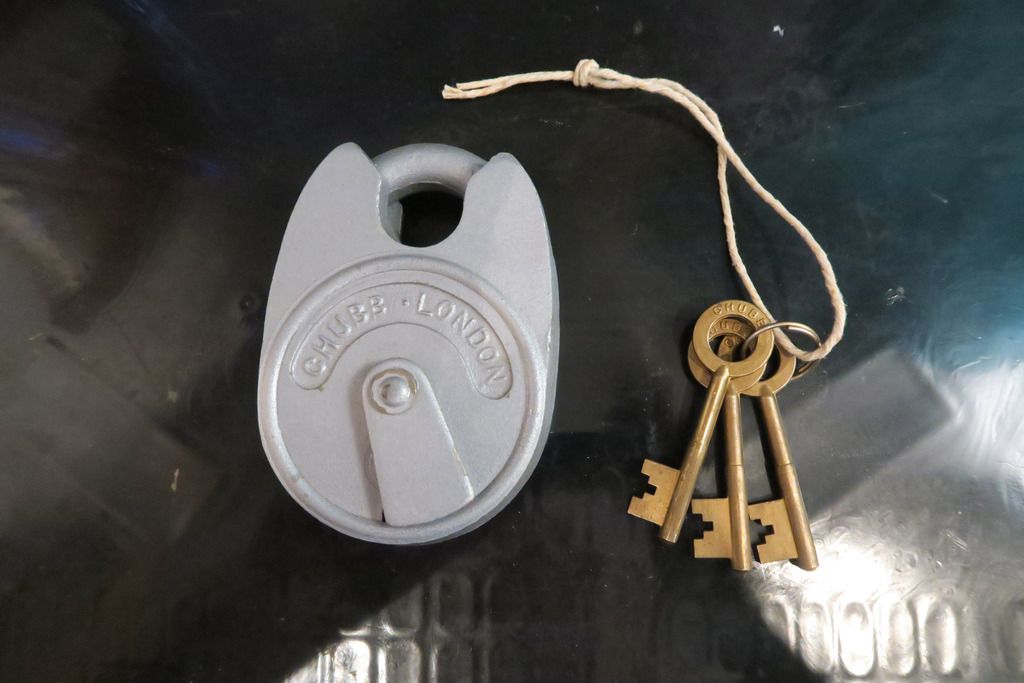
Here's the lock out of its packaging. I didn't realise as there is often not much sense of scale for this lock (usually being on a desk or photoshopped into a white background) but it's actually quite a bit smaller than the Cruiser. I thought this one was the big daddy and the Cruiser was the little cousin but maybe it's the other way around. Comes with original keys:
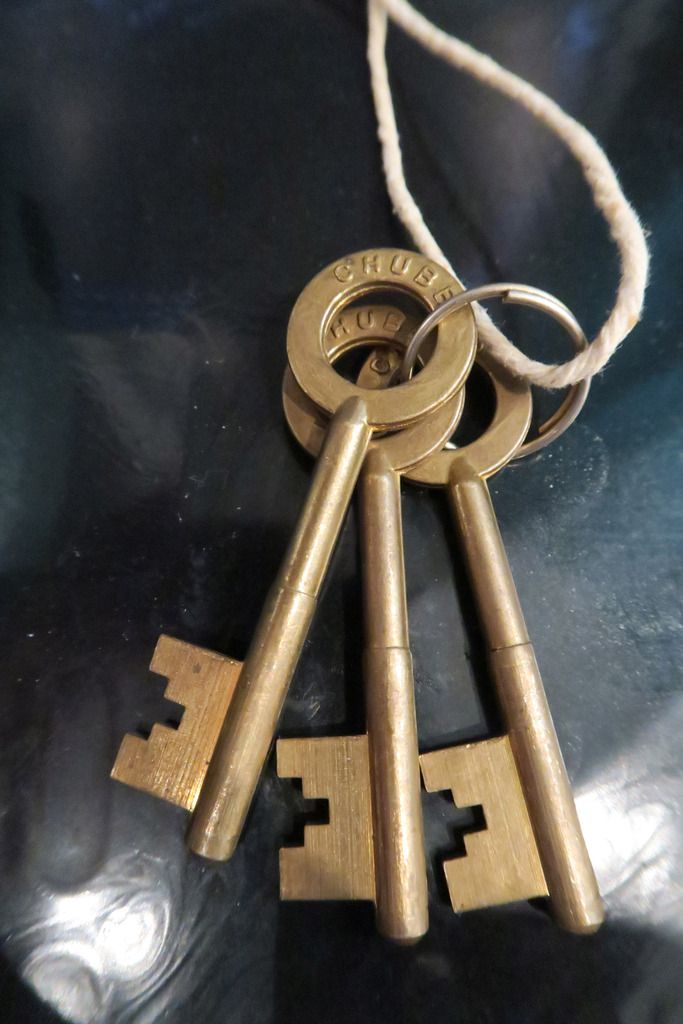
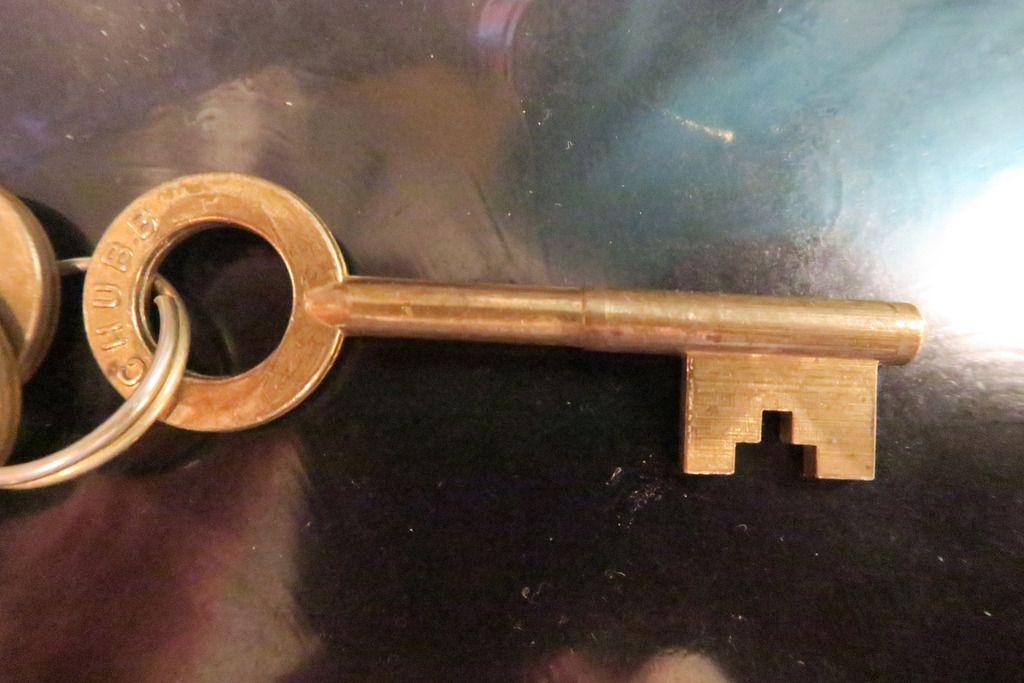
Keys close-up. I like the string too - I'm not sure if it's "original" but it feels rustic, like this padlock
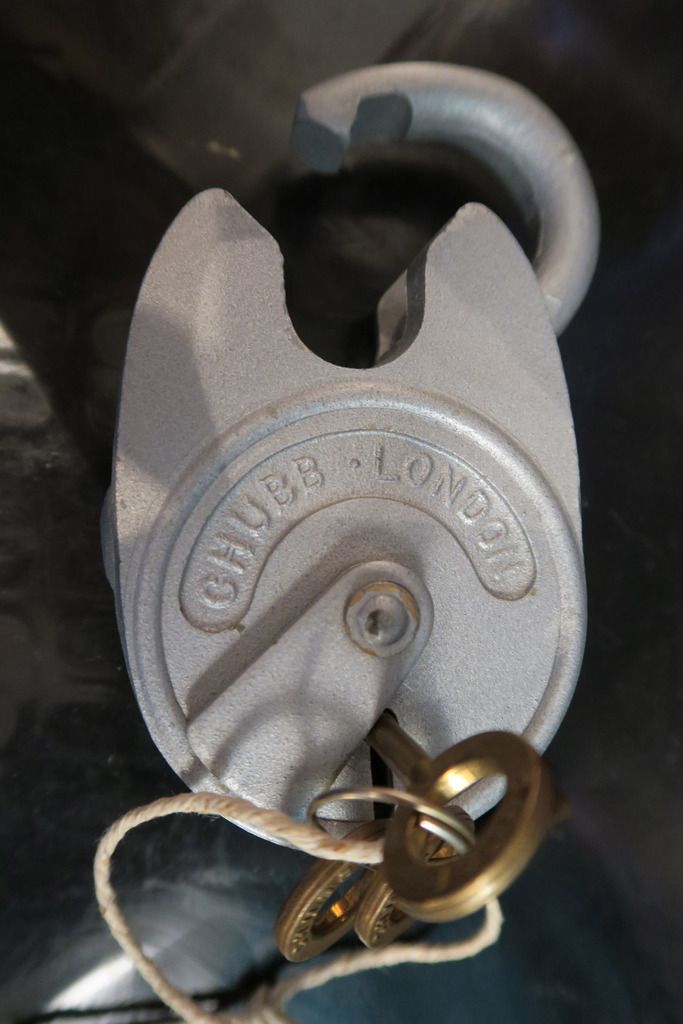
Front of the lock. It has that same textured grey finish as the Cruiser. There are some paint chips on this one - on the edges of the keyway flap and on the lock edges in some places, but it's less than on my Cruiser and very minimal considering the age that this one likely is. Note the "Chubb . London" - that's how you know it's an original. The new ones say Battleship on them - I believe the styling and finish are slightly different, too:
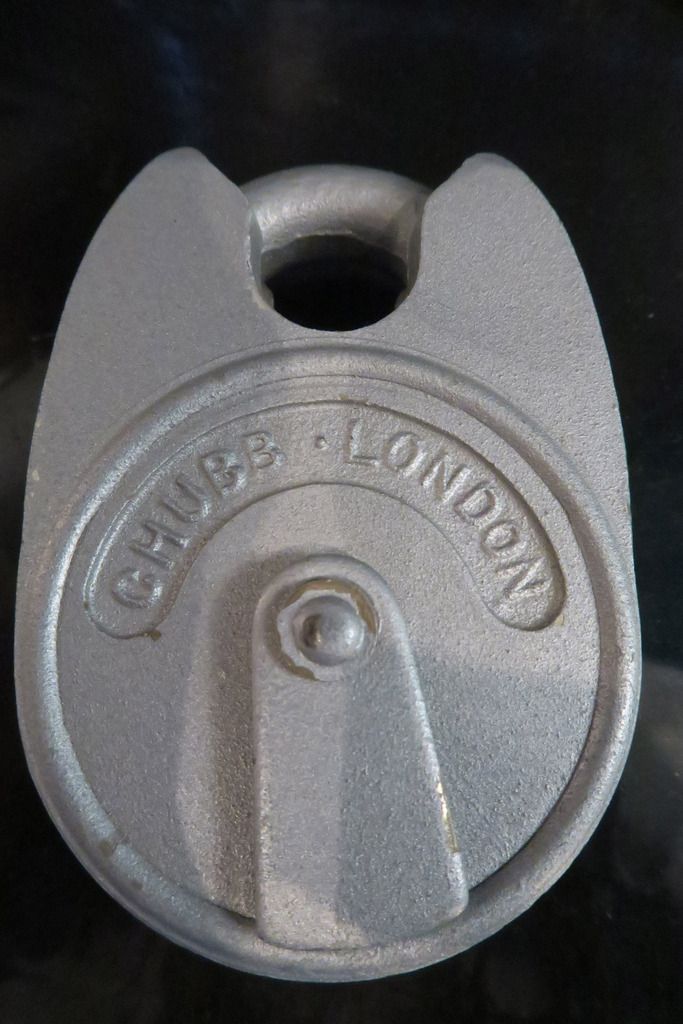
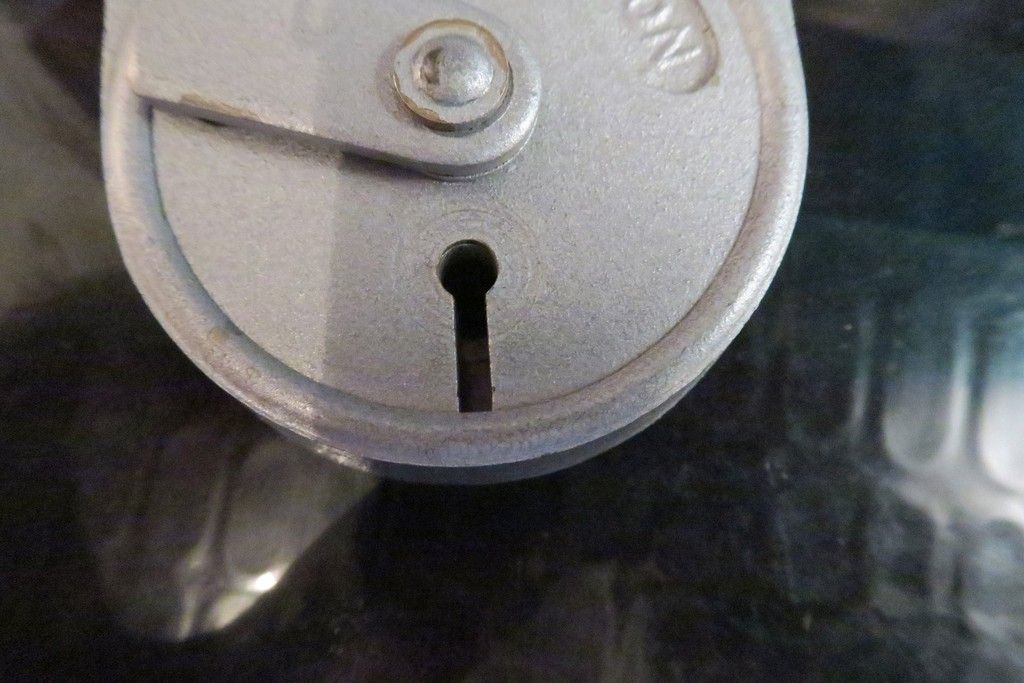
Rotate the flap out of the way to see the keyway. It's thinner and longer than the Cruiser:
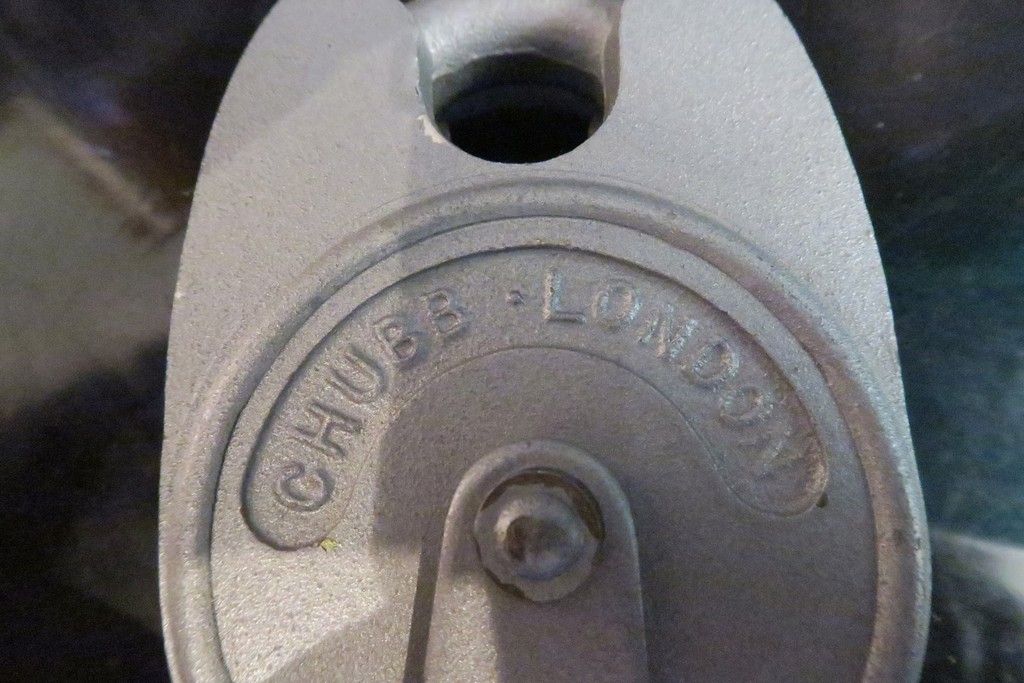
Close-up of the Chubb.London stamp:
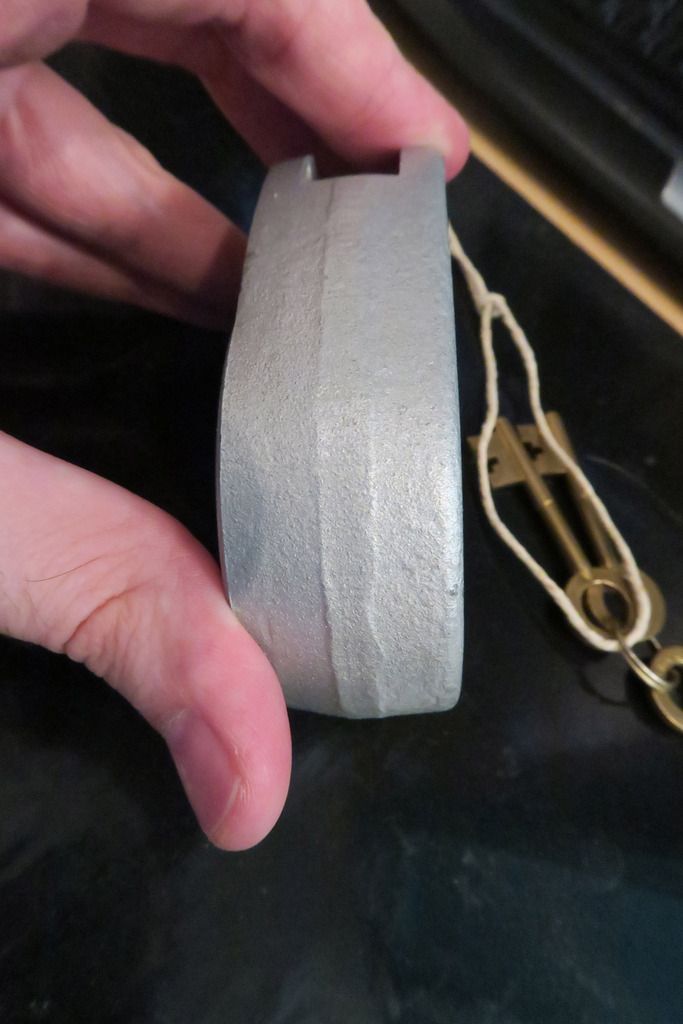
One side of the lock, with a small welded patch. I assume this is something to do with the way the lock is constructed. Like the Cruiser, this lock is a sealed unit and cannot be disassembled, however unlike the Cruiser which is held together with rivets, this one it a seemingly smooth edgeless block with a small seam around the edge - I assume welded together:

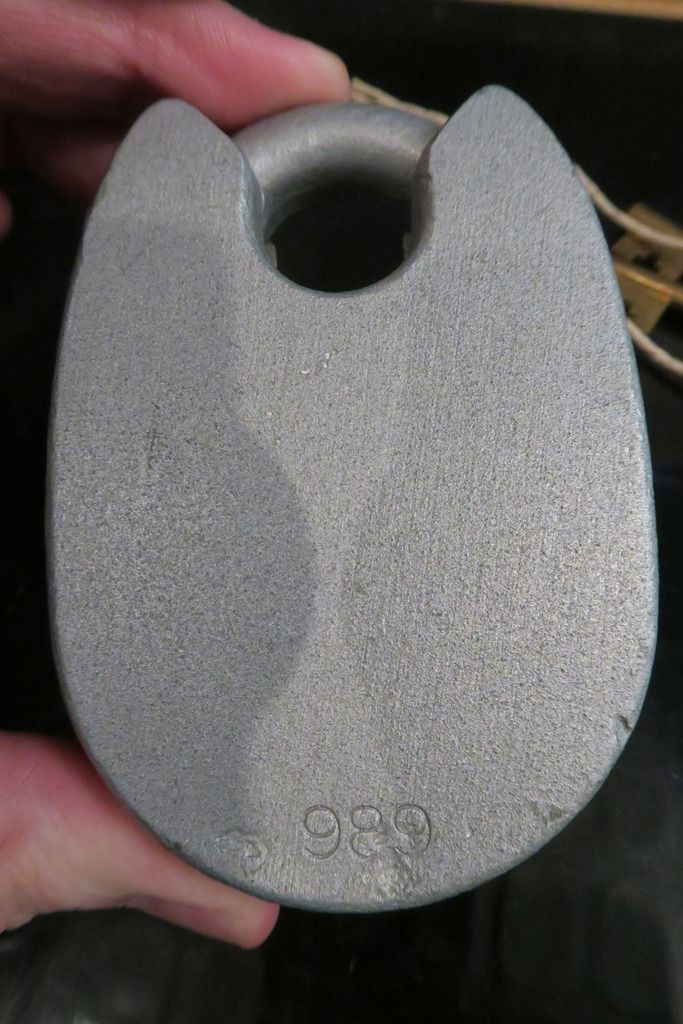
The back, with "989" stamped at the bottom:
Aforementioned "moulding mark" seam around the edges:
The shackle area. Note the high shoulders - it's pretty much a closed shackle lock:
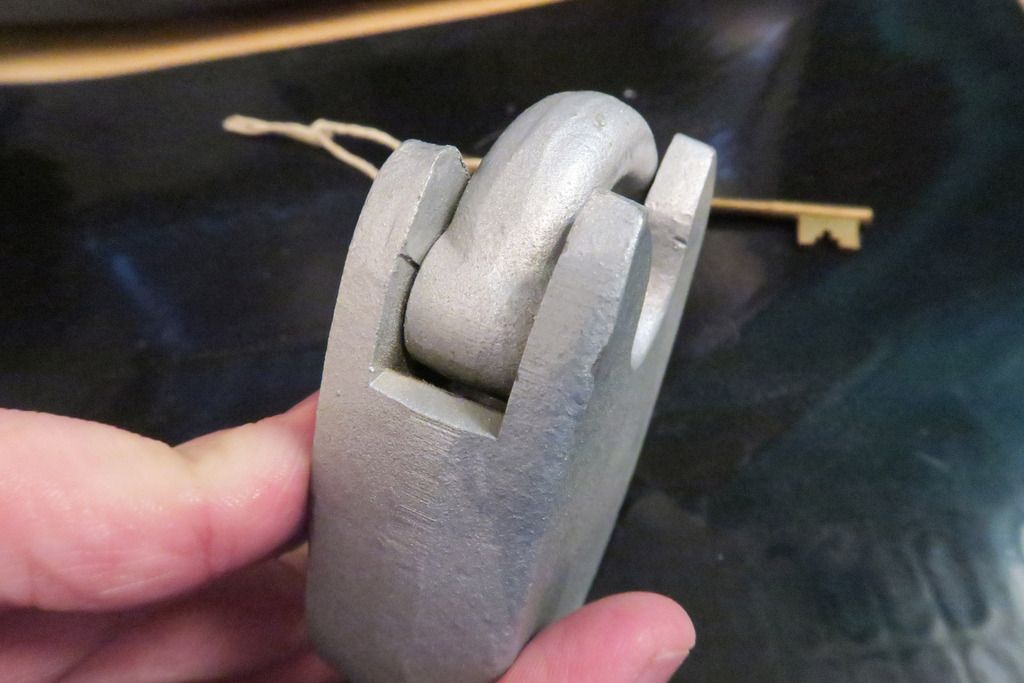
Unlocked. The shackle swings free backwards from the pivot point hinge, same as the Cruiser:
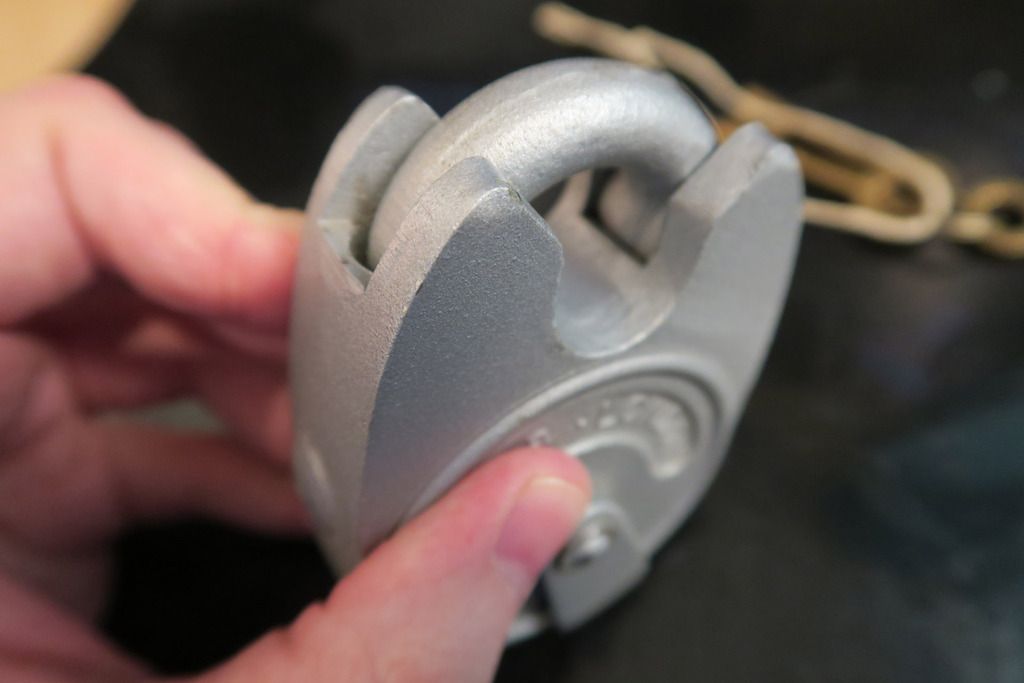
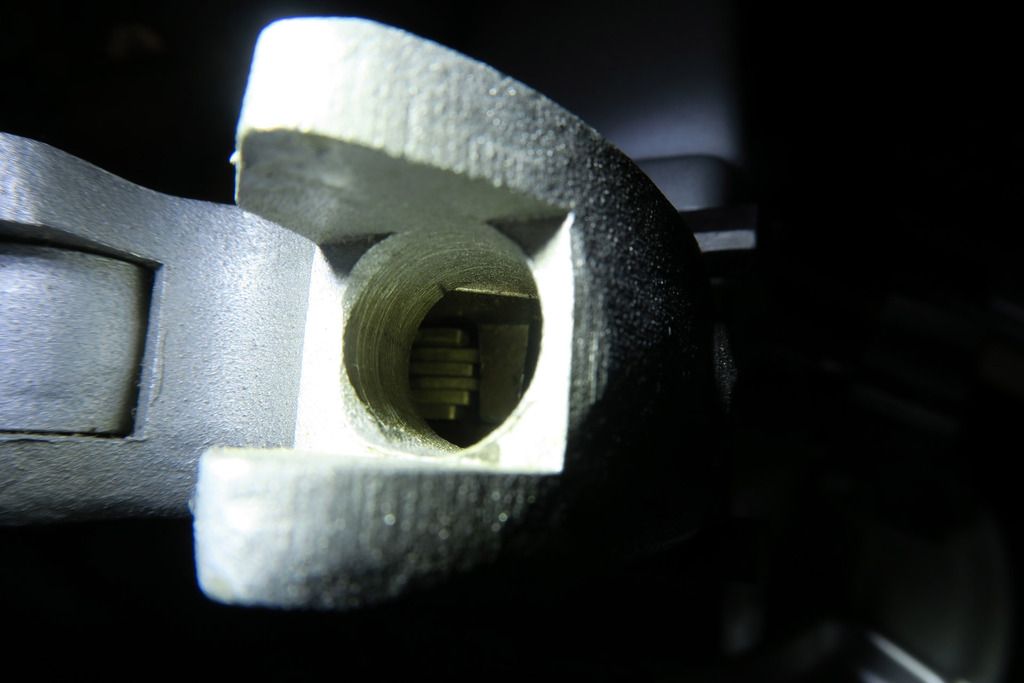
Inside the shackle hole, you can see the locking mechanism...
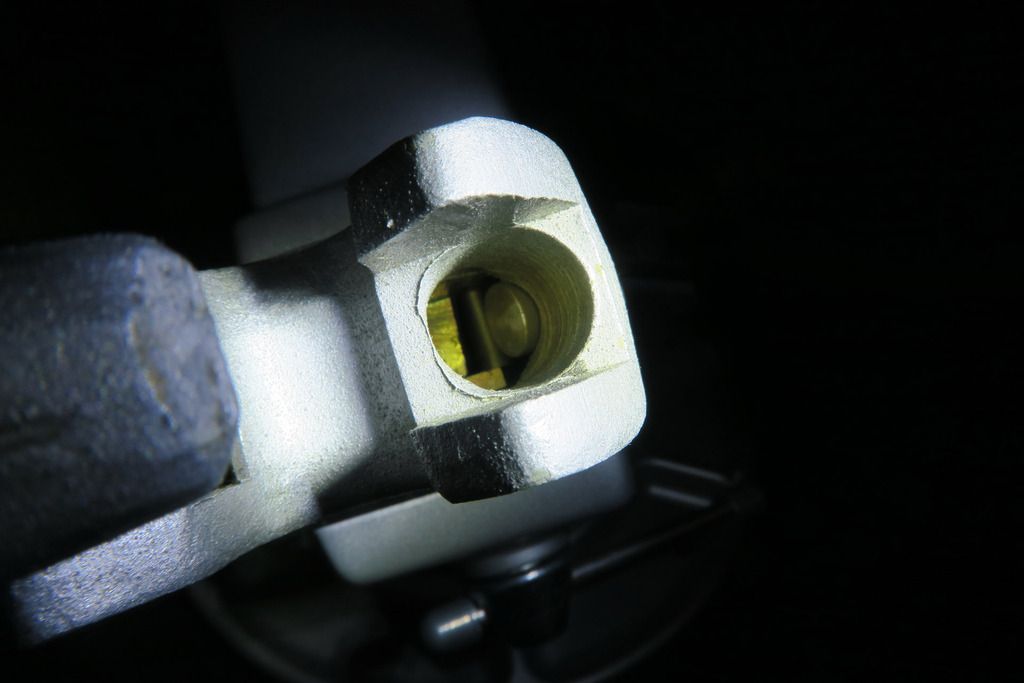
... And edges of some levers:
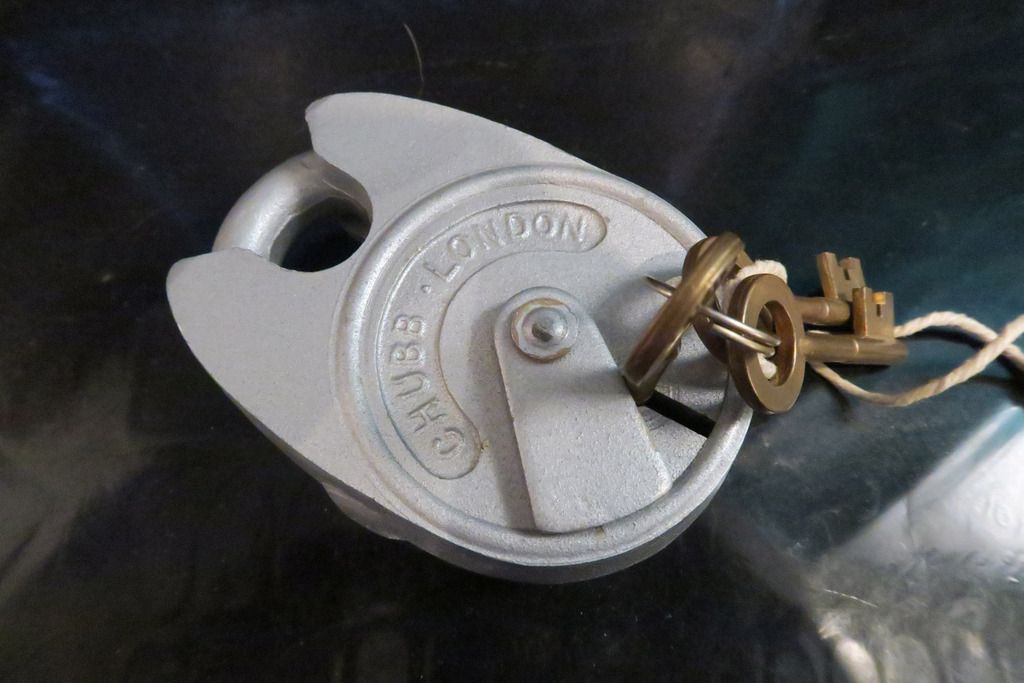
Here she is again, locked and keys in the keyhole. What a beauty:
Finally, a comparison of the Cruiser (on the left) and the Battleship (on the right). They may be from different eras as the logo and wording is different ("Chubb" vs "Chubb.London") but they're both pre-Union. It's not obvious from this photo but the Battleship really -is- quite a lot smaller and lighter than the Cruiser:
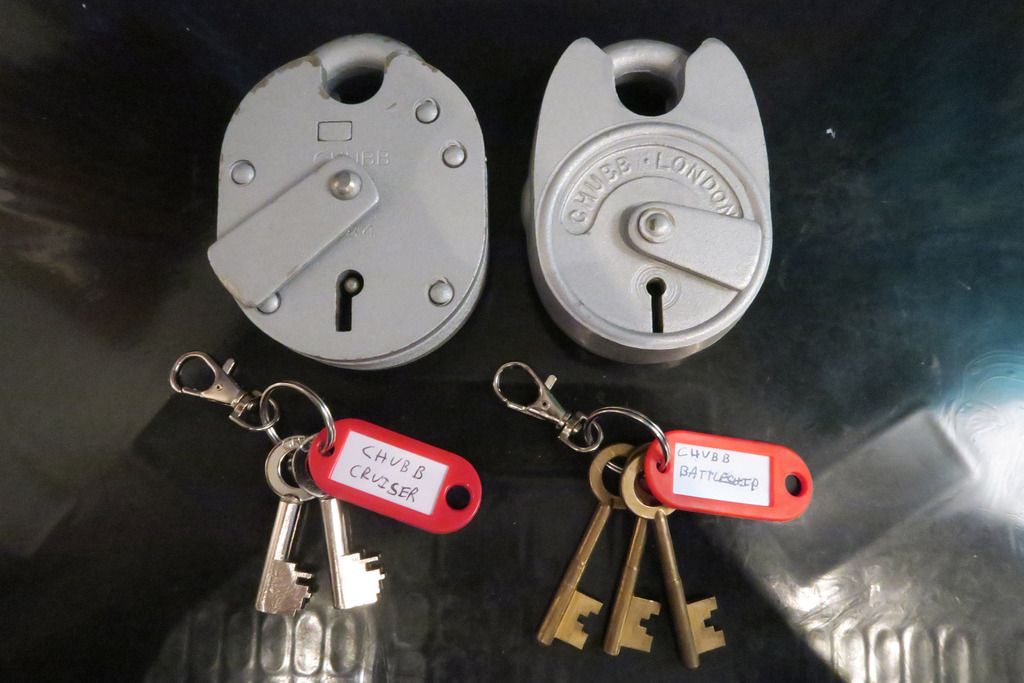
I'm not sure why they went with different construction and key sizes/styles. I'm sure it's something to do with fitting different niches but they're both lever-operated, closed-shackle, heavy duty padlocks.
And with that, this post (and my heavy duty Chubb collection) comes to a close. Thanks for reading!
I've got two small updates today, but they're cool ones!
First up we have something really different, and special IMO. It's a Bicentric, Dual Custody padlock which uses the Abloy Classic style keys (disc detainer) - and not only that, it cost less than £5! If you're so inclined, you can get one Here.
I love Bicentric and Dual custody locks but unfortunately they are either hard to come by, or very expensive. This padlock is certainly an unusual addition to a collection and is a great start to this sort of niche collection goal. It's a bit of a deviation for me, having been focusing mostly on high security locks but definitely a worthwhile one - and a very interesting lock for sure. Let's take a look!

As you can see, three keys are provided per "side". Both sides have an individual cylinder, and locking pole. Both sides must be unlocked in order to release the shackle.
I also like how this thing looks like one of those snap-off ice lollies

Photo of the bottom showing the tell-tale disc detainer cylinders:

Here you can see the number "2" stamped onto the side (you could see the "1" stamp in the last photo, also). The keys are also stamped with 1 and 2 which identifies which key is for which lock.

Shining a light down inside the keyway to see the disks. Sadly these are totally sealed padlocks so a breakdown will not be possible:

It's got a pretty chunky shackle! The whole padlock feels very light though; it might be resistant to manipulation and surreptitious entry with its disc detainer cylinders and dual custody nature but I very much doubt it'll stand up to destructive entry. This lock will certainly suit some very specific purposes but isn't your average tool chest padlock:

On the top of the lock is stamped this "43" logo. I almost thought it was a Wilson-Bohannan logo for a while there!

The two sets of keys. Note that they are stamped with 1 and 2 so you know which set is which:

Here's a key from each set next to each other - as you can see, they have different bitting ensuring that both sets of keys must be present to open the lock:

Once both keys have been turned and the locking poles are clear of the very short shackle hole, the shackle pops out. Note the cuts into the shackle to allow the locking pole in. I feel they could have made it more secure by having just one (or two, to allow the shackle on both ways around) notches in the shackle, but it's probably cheaper this way and this isn't a lock build for destructive security anyway:

Looking down inside the shackle hole:

Locking pole in the "locked" position:

Half unlocked:

With the padlock locked, the shackle will sit on top of the locking poles, like this:

So, yeah! That's the "43" brand bicentric, dual custody padlock in a nutshell. It's a nifty little lock, obviously with some very specific niche use in mind (it's not high security by any means and could be cut through easily, but by using disc detainers and making it dual custody it'd be very hard to sneak into. Maybe good as a church donations box lock where there must be two people present to count the cash, or for a couple's savings box, or something).
Right then, moving on!
Okay, so I've been looking for one of these for a while now, ever since I got its brother, but I've been unable to find an "original", only the new version. What am I talking about?

With its original blue Chubb packaging, no less! Whilst Chubb Cruisers weren't especially easy to find, and original (pre-union/Assa ones) even less so, Battleships are a mysterious gem indeed, with only the lightest smattering of them available for sale around the web, and all of those were the new style. Basically, Assa/Union bought over Chubb, and also the Cruiser and Battleship are still being made, they are now stamped with the lock name (Cruiser or Battleship), and come in the new Union red and white packaging. Are they still built to the same standard? No idea, probably. But I have fond memories of Chubb from a long time ago and wanted to collect the originals, so when I saw this one pop up on eBay I just *had* to grab it. Let's have a look around the packaging first - in the pic above you can see that it's a little shop-worn.
Box side:

Box end:

Other box side:

Other end, with the product number:

The back is the only letdown, with this shop graffiti (for the record, I paid quite a bit less then that, which is cool):

Here's the lock out of its packaging. I didn't realise as there is often not much sense of scale for this lock (usually being on a desk or photoshopped into a white background) but it's actually quite a bit smaller than the Cruiser. I thought this one was the big daddy and the Cruiser was the little cousin but maybe it's the other way around. Comes with original keys:

Keys close-up. I like the string too - I'm not sure if it's "original" but it feels rustic, like this padlock


Front of the lock. It has that same textured grey finish as the Cruiser. There are some paint chips on this one - on the edges of the keyway flap and on the lock edges in some places, but it's less than on my Cruiser and very minimal considering the age that this one likely is. Note the "Chubb . London" - that's how you know it's an original. The new ones say Battleship on them - I believe the styling and finish are slightly different, too:

Rotate the flap out of the way to see the keyway. It's thinner and longer than the Cruiser:

Close-up of the Chubb.London stamp:

One side of the lock, with a small welded patch. I assume this is something to do with the way the lock is constructed. Like the Cruiser, this lock is a sealed unit and cannot be disassembled, however unlike the Cruiser which is held together with rivets, this one it a seemingly smooth edgeless block with a small seam around the edge - I assume welded together:

The back, with "989" stamped at the bottom:

Aforementioned "moulding mark" seam around the edges:

The shackle area. Note the high shoulders - it's pretty much a closed shackle lock:


Unlocked. The shackle swings free backwards from the pivot point hinge, same as the Cruiser:

Inside the shackle hole, you can see the locking mechanism...

... And edges of some levers:

Here she is again, locked and keys in the keyhole. What a beauty:

Finally, a comparison of the Cruiser (on the left) and the Battleship (on the right). They may be from different eras as the logo and wording is different ("Chubb" vs "Chubb.London") but they're both pre-Union. It's not obvious from this photo but the Battleship really -is- quite a lot smaller and lighter than the Cruiser:

I'm not sure why they went with different construction and key sizes/styles. I'm sure it's something to do with fitting different niches but they're both lever-operated, closed-shackle, heavy duty padlocks.
And with that, this post (and my heavy duty Chubb collection) comes to a close. Thanks for reading!