FAQ  •  Register  •  Login
UKLockpickers.co.uk Lockpicking supplies such as Lockpicks, tools, and more! COMMANDOLOCK.COM Military grade padlock systems lockpickshop.com A source for lockpicking supplies such as lockpicks, locksmith tools, and more!

Homebrew Key for M.O.W. Padlock
<<

GWiens2001

User avatar

Lock-Goblin-Gordon
Lock-Goblin-Gordon

Posts: 3795

Joined: Thu Oct 25, 2012 9:05 pm

Location: Arizona, United States

Post Mon Jul 01, 2013 12:21 pm

Homebrew Key for M.O.W. Padlock

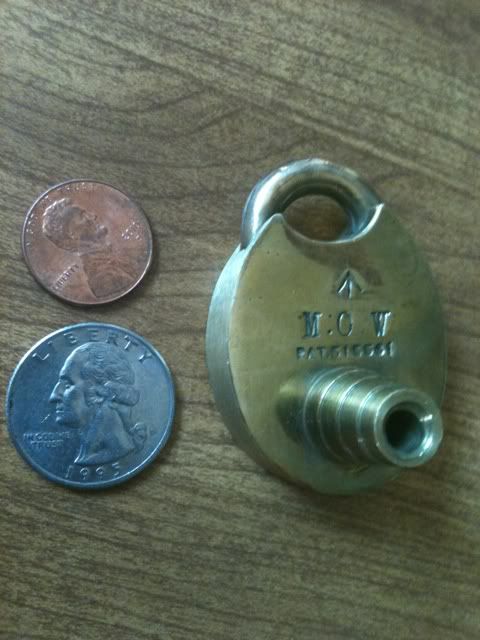
Making a key for my Ministry Of Works (M.O.W.) lock. It took a bit of figuring out, but it works!

Image

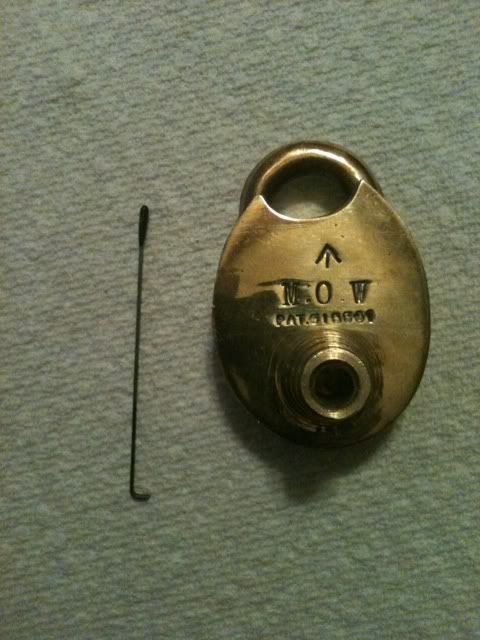
First, made a high tech measuring tool from a bobby pin.
Image

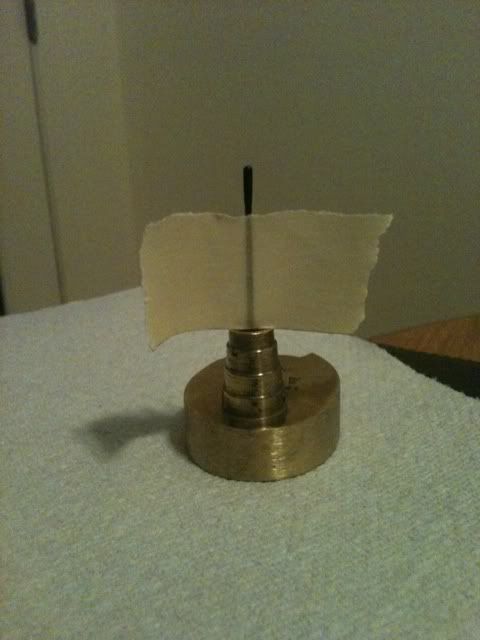
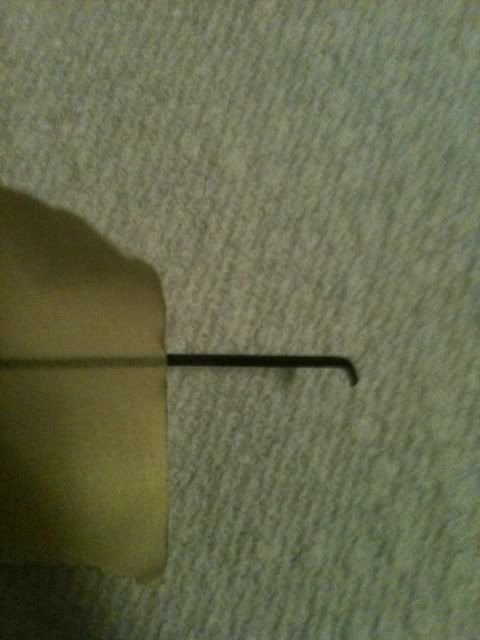
Slide the hook end down into the keyway. The measurements needed are the full depth of the keyway, the top and bottom of the slot at 9 o'clock and at 6 o'clock. When the hook gets to those measurement points, use tape level with the top of the keyway to mark the measurement.
Image

Image

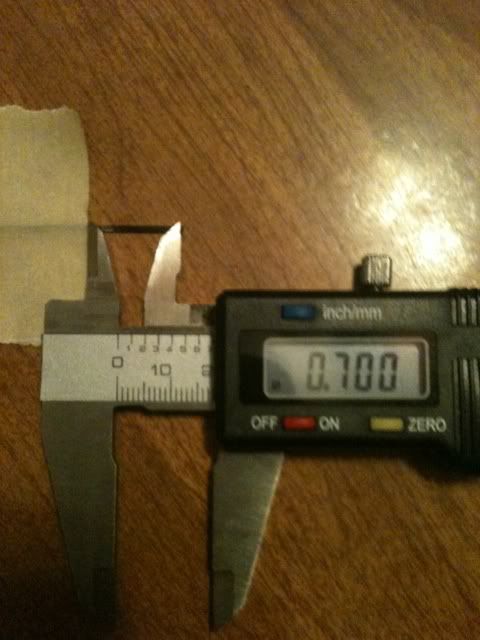
Then use a micrometer to measure it. If measuring the top of the groove, measure to the inside of the angle of the hook. If measuring to the bottom of the keyway or bottom of the groove, measure to the outside end of the hook.
Image

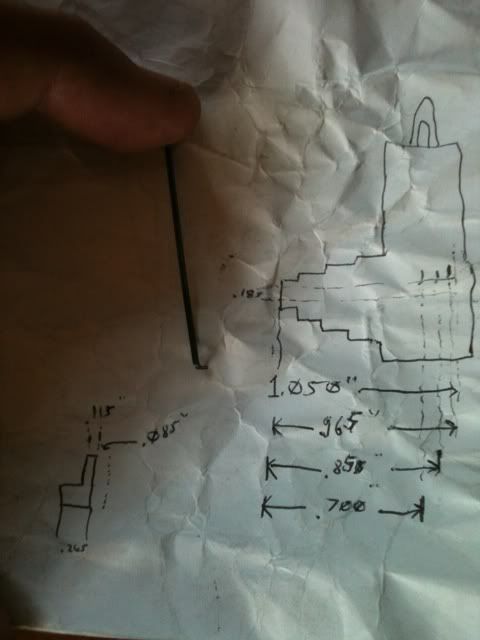
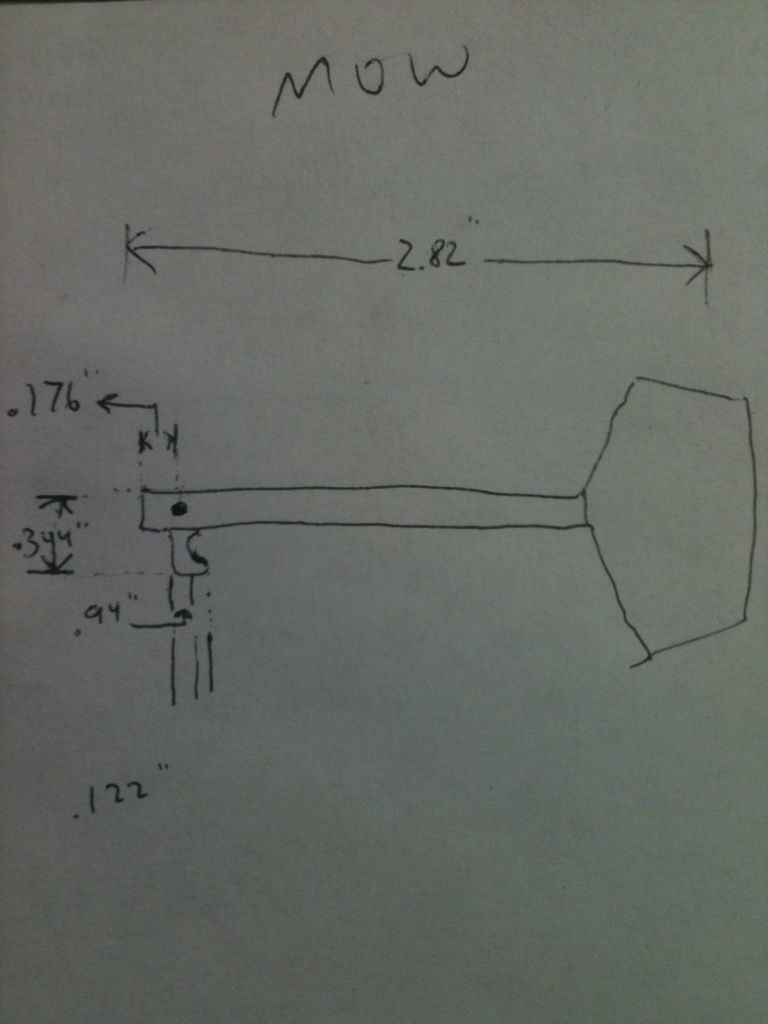
These are the measurements...

Image

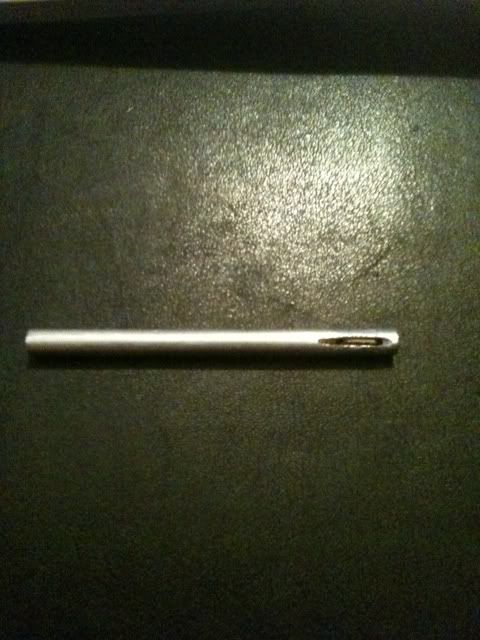
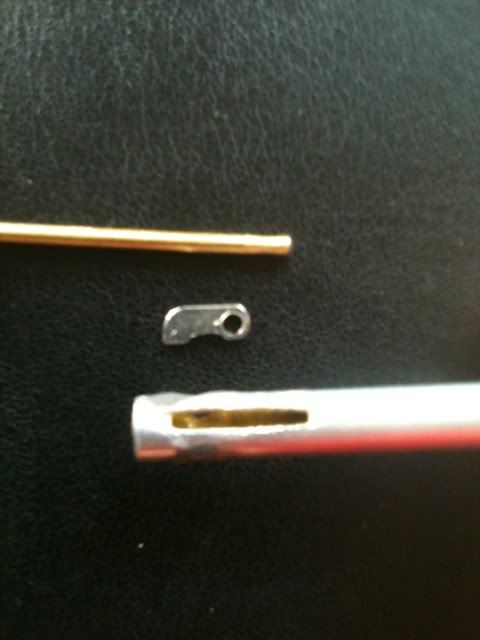
These are the primary components of the key. The shaft of the key is made of aluminum because that is the widest diameter tubing I had in my collection. And the inside of the shaft is brass tubing, because it needed to be stronger. Used epoxy to hold the inner and outer tubing together. The movable part of the key is made from windshield wiper spring. Drilled it with a diamond bit dremel bit to slightly over 1/16". The pivot pin is brass. Drill holes through the tubing for the pivot pin. Cut the slot in the tubing with a dremel tool, clean up the edges with a needle file.
Image

Trial fit the parts, and make sure that the movable part swivels completely freely. If it binds up inside the lock, you are screwed! So be sure it moves freely. When it moves freely, epoxy the pivot pin in place.

Do not hammer the pivot pin with a small hammer like a rivet - it will bend, and you will have to drill it out and make another pivot pin. This is experience speaking. :oops:

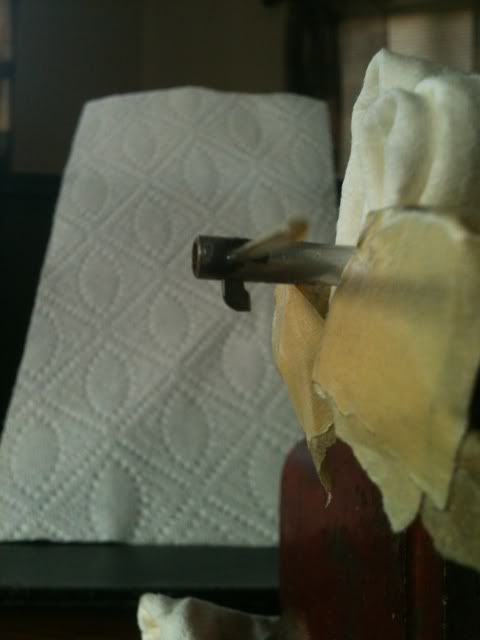
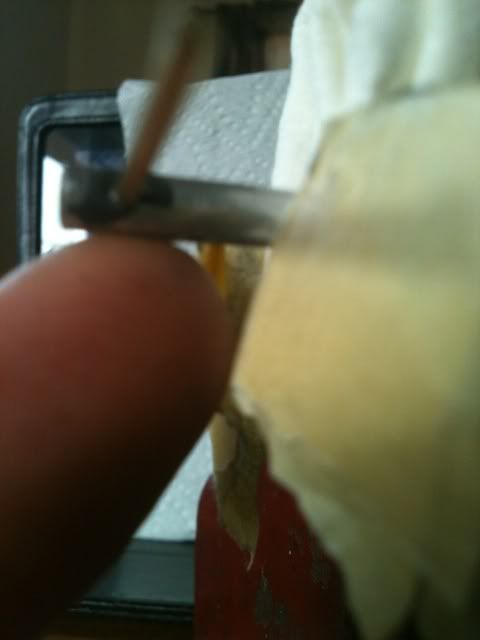
Before the epoxy dries, again make sure the moving part moves freely. This key moving element is gravity operated. Did not think it would work, but the patent drawings don't lie. So make sure it pivots easily.
Image

Image

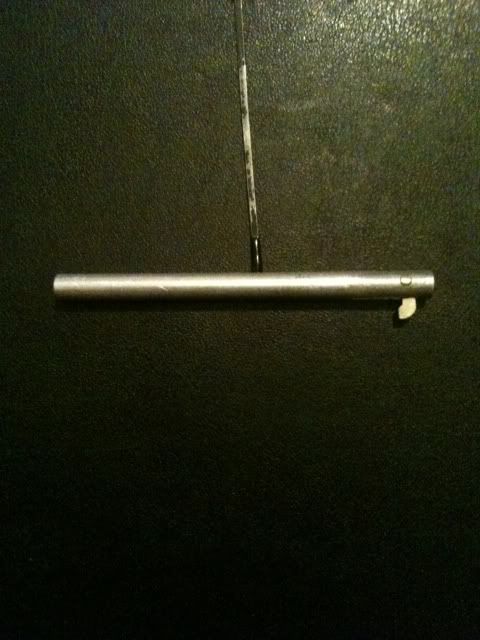
Once the epoxy (I used JB Weld) was dried and hardened, used a dremel with a cutoff wheel to cut the pivot pin off on both sides. Then used a needle file to clean up the sides. Then it should look like this...
Image

With the moving element inside the tubing... (fgarci03, get your mind out of the gutter!)
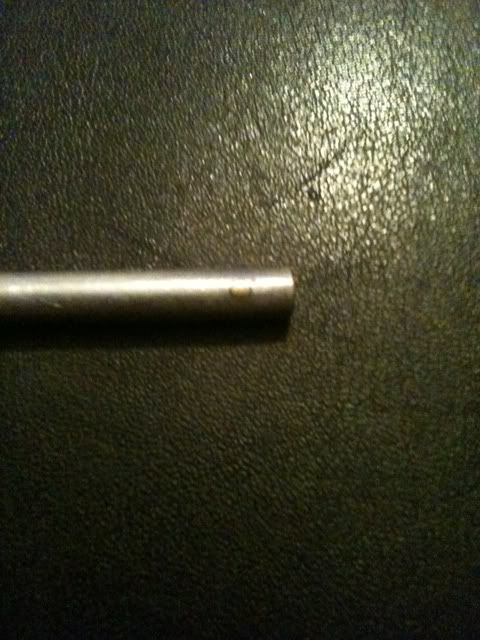
Image

Image

Sizing some aluminum stock for a bow.
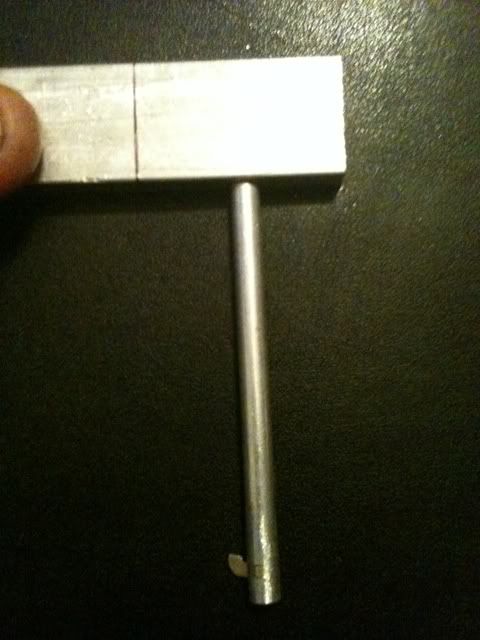
Image

And marking for drilling to insert the key into the bow.
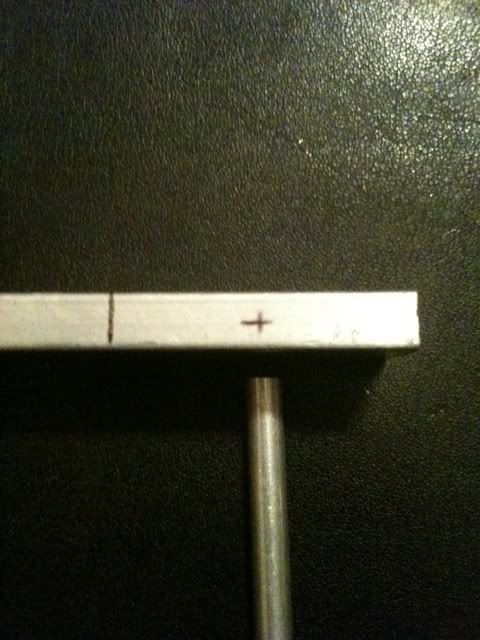
Image

Drilled the hole - 1/16" for a pilot hole, then worked up to 3/16".
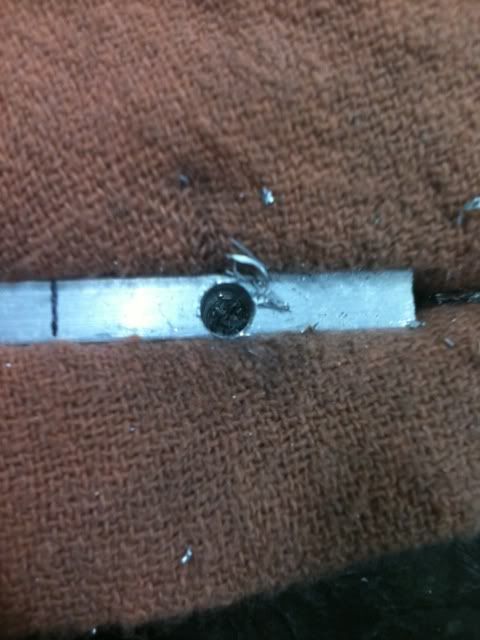
Image

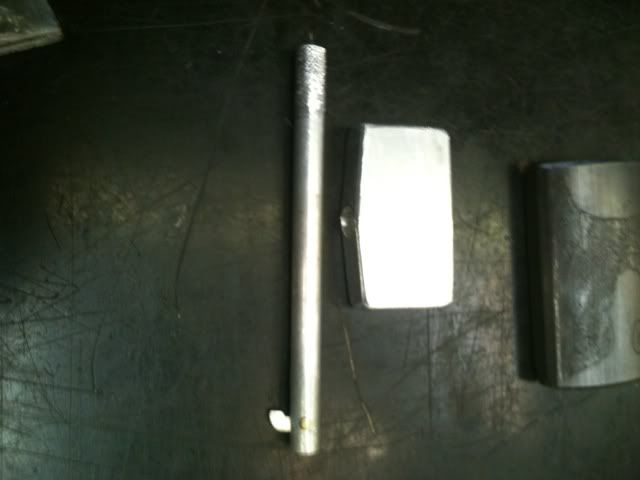
Shaped the bow, rounded the edges. Roughened the sides of the key shaft where it will be glued into the bow.
Image

Used JB Weld epoxy to bond the bow to the shaft. Let it set overnight to cure the epoxy fully.

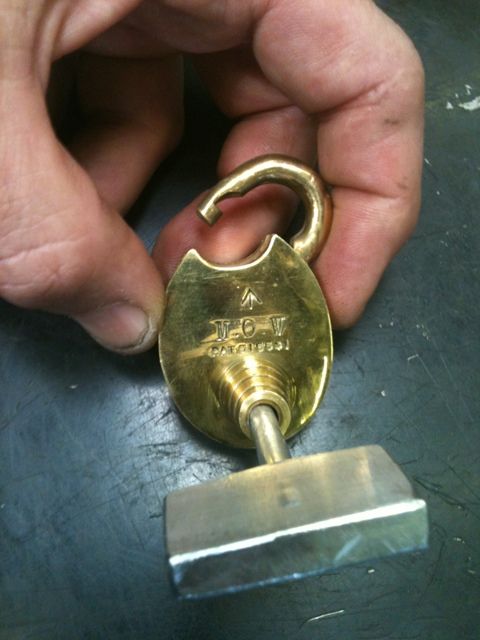
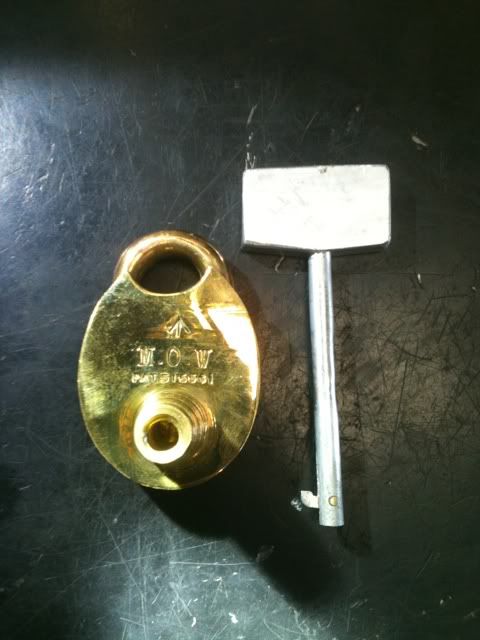
The resulting key and lock!
Image

Gordon
Just when you think you've learned it all, that is when you find you haven't learned anything yet.
<<

fgarci03

Contributor
Contributor

Posts: 439

Joined: Tue Mar 26, 2013 5:51 pm

Location: Porto/Portugal

Post Mon Jul 01, 2013 12:34 pm

Re: Homebrew Key for M.O.W. Padlock

Gordon, that is amazing!

The key looks so good.
GWiens2001 wrote:This key moving element is gravity operated.

So if you use the padlock upside down, you can't open it? Interesting!´

What kind of lock is it?

Thanks so much for sharing!
Go ahead, keep plugging away, picking on me! You will end up on bypass or with rigor mortise.
- GWiens2001
<<

Oldfast

User avatar

OldddffAASSTT the Spin Master Extraordinaire and American Lock Slayer

Posts: 4412

Joined: Thu Mar 31, 2011 9:16 am

Location: Michigan

Post Mon Jul 01, 2013 12:35 pm

Re: Homebrew Key for M.O.W. Padlock

DAAAAAMN Gordon! Ingenuity at its' best. Beautiful work man... really.
You're truly becoming quite the accomplished craftsman/keymaker.
Admitedly, that is an endevour I would not have jumped into, lol.
Thanks so much for sharing the process with us. I always enjoy.

GWiens2001 wrote:.... and make sure that the movable part swivels completely freely. If it binds up inside the lock, you are screwed!
Ah, ok. I wondered about that. lol
" Enjoy the journey AS MUCH as the destination."
<<

MBI

User avatar

Site Owner

Posts: 1545

Joined: Thu Apr 03, 2008 9:25 pm

Location: Utah, USA

Post Mon Jul 01, 2013 1:23 pm

Re: Homebrew Key for M.O.W. Padlock

Excellent!

In the past I've read a couple attempts to make a smoothly working keys for these locks, but yours is the only one I can recall at the moment that I have read about which was both successful and well documented.
<<

GWiens2001

User avatar

Lock-Goblin-Gordon
Lock-Goblin-Gordon

Posts: 3795

Joined: Thu Oct 25, 2012 9:05 pm

Location: Arizona, United States

Post Mon Jul 01, 2013 2:42 pm

Re: Homebrew Key for M.O.W. Padlock

Awww, thanks guys! :oops: Now I'm blushing.

Since I have not seen a working key, decided to document it from the start, and as the project progressed. Will post specific tubing sizes and the measurements of the moving part of the key, as well as the location of the pivot pin location when I get home.

To answer a couple of questions you guys asked, it is a single lever lock.

And yes, if the lock is upside down, the moving part will not be able to fall out of the tubing, so the key will not work. Tried to design a special key, but I could not see a way to make it work without a high risk of having the key fail. If you spring load the moving part to automatically open, then use fine guitar wire folded in half and fed back through the key shaft and through the bow, you could theoretically pull the wire to collapse the moving element. But when drawing it out, could not figure a way to keep the wire from coming too far back, which would have the moving part spring back open and no way to close it. Key stuck in lock was not a goal of mine.

Tried the opposite, seeing if I could make a kind of push rod that would open the moving element, but the moving part closes so far into the tube, it just did not work.

Finally just decided to trust the patent drawings, and they worked.

Gordon
Just when you think you've learned it all, that is when you find you haven't learned anything yet.
<<

GWiens2001

User avatar

Lock-Goblin-Gordon
Lock-Goblin-Gordon

Posts: 3795

Joined: Thu Oct 25, 2012 9:05 pm

Location: Arizona, United States

Post Mon Jul 01, 2013 3:46 pm

Re: Homebrew Key for M.O.W. Padlock

Better post this picture, too!

Image

Gordon
Just when you think you've learned it all, that is when you find you haven't learned anything yet.
<<

MrWizard

User avatar

Contributor
Contributor

Posts: 366

Joined: Sun Jan 27, 2013 11:27 am

Location: Arizona U.S.A. Planet Earth

Post Mon Jul 01, 2013 6:18 pm

Re: Homebrew Key for M.O.W. Padlock

Excellent job looks great. I was wondering what would make the moving part come out of the tube after it is inserted all the way so it is just gravity that is truly a strange design. I'll have to get one of these now :)

If it was made from on a solid rod and slotted in theory a tiny set screw with Loctite could be used to hold the moving part.
Something to think about anyway.

Great job very cool.

Richard
"Those who believe in telekinetics, raise my hand."
Kurt Vonnegut
<<

GWiens2001

User avatar

Lock-Goblin-Gordon
Lock-Goblin-Gordon

Posts: 3795

Joined: Thu Oct 25, 2012 9:05 pm

Location: Arizona, United States

Post Mon Jul 01, 2013 6:36 pm

Re: Homebrew Key for M.O.W. Padlockwp

MrWizard wrote:If it was made from on a solid rod and slotted in theory a tiny set screw with Loctite could be used to hold the moving part.
Something to think about anyway.


Nowww you tell me! :lol: I should have come up to visit you so we could have brainstormed together on this. Then again, I like the challenge of figuring out something like this.

Might have tried that myself if I had not thought that something else was needed to move inside the key shaft. But a roll pin might be a better idea. The 1/16" hole in the wiper insert barely fits, and it might be difficult finding that small a screw, as well as making it not bind the moving arm.

Gordon

Gordon
Just when you think you've learned it all, that is when you find you haven't learned anything yet.
<<

MrWizard

User avatar

Contributor
Contributor

Posts: 366

Joined: Sun Jan 27, 2013 11:27 am

Location: Arizona U.S.A. Planet Earth

Post Mon Jul 01, 2013 8:42 pm

Re: Homebrew Key for M.O.W. Padlock

Roll pin would work way faster and easier yes indeed.
I just seem to have a thing for threads and screws. LOL

Set Screw Size
#0 1/16

Dia Max.
0.033

Dia Min.
0.027

Thread size
4-40????

Better check that against set screw specs when purchased.

:mrgreen:


Richard

Richard
"Those who believe in telekinetics, raise my hand."
Kurt Vonnegut
<<

GWiens2001

User avatar

Lock-Goblin-Gordon
Lock-Goblin-Gordon

Posts: 3795

Joined: Thu Oct 25, 2012 9:05 pm

Location: Arizona, United States

Post Mon Jul 01, 2013 11:29 pm

Re: Homebrew Key for M.O.W. Padlock

Per request, here are the materials used in making this key:

Key Bow
* 3/4"x1/4" (19,07mm x 6,37mm) Aluminum bar stock
* Cut to length and desired shape

Key Shaft
* Outer 3/16" (4,76mm) Aluminum tubing
* Inner 5/32" (3,92mm) Brass tubing

Pivot Pin
* 1/16" (1,57mm) Brass rod

Moving Arm
* .125" x .032" (3,16mm x 0,76mm) Spring Steel (wiper insert)


Clear Epoxy
* Bonding Inner and Outer Key Shafts

JB Weld (Metal Epoxy)
* Bonding Pivot Pin ends into Key Shaft
* Bonding Key Bow onto Key Shaft
* Filling keyways to prevent damage to pins while shipping to ARF-GEF


As MrWizard pointed out, now that we know that there are no moving parts in the key aside from that arm, if I were to make one of these again, it would be easier to make the key shaft from solid 3/16" (4,76mm) brass stock, and dremel out a groove long enough for the moving arm to fit.

Gordon
Just when you think you've learned it all, that is when you find you haven't learned anything yet.
<<

MrWizard

User avatar

Contributor
Contributor

Posts: 366

Joined: Sun Jan 27, 2013 11:27 am

Location: Arizona U.S.A. Planet Earth

Post Tue Jul 02, 2013 6:19 am

Re: Homebrew Key for M.O.W. Padlock

Don't know if anyone has seen this M.O.W Padlock video but it shows how to push the lever back from the shackle opening and shows the lock taken apart to see the inside works. This will make it even easier for others to see how to make the key work.

Looks like there is a lot of room for error and still get it to work but the moving part on the key needs to be strong as the spring appears very strong.

http://www.youtube.com/watch?v=JAkQxraNQ8I

Richard
"Those who believe in telekinetics, raise my hand."
Kurt Vonnegut
<<

selim

User avatar

Diabolical Pinning Master & Lock Philanthropist

Posts: 410

Joined: Tue Jun 10, 2008 6:31 pm

Location: Maine

Post Tue Jul 02, 2013 6:16 pm

Re: Homebrew Key for M.O.W. Padlock

That is wicked cool GW,

Glad you took the time, and effort tp post it.
<<

GWiens2001

User avatar

Lock-Goblin-Gordon
Lock-Goblin-Gordon

Posts: 3795

Joined: Thu Oct 25, 2012 9:05 pm

Location: Arizona, United States

Post Sat Nov 23, 2013 9:49 pm

Re: Homebrew Key for M.O.W. Padlock

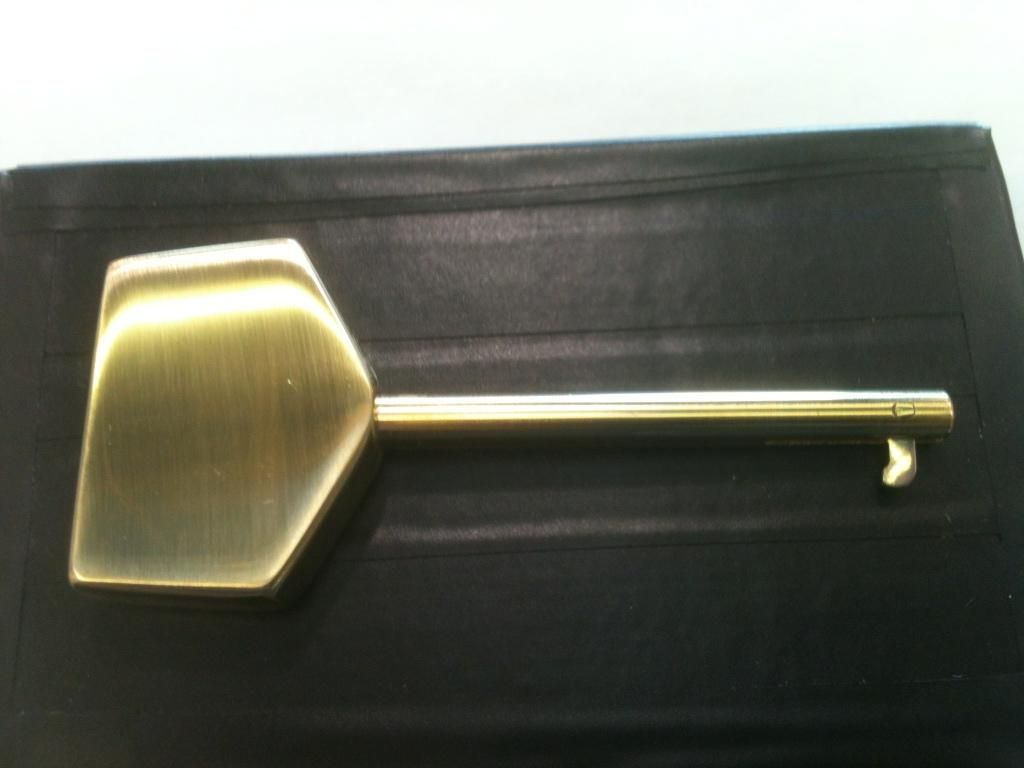
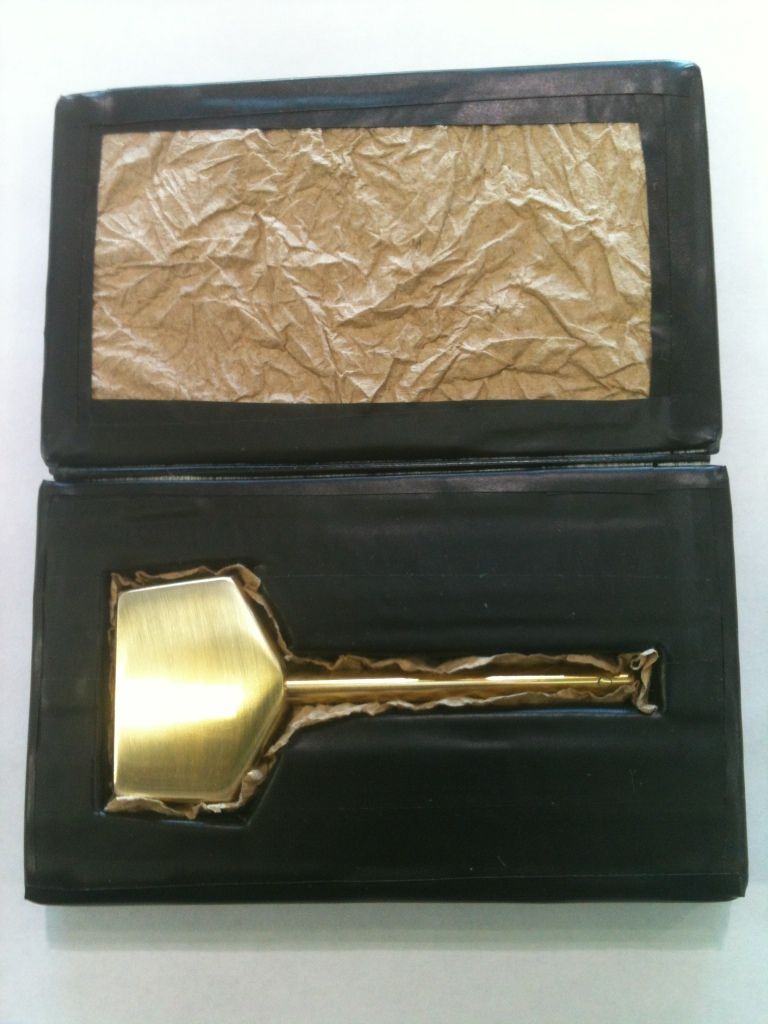
Updated MOW padlock key.

Have finished trying various things and finally come up with a 'final version' of key for the Ministry Of Works padlock.

Image

The first key I made for this thread - an aluminum, steel and brass key used tubes and whatnot due to my trying out various ideas to make a key. Now that I understand how the key is supposed to work, the final key is much simpler.

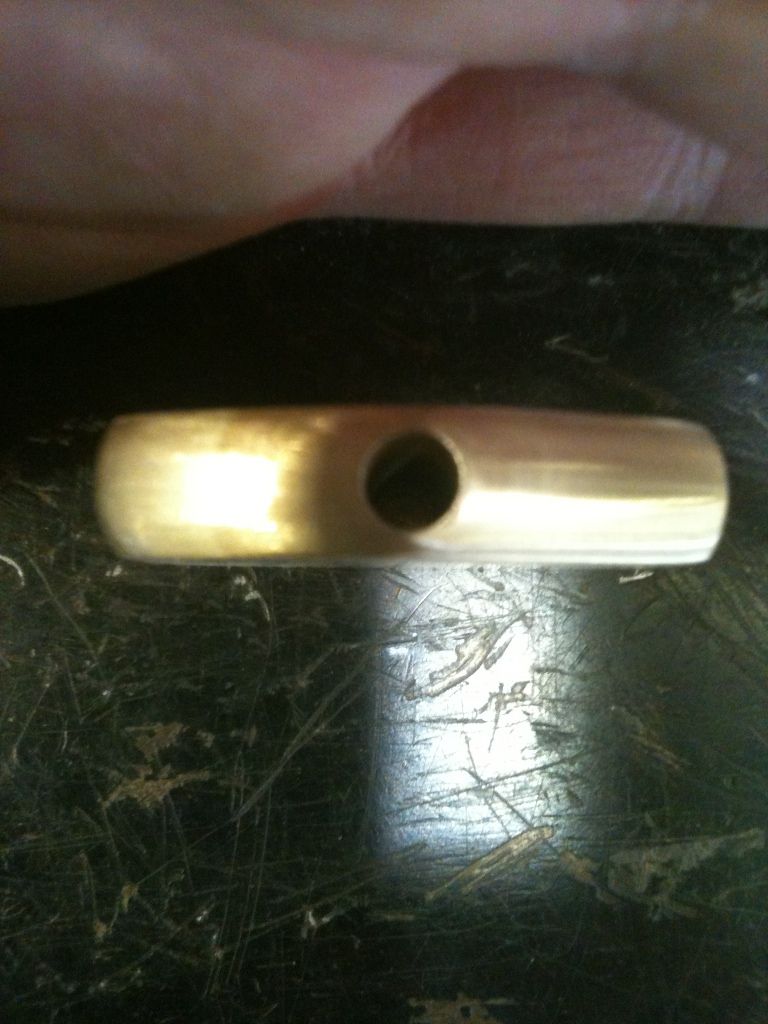
The shaft of the key is 3/16" (about 4,5mm) diameter solid brass stock. The key bow is made from 5/16"x1" (8x26mm) rectangular solid brass stock. The pivot pin is 1/16" (1,5mm) diameter brass rod and the flag is a wiper insert.

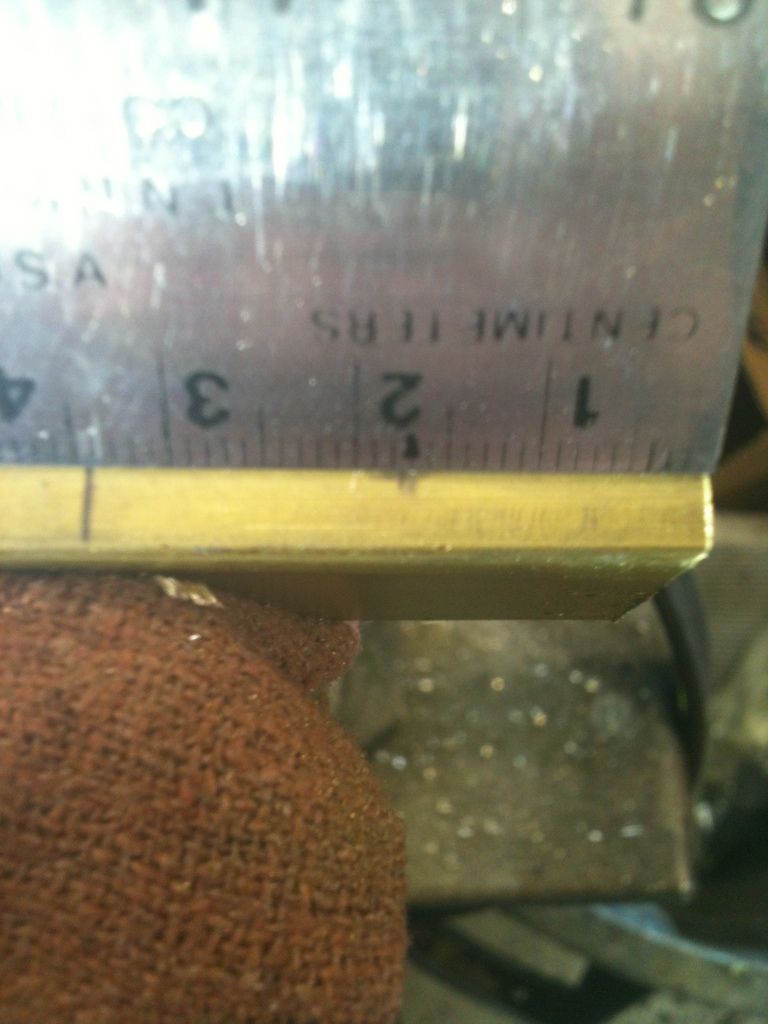
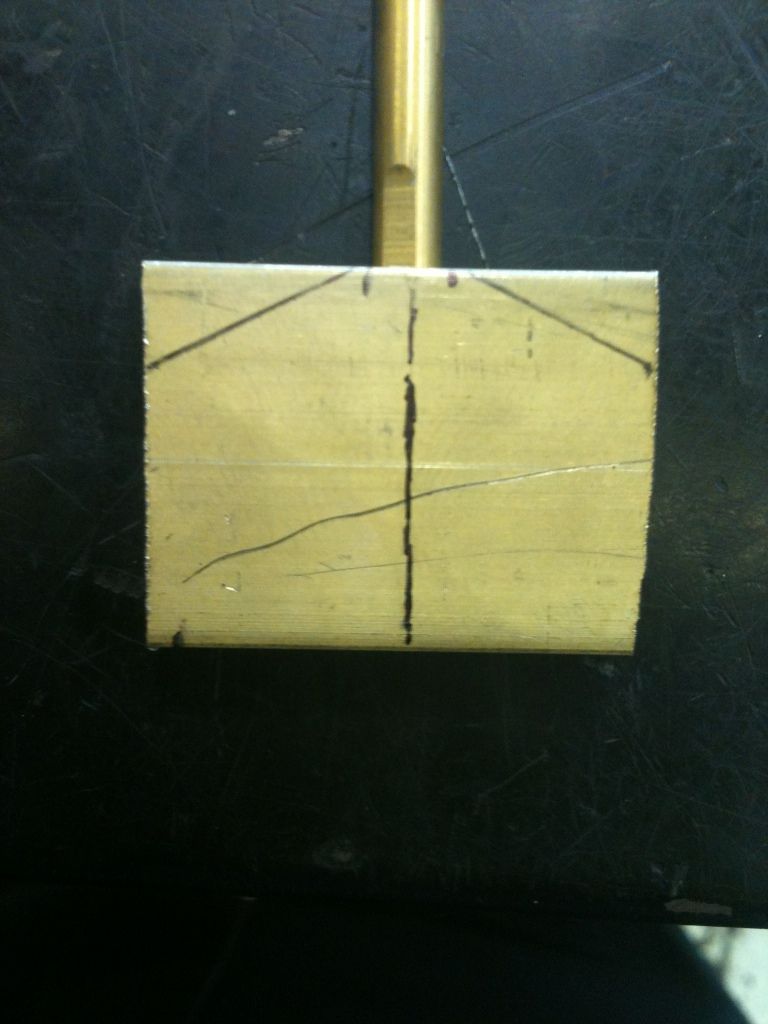
First measure for the location of the hole in the key bow.

Image

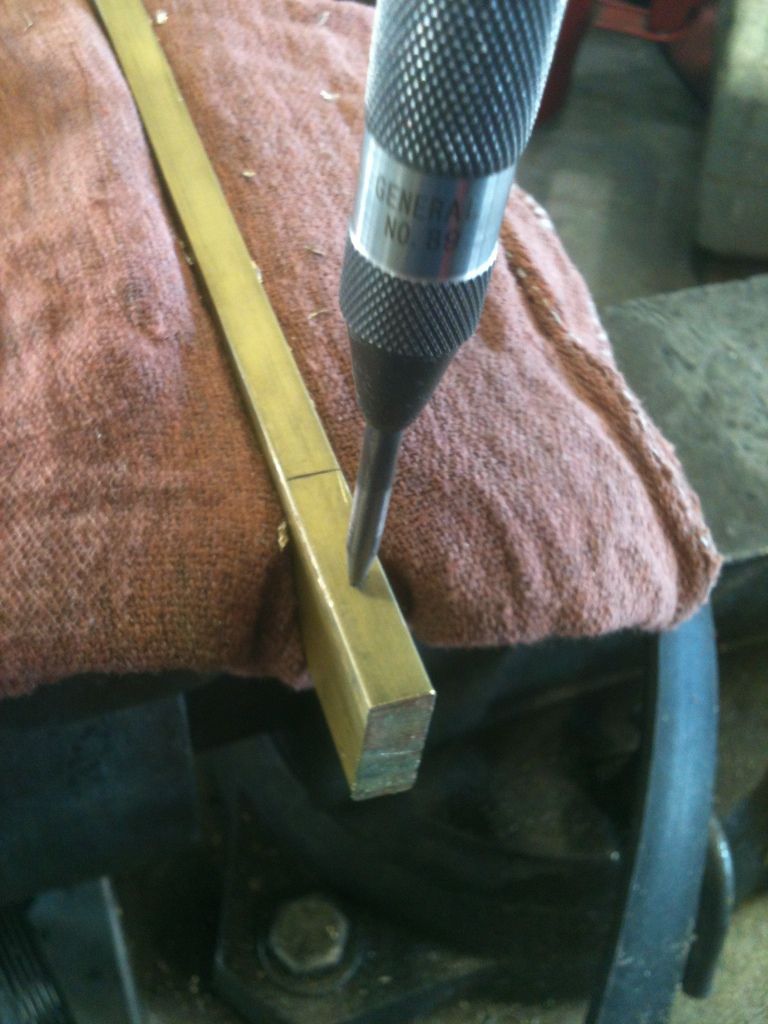
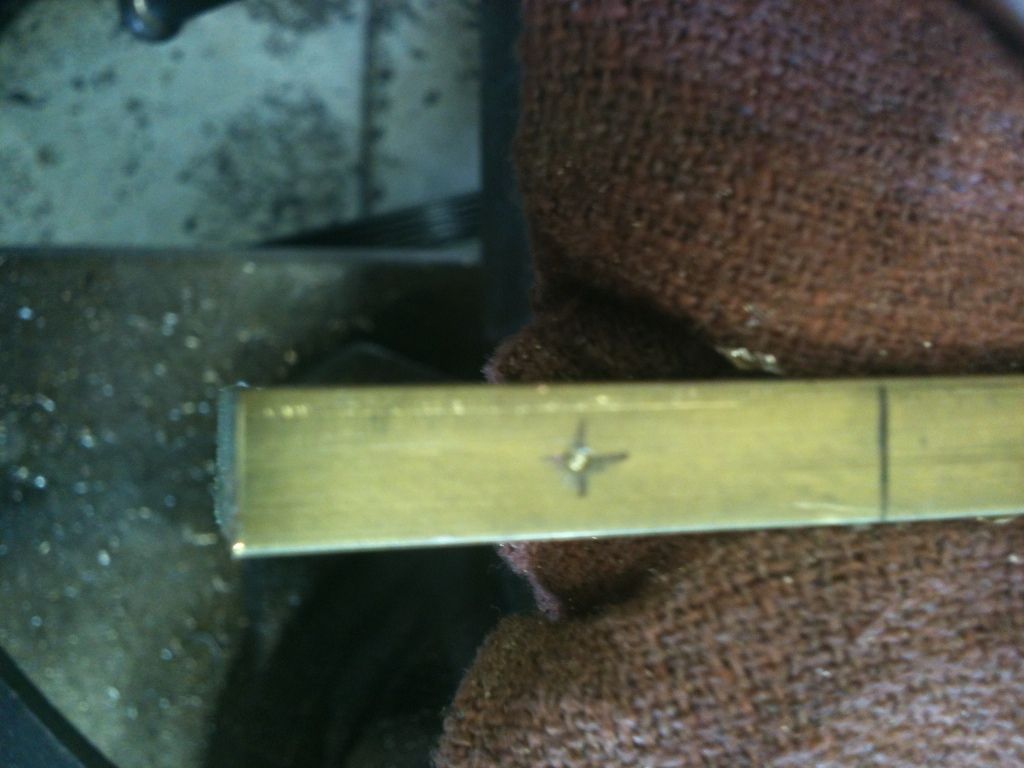
Use a center punch to make a divot so your drill bit will not wander when starting to drill.

Image

Image

Use tape to mark the depth of hole.

Image

Image

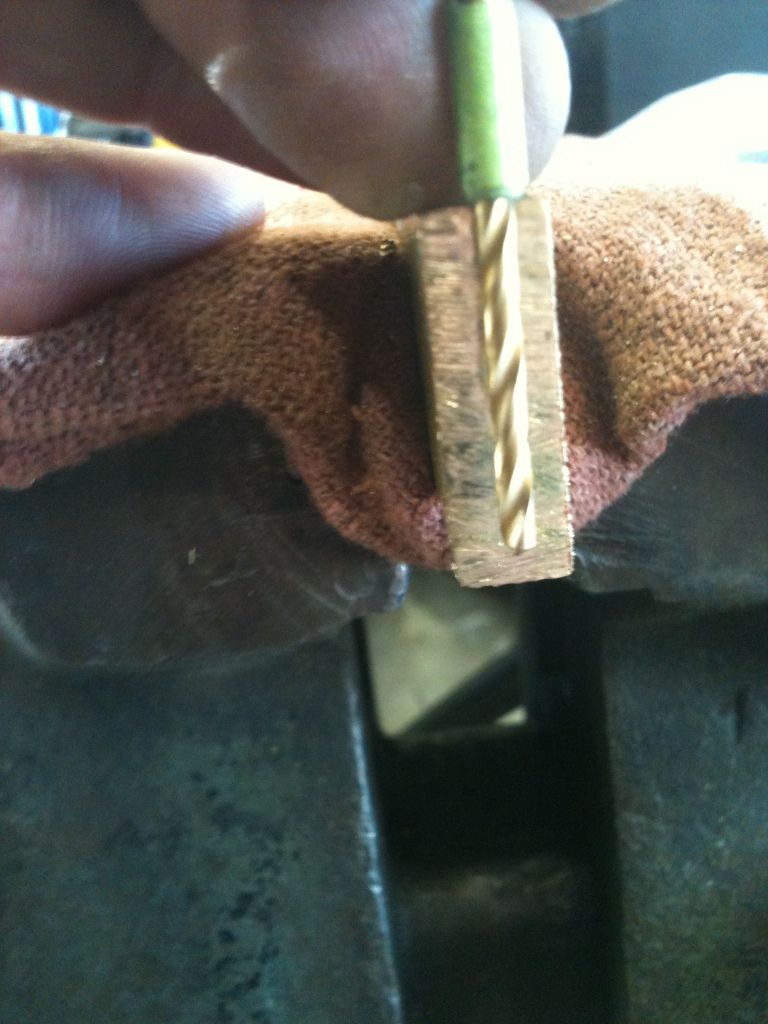
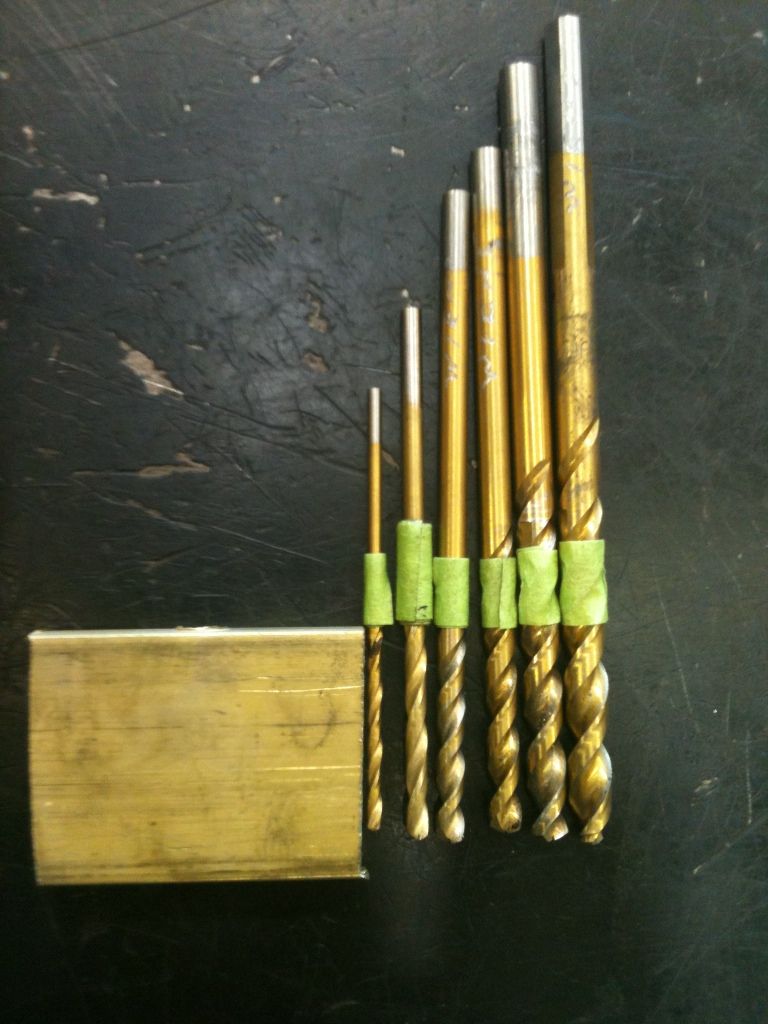
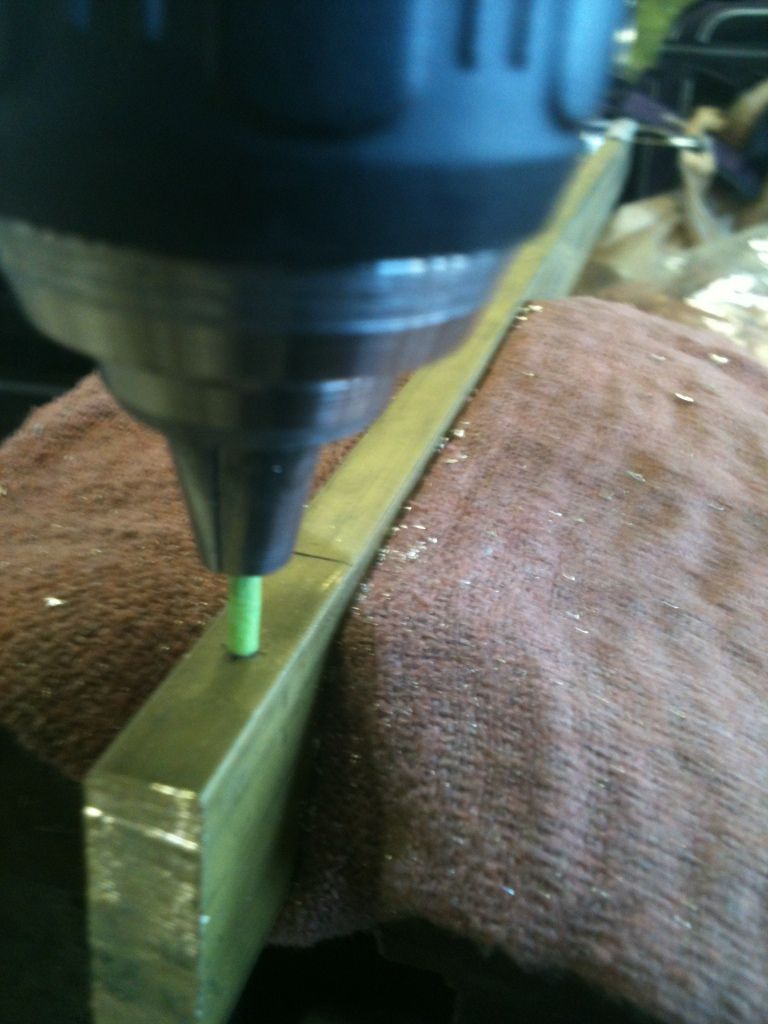
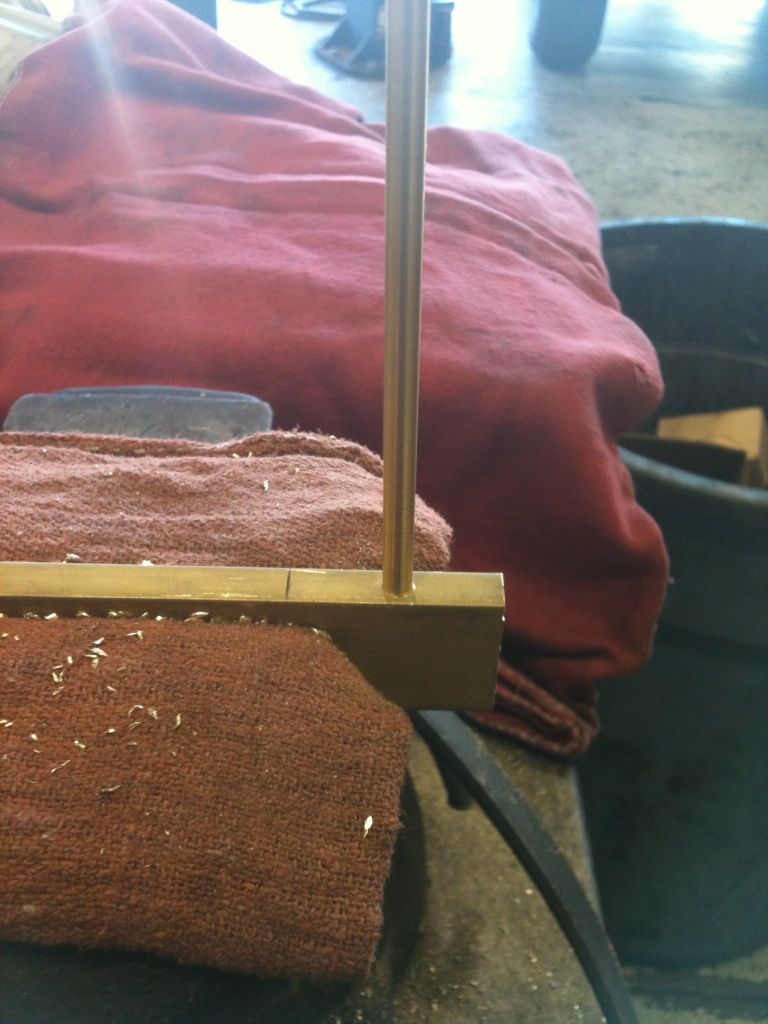
Now start to drill the hole. Use your smallest drill bit at the start - unless you have a drill press, the drill bit will want to grab and pull the soft brass, throwing off your hole and distorting your metal. Drill the hole only about 3/16" (4,5mm) deep to start...

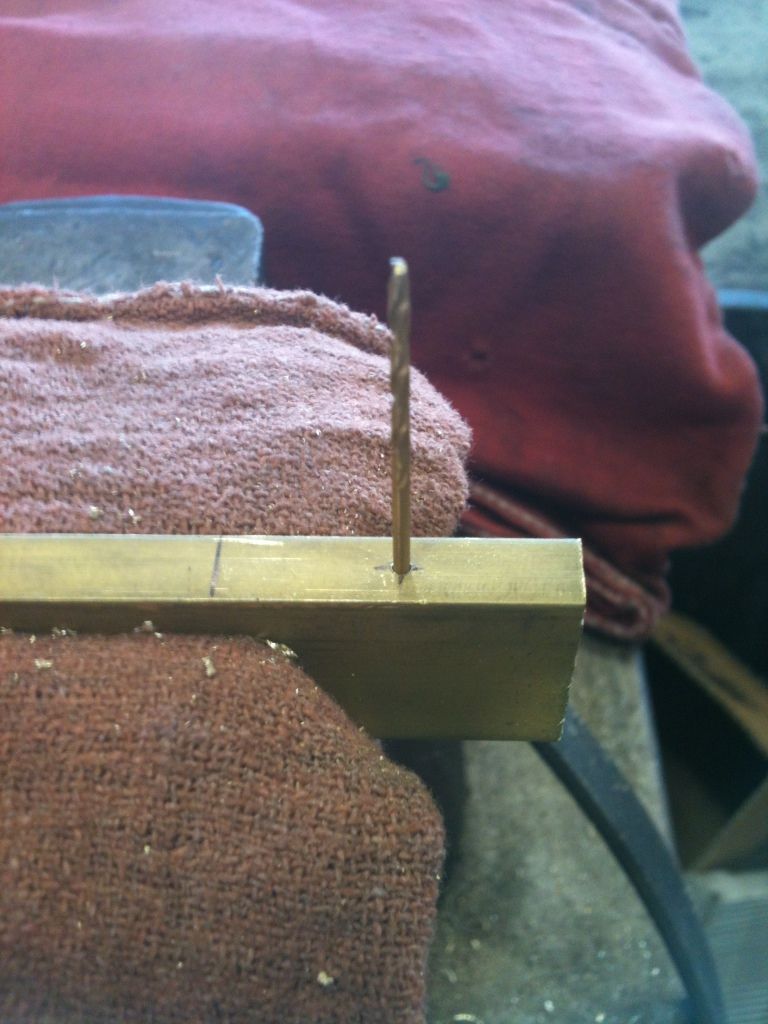
Now put in a drill bit the same size as the hole you are drilling. This is how you check that the hole is straight. You don't want to drill and get to the last size drill bit and find yourself drilling out the side of the key bow. If it is a little off, it is easy to fix at this stage.

Image

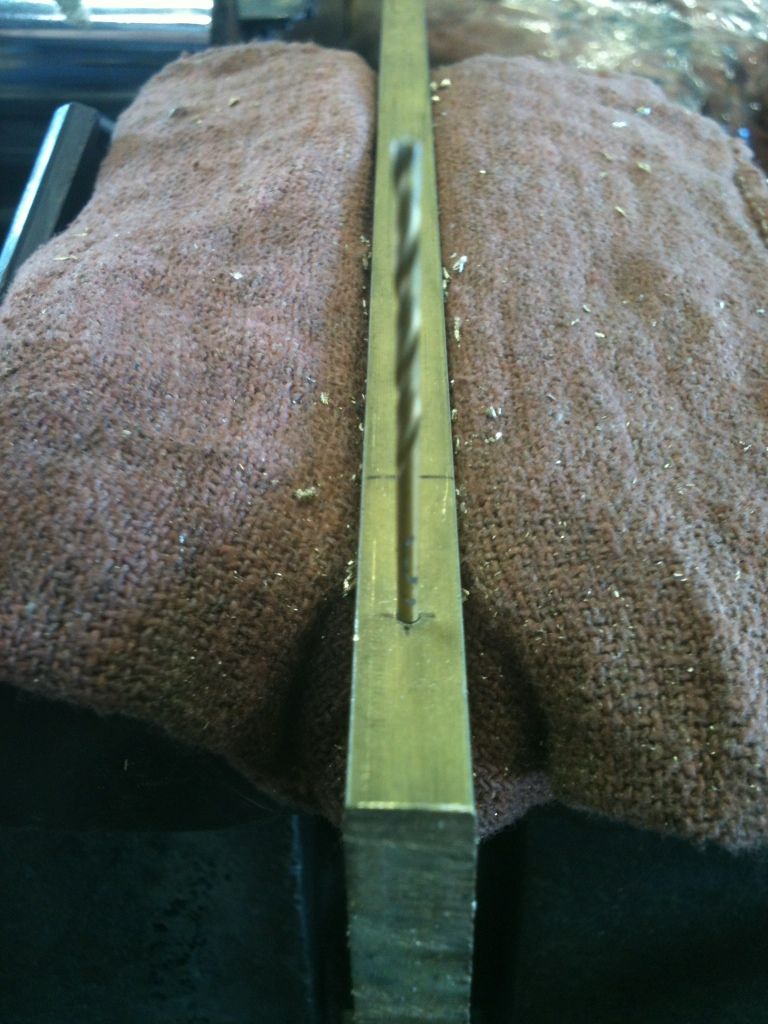
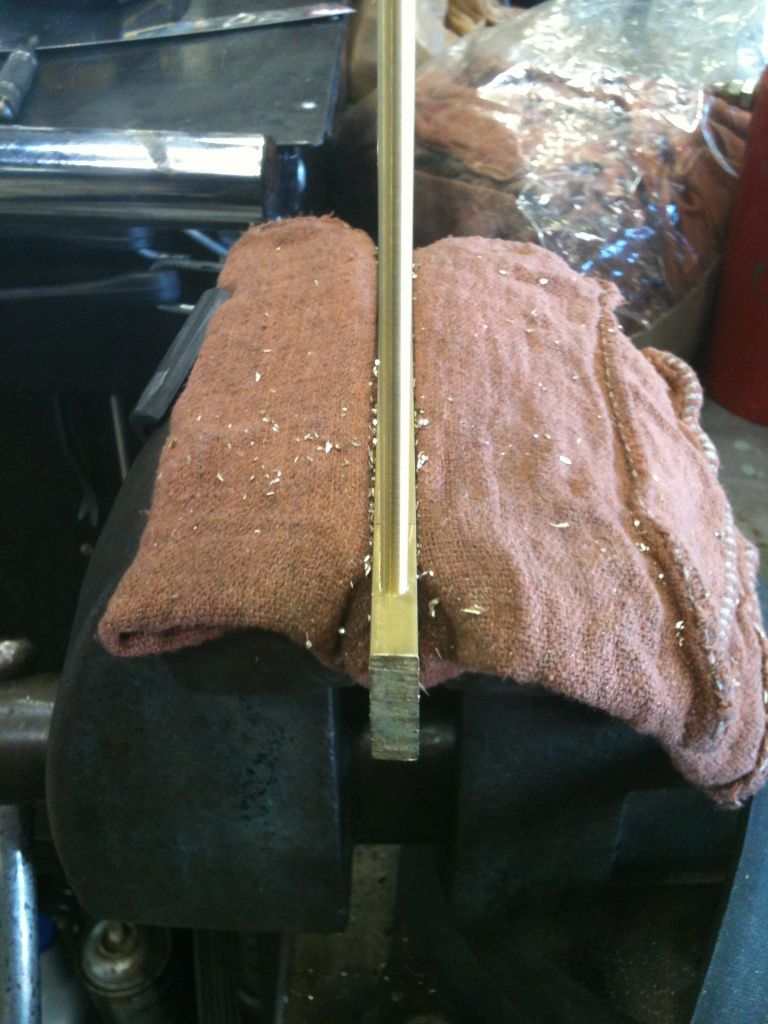
Use the length of your metal stock to check how straight the hole is, too.

Image

Perfect! Now drill until you reach the tape using the smallest drill bit:

Image

Work your way through all the sizes of drill bits until you reach the final diameter.

Now check the fit and straightness of the hole using the key shaft stock.

Image

Both ways...

Image

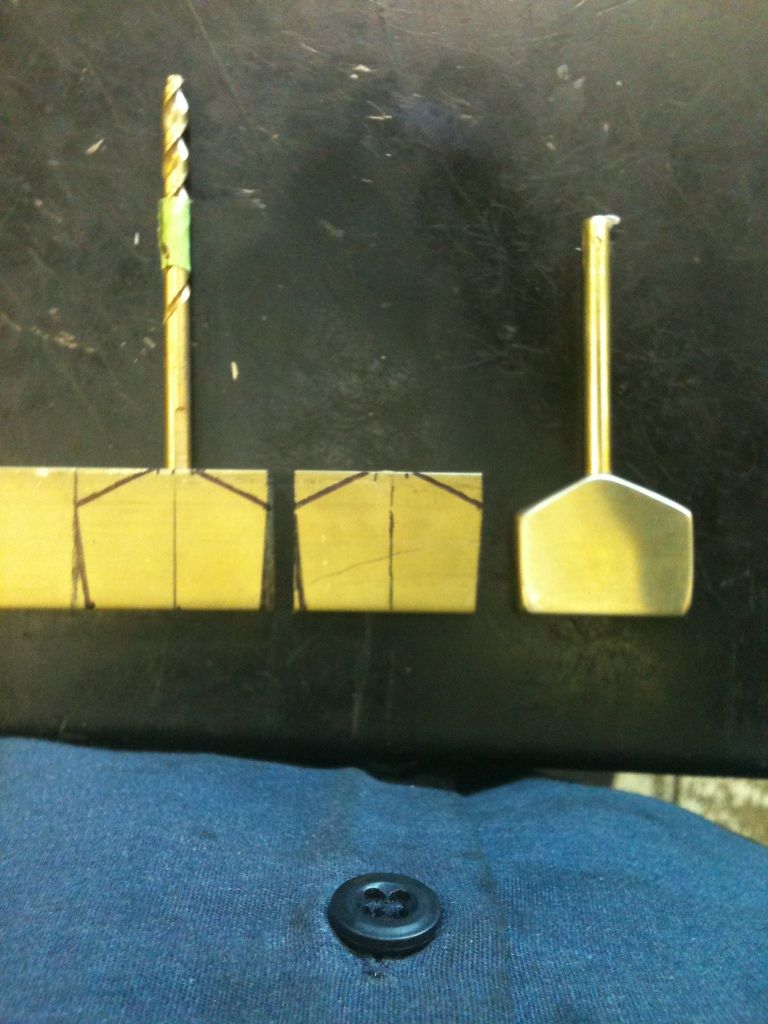
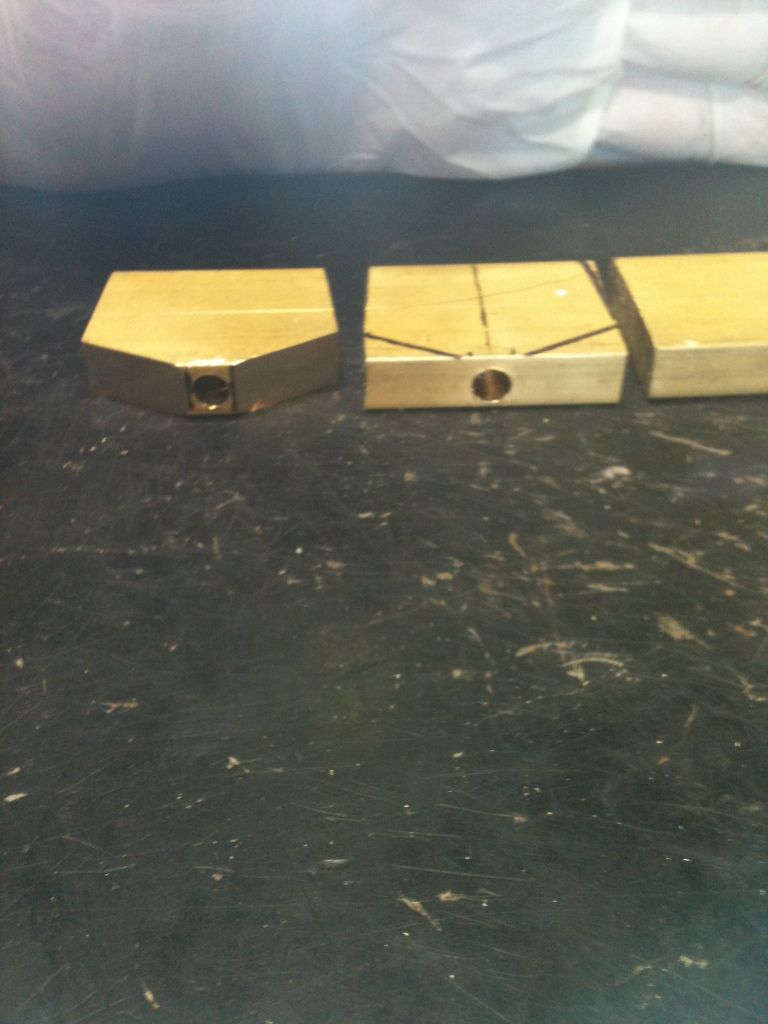
Draw your key bow shape and start to cut it out with a hacksaw.

Image

Image

Image

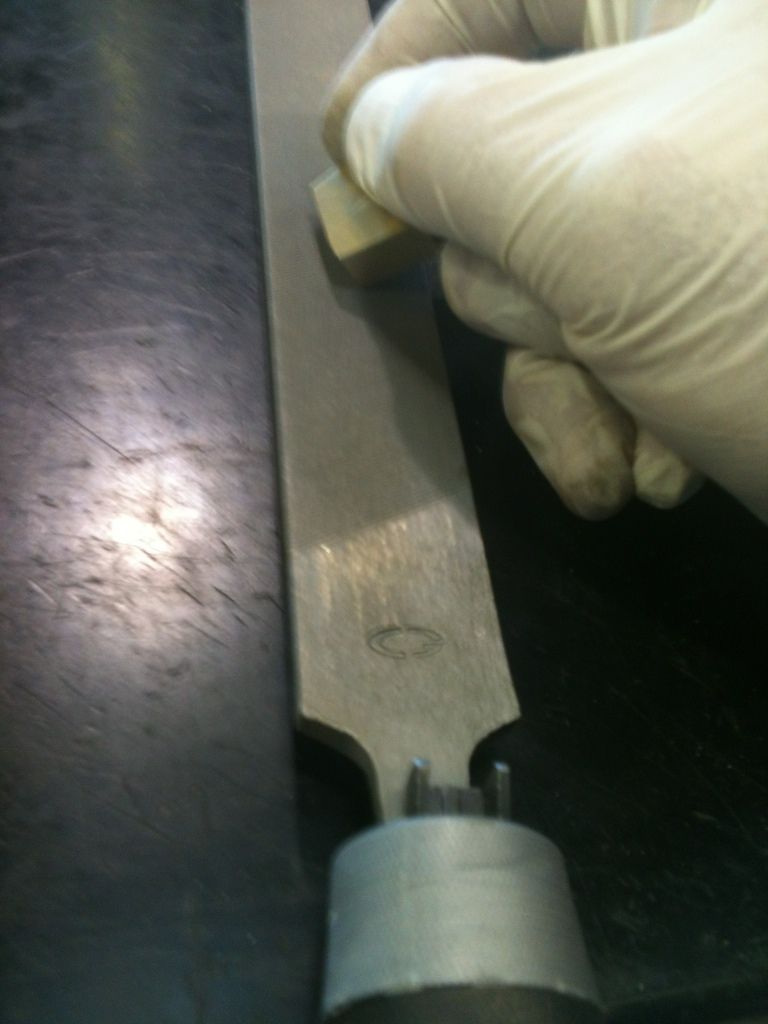
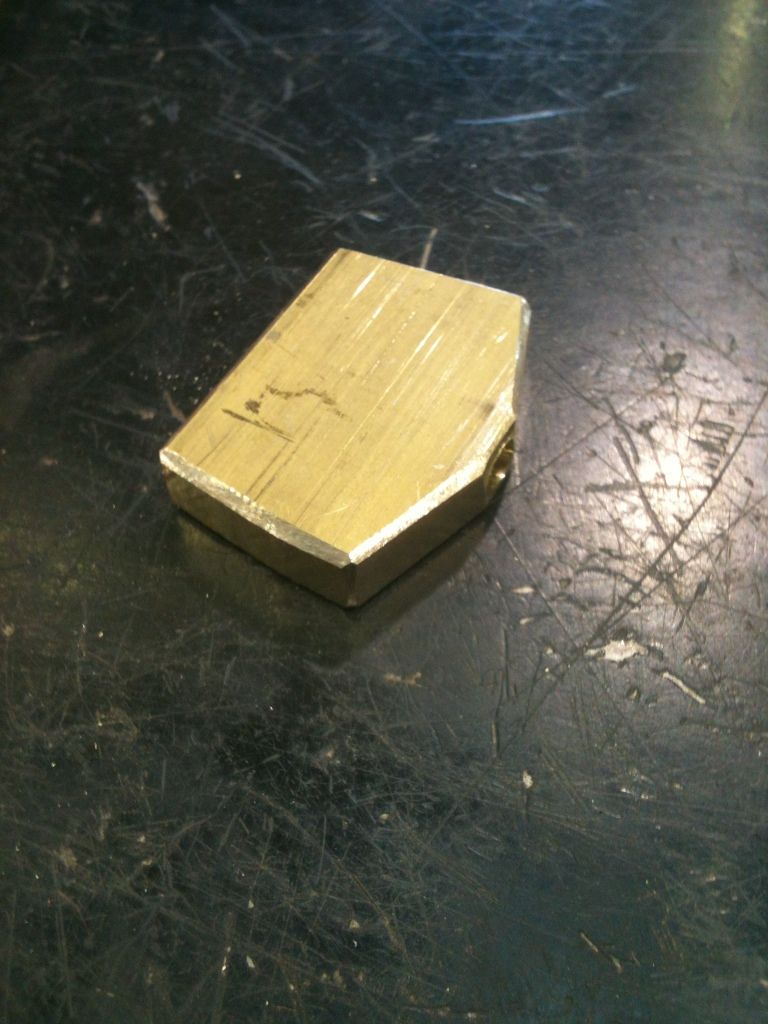
Use a file to clean up the shape and bevel the edges. NOTE: Do not use a file to bevel the edge directly around the hole for the key shaft. That will be taken care of later.

Image

Image

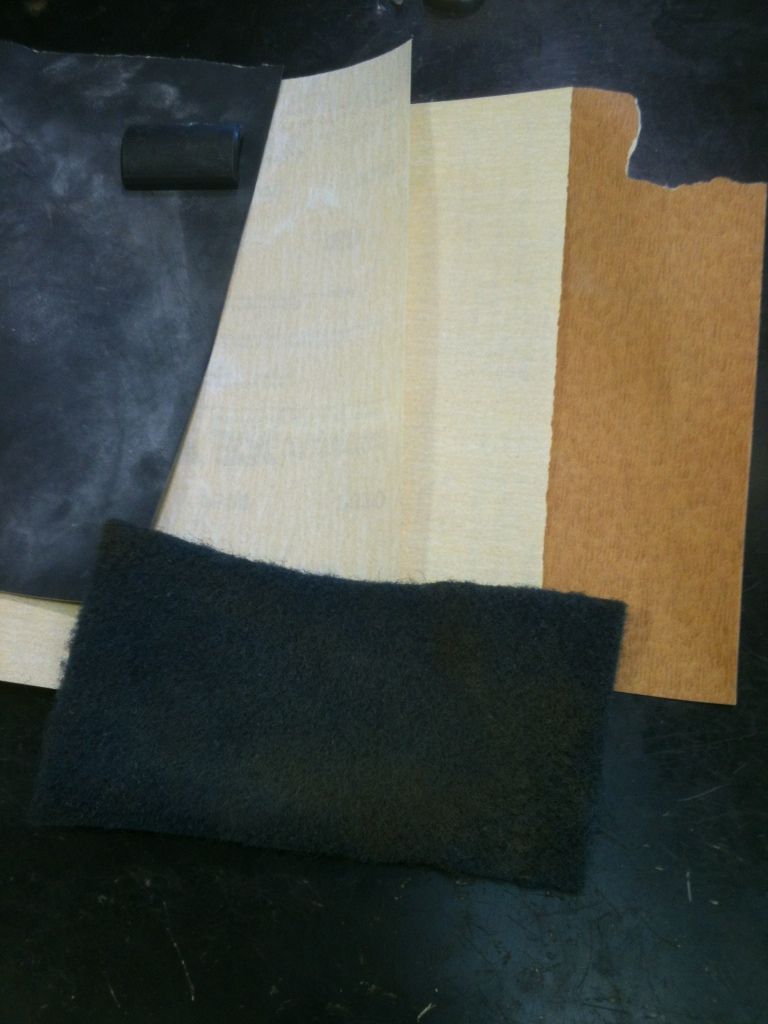
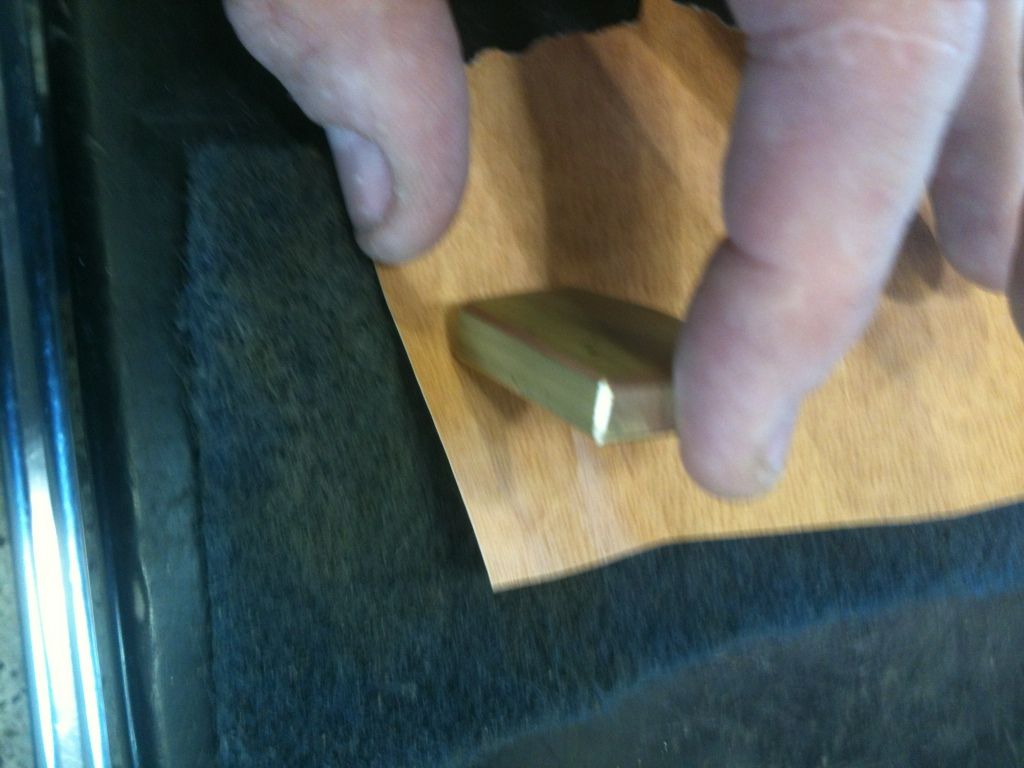
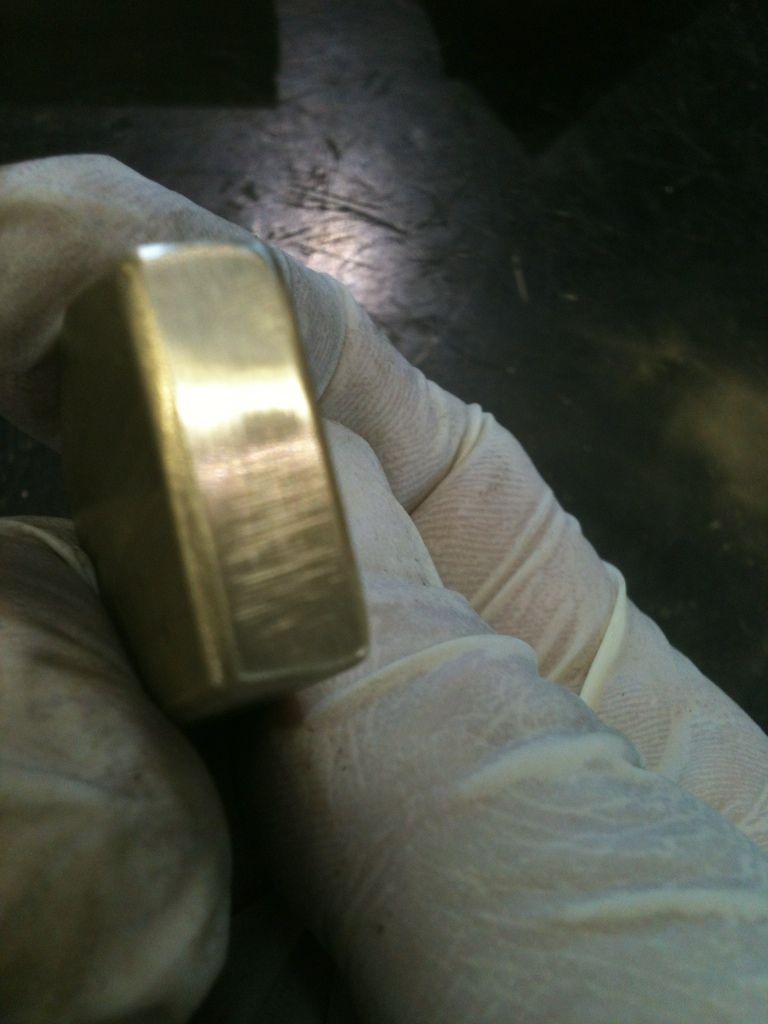
Now for the sandpaper. This is used for final shaping, rounding edges, and yes, polishing. I used 220, 320, 400 and 600 grit sandpaper.

Image

Work on sanding the edges and corners first. It helps to place a pad or piece of cloth under the sandpaper to help make smoother curvature on the edges.

Image

Sand in the same direction with a single grade of sandpaper. Change sanding direction with each change in sandpaper grit because it will make all the previous sanding marks stand out until they are entirely gone.

Image

After the corners and edges are done for each grit, sand the flat edges. Then you are ready for the next grit.

Image

Remember to change sanding directions with each grit change.

Image

Image

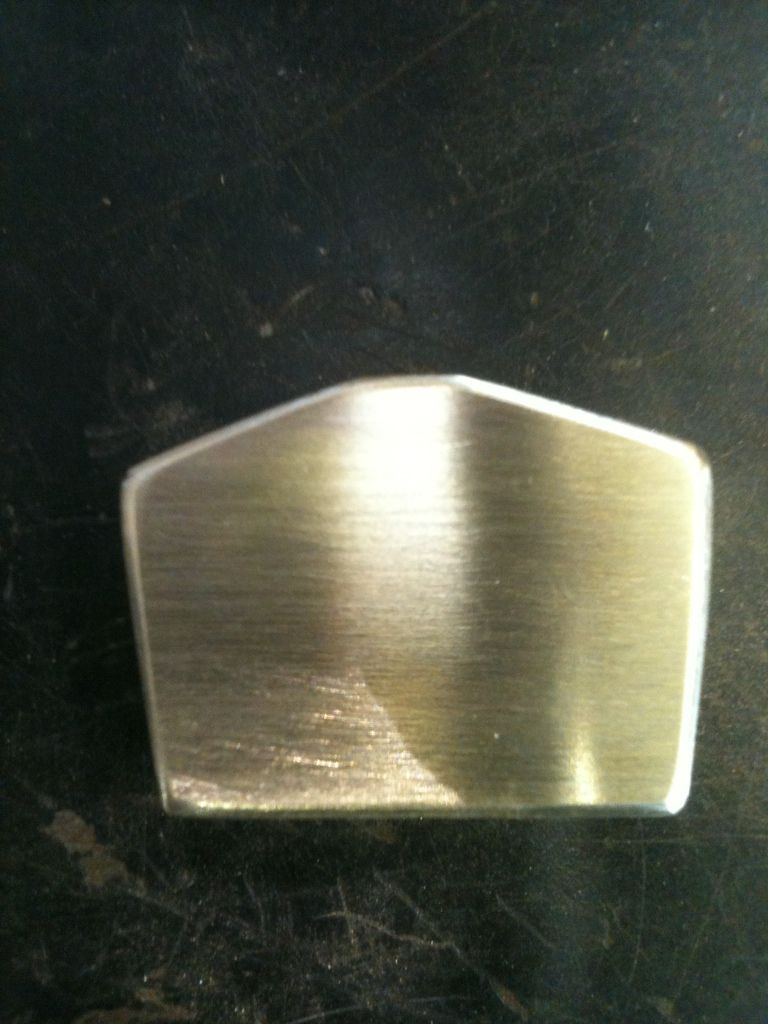
Each side on either side of the hole are sanded with a different grade, and you can see the different directions.

Image

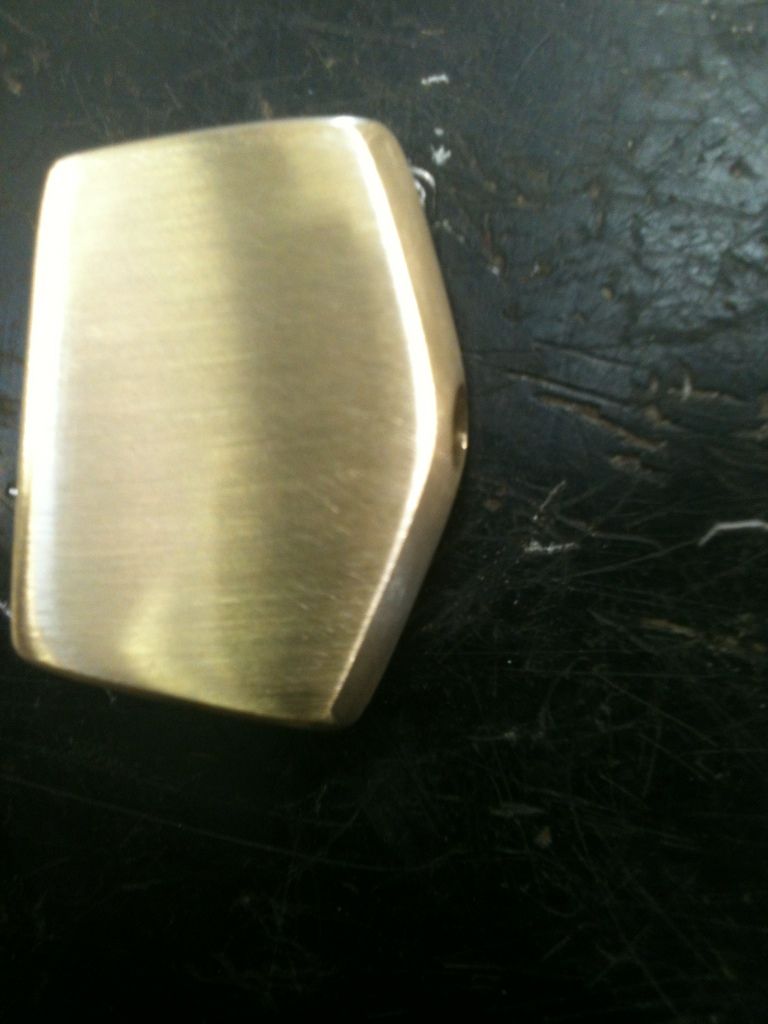
Ended with 600 grit sandpaper, but looks fairly decent.

Image

Let us change the angle so you can see one of the sky lights in the shop.

Image

Use the same methods to make the flag from wiper insets same as the first key.

The case the key is in is not really that fancy. But not bad for cardboard and electrical tape, with paper towel lining to keep the key from being scratched.

The measurements are in standard, not metric measurements, and too tired now to convert. Or even to type them out.

Image

Gordon
Just when you think you've learned it all, that is when you find you haven't learned anything yet.
<<

Oldfast

User avatar

OldddffAASSTT the Spin Master Extraordinaire and American Lock Slayer

Posts: 4412

Joined: Thu Mar 31, 2011 9:16 am

Location: Michigan

Post Sun Nov 24, 2013 2:14 pm

Re: Homebrew Key for M.O.W. Padlock

Holy hell Gordon... that's fuckin' beautiful!!

VERY cool of you to auction it off for KP :hbg:
" Enjoy the journey AS MUCH as the destination."
<<

MBI

User avatar

Site Owner

Posts: 1545

Joined: Thu Apr 03, 2008 9:25 pm

Location: Utah, USA

Post Sun Nov 24, 2013 2:19 pm

Re: Homebrew Key for M.O.W. Padlock

This key pleases me.
Next

Return to This Old (or unusual) Lock

Who is online

Users browsing this forum: No registered users

Don't forget to visit our sponsors for all of your lockpicking needs!
Powered by phpBB © 2000, 2002, 2005, 2007 phpBB Grop
"CA Black" theme designed by stsoftware