Page 1 of 7

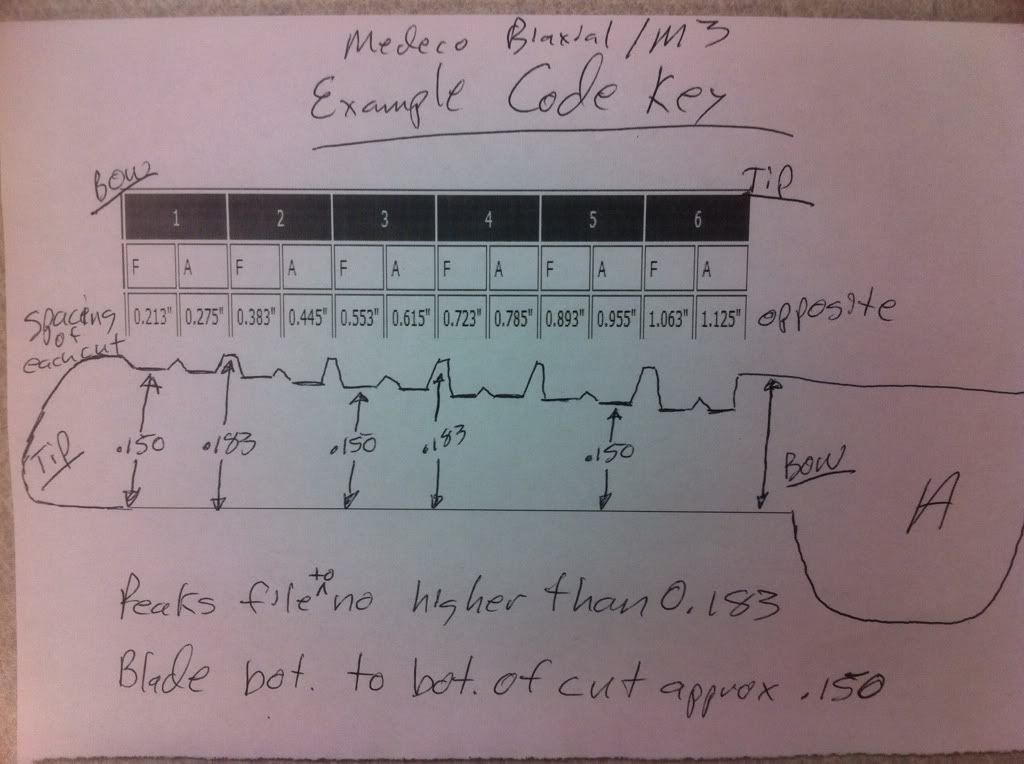
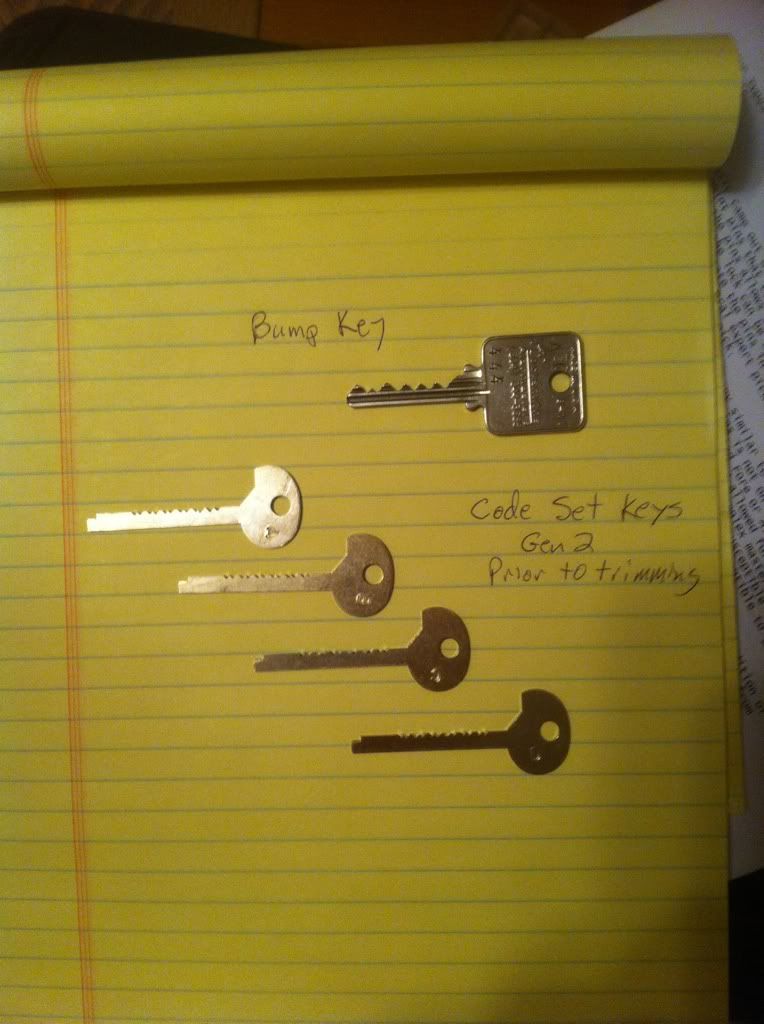
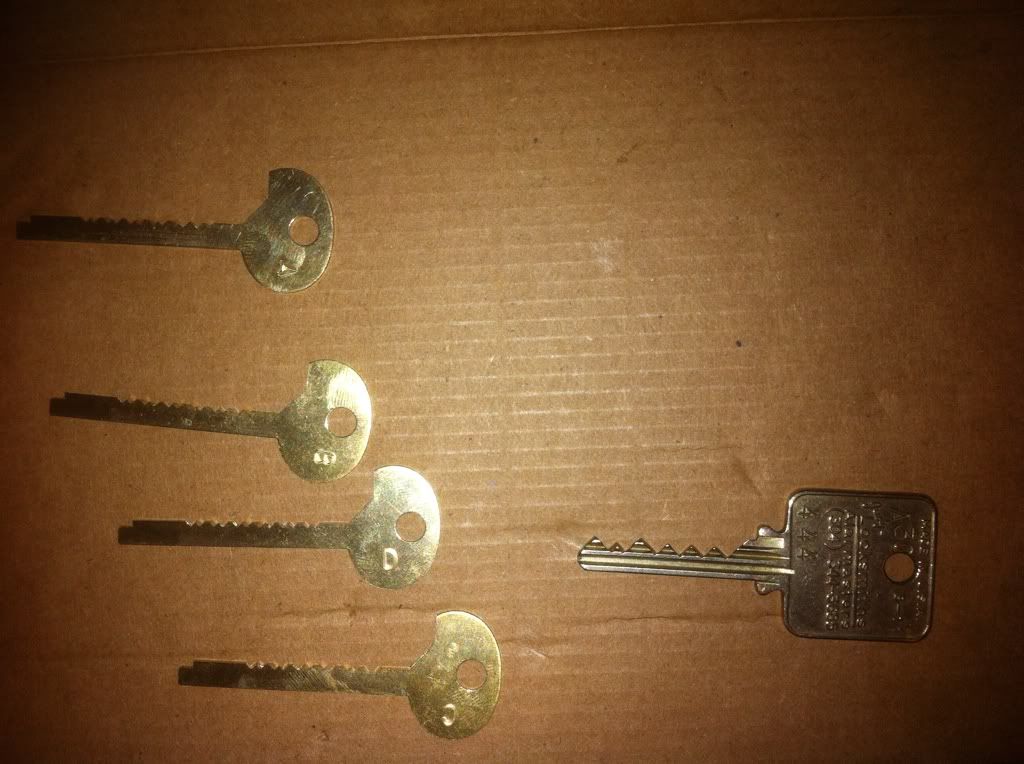
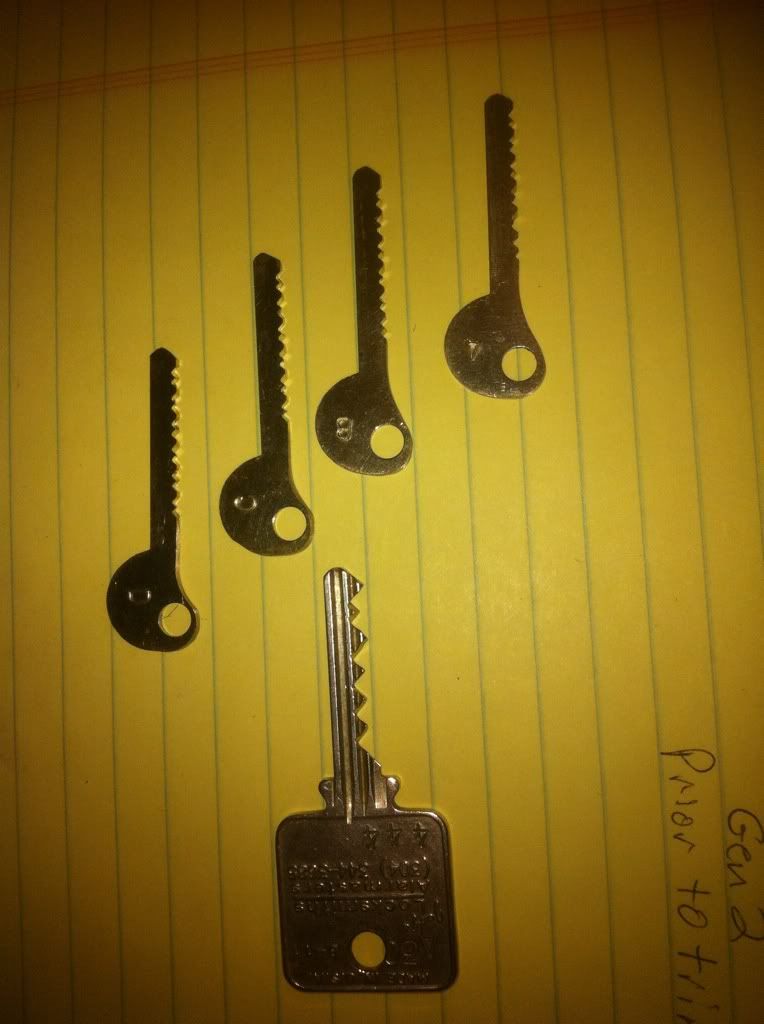
Medeco Code Keys- (Generations 2 & 3 all 20 keys are cut)

PostPosted: Mon Feb 20, 2012 12:27 pm
by MrPharmer2012
Here is a more organized document I put together to help me when actually cutting the codes so I dont have to think to much when doing it, I have two references for medeco cuts at the top, which is accurate they are both different for biaxial and M3
article is here http://db.tt/QBOjMESC

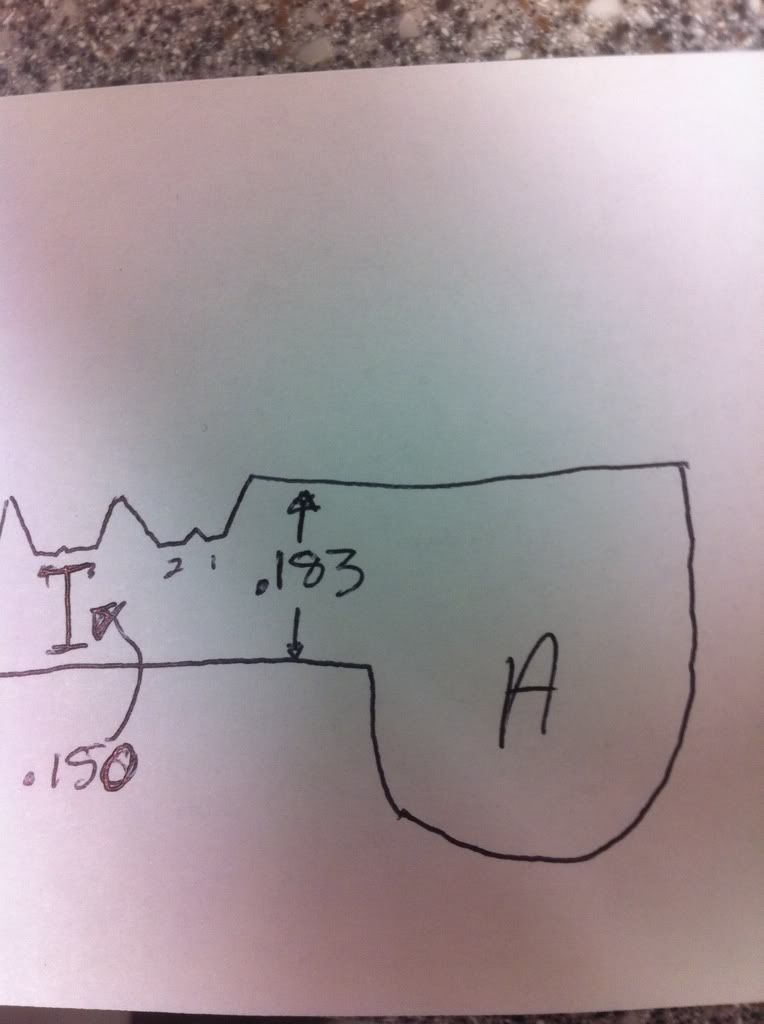
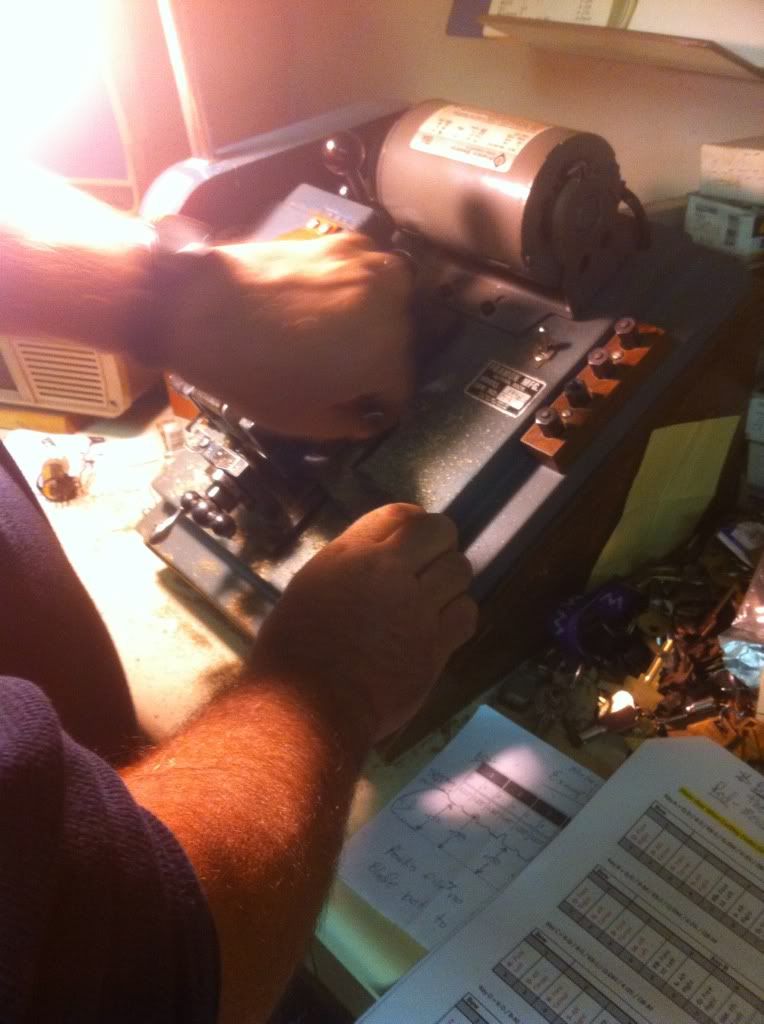
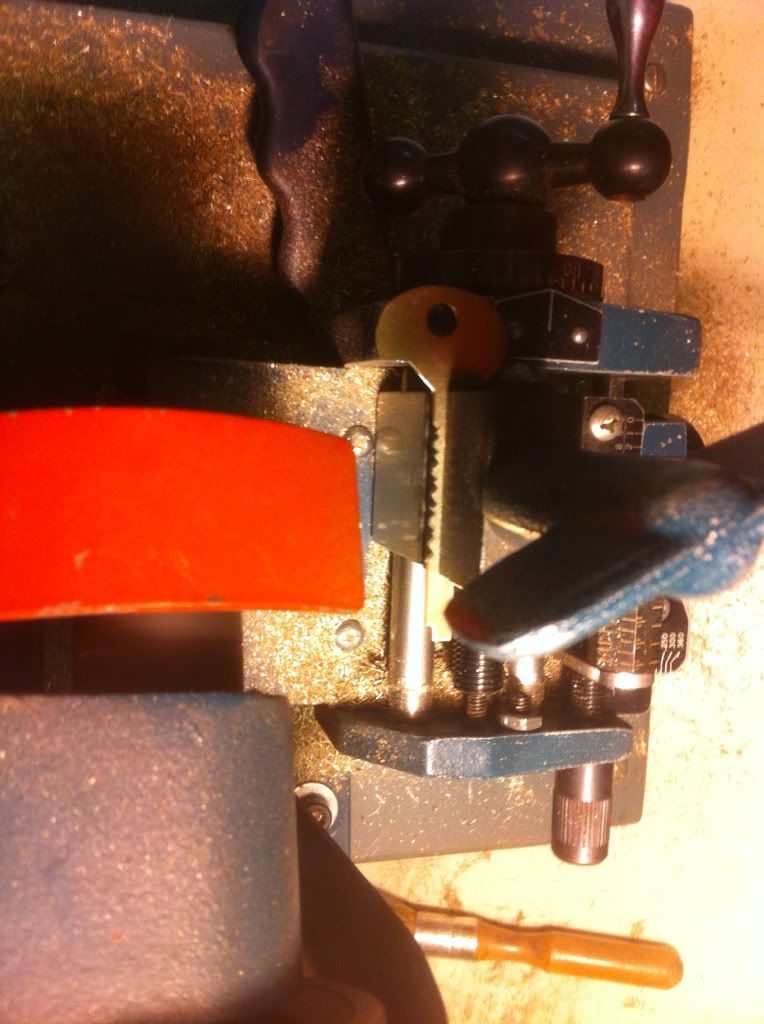
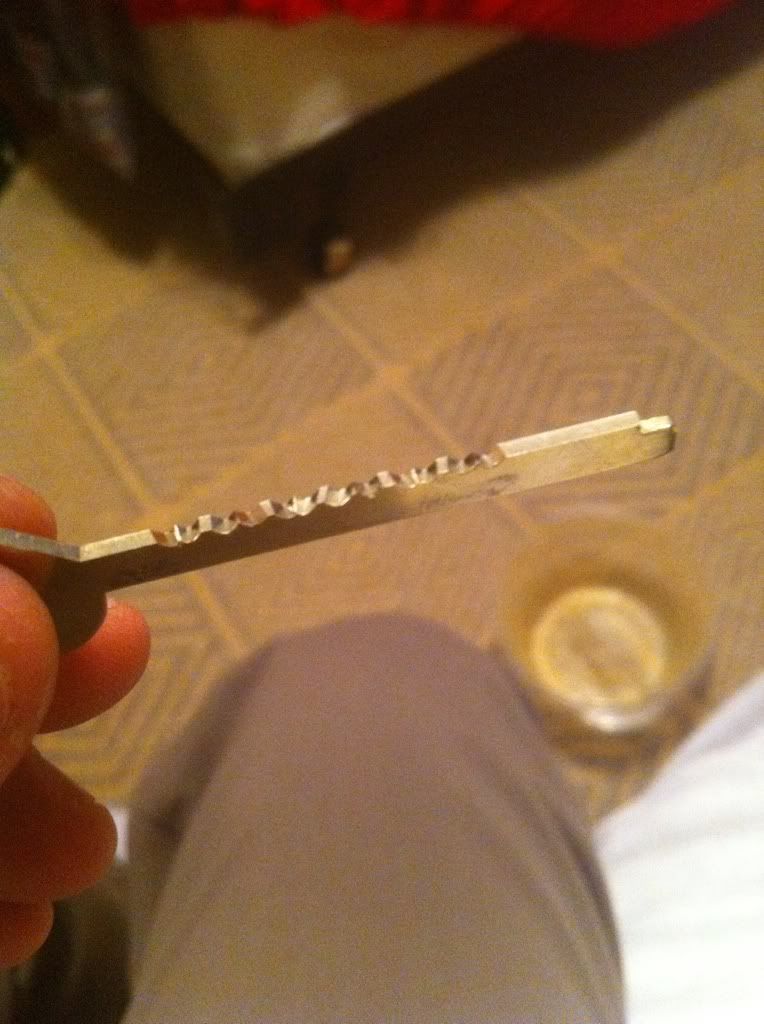
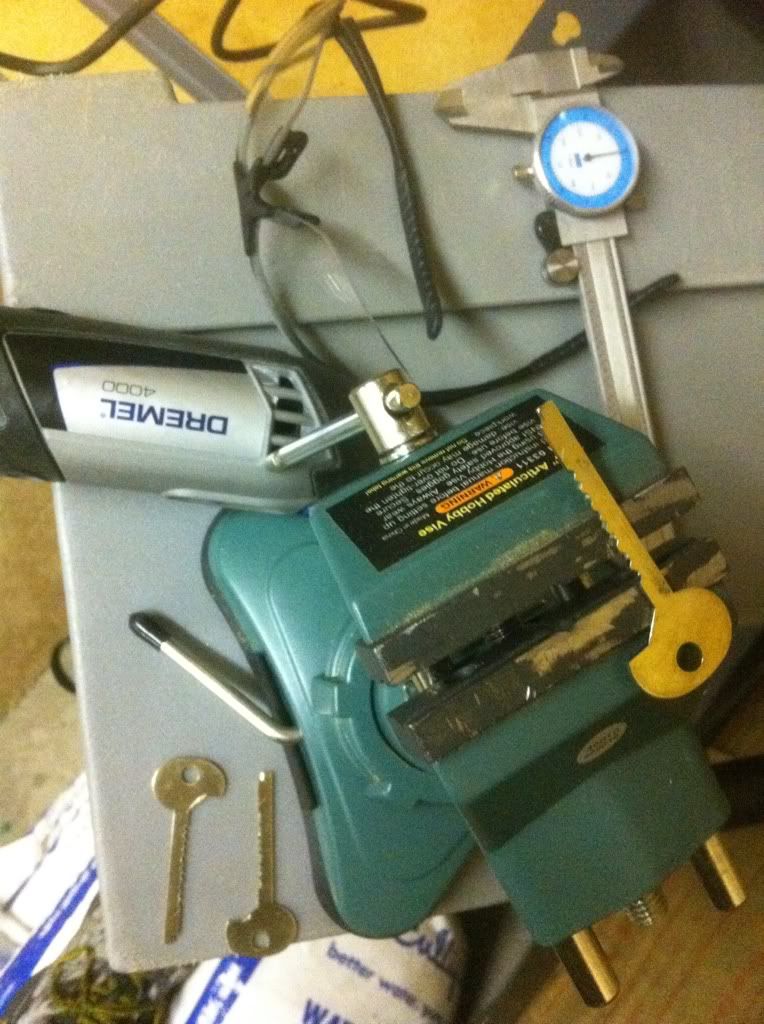
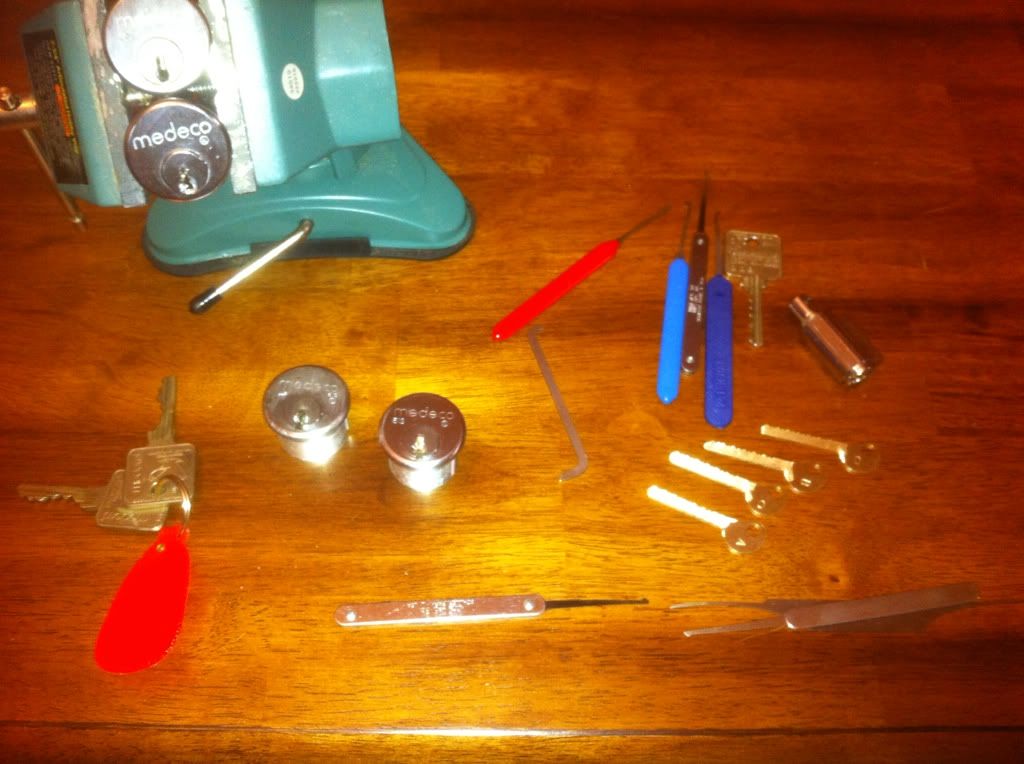
Also if reference is correct a number 6 cut is .142, barbarian says his at bottom of cuts were .150 wouldnt this slightly over set a 6 pin especially when withdrawn when raised by points inbetween cuts any help would be appreciated. im gonna try to get started today and try for a key per day, I only get a 30 min lunch to use the medeco key cutter

I guess I could start at .150 and sand down the base if it doesnt work. Let me know what you guys think.

Re: Need Help Starting on Medeco Code Setting Keys

PostPosted: Mon Feb 20, 2012 3:49 pm
by barbarian
I list the deepest cut at .139 according to Medeco. That is the left over blade width after the cut. It probably allows the bottom of the blade to have clearance rather than touching the shell. I think the wards hold the blade in position on a regular key, while the code setting keys sit flat on the shell. (The surface of the bore inside the shell).

You might have to sit your key a bit sideways to clear the wards.

So what you could do is cut the key to Medeco specs and try it, then just trim the peaks off a bit at a time with a file till you can get it out of your lock.

If the blade width is too small I think the keys would bend or break easily, plus they would be harder to hold while cutting. If the blade width is slightly larger (like my .150) then it just gives the pin a nice angled seat to sit on, perhaps it might set the rotation easier. I guess the root of the cut on my keys lifts the bottom of the pin just a few thou. So long as you can get it out of the lock without over setting a number six pin then the height of the peaks is OK.

With my code setting keys they don't seem to set the sidebar until you just start to remove the key. Then there is an obvious snap and the sidebar is set. This tells me pressure from the angled face of the cut is what sets the rotation. Moving them up and down and a little wiggle in and out about .030 or so seems to help too.

Re: Need Help Starting on Medeco Code Setting Keys

PostPosted: Mon Feb 20, 2012 4:00 pm
by MrPharmer2012
So each of ur cuts from bottom of cut is .15 or is that your total blade height. I was gonna cut each to .142 based on second set of number on my PDF the older reference I own states .139 would 6 cuts at .142 from base to bot of cut not work on this

Re: Need Help Starting on Medeco Code Setting Keys

PostPosted: Mon Feb 20, 2012 4:26 pm
by MrPharmer2012
Ok barbarian so like this I understand now it needs to be longer because it sits on core shell
Urs has these measurements
Image
Image

Re: Need Help Starting on Medeco Code Setting Keys

PostPosted: Mon Feb 20, 2012 6:41 pm
by barbarian
That's exactly how mine are cut.

Just like your drawing.

The only other thing you might want to do is leave a little more room from the shoulder before your first cut. You don't want the key to stop on the face of the plug. Mine just sort of center up on the pins. There is probably an extra .030 or .040 distance from the shoulder to the cuts. You could go even more if you wanted to. The blanks I used were plenty long and had to be trimmed to length after cutting.

Re: Need Help Starting on Medeco Code Setting Keys

PostPosted: Tue Feb 21, 2012 2:42 pm
by MrPharmer2012
Hopefully I will have something to show tomorrow as for as the gen 2 keys go talked locksmith into letting me work 2 hrs after hrs today he said I can come in 7-9 and use his key machine hopefully doesn't fall thru Didn't get to start at lunch too busy excited to get started and get finished product.

Re: Need Help Starting on Medeco Code Setting Keys

PostPosted: Wed Feb 22, 2012 8:40 am
by MrPharmer2012
Making the code Setting Keys
Image
Image
[url=http://s1017.photobucket.com/albums/af293/CoreyS439/?action=view&current=4b15419f.mp4][img]
***pic removed due to possible copyright issues****
http://i1017.photobucket.com/albums/af2 ... b7dbbe.jpg[/img]
Image
Image
The Cut
Image
Trimming
Image
After Trim
Image
Time to Play
Image
Image
Image

Re: Need Help Starting on Medeco Code Setting Keys

PostPosted: Wed Feb 22, 2012 8:44 am
by MrPharmer2012
needs a little adjusting. But it will get there.
Making the cut -one cut on video
http://s1017.photobucket.com/albums/af293/CoreyS439/?action=view&current=4b15419f.mp4
***pic removed due to possible copyright issue***

Re: Need Help Starting on Medeco Code Setting Keys

PostPosted: Wed Feb 22, 2012 9:47 am
by barbarian
MrPharmer2012 wrote:Making the code Setting Keys
....
The Cut
Image


Nice looking job !!

The picture of the cuts is a great indicator. I found a very fine file or even a file wrapped in emery cloth was good for trimming and finishing. Nice to have them thin enough that they slip in the keyway with some looseness. I also marked on the side of the key a little groove that would line up with the face of the plug to tell me they were in the proper depth.

Don't forget the depths are different for bumpkeys. Go .010 deeper for the "fore" cuts and .020 deeper for the "aft"

:D :D :D

Re: Medeco Code Setting Keys- Mostly Finished (Gen 2) Pics r

PostPosted: Wed Feb 22, 2012 10:03 am
by MrPharmer2012
Thanks I'll have to change that on bump key plus need to take peaks down a bit I just cut all 6s for now

Re: Medeco Code Setting Keys- Mostly Finished (Gen 2) Pics r

PostPosted: Wed Feb 22, 2012 10:13 am
by MrPharmer2012
Are ur keys brass I'm scared they will be too weak to go just too thin most my medecos have very narrow keyway I'm gonna have to find one these will work in the only one it fits right now is the m3 but it is little tight they are .035 right now started at .050 how thick are yours ply not sure if locks I have are pinned to gen 2 code may have to tear down and take a loOk at what happens when inserted

Re: Medeco Code Setting Keys- Mostly Finished (Gen 2) Pics r

PostPosted: Wed Feb 22, 2012 1:30 pm
by barbarian
MrPharmer2012 wrote:Are ur keys brass I'm scared they will be too weak to go just too thin most my medecos have very narrow keyway I'm gonna have to find one these will work in the only one it fits right now is the m3 but it is little tight they are .035 right now started at .050 how thick are yours ply not sure if locks I have are pinned to gen 2 code may have to tear down and take a loOk at what happens when inserted


Mine are brass. I narrowed them down till they are only .027 thick. You are still going to use a tension wrench when you pick with these. So they just need to be strong enough to lift the pins up a bit and set the angles. You should never twist very hard on the code setting keys. When you narrow them, try to take the same amount off each side. You notice a couple of your cuts have little triangle pieces between code spaces. If you take all the metal from one surface, then the little triangles will become razor thin or depending on the angle, too thick. I can't seem to hold a file very flat and the blade of my keys ended up wedge shaped with the thin part down and the thicker part having the cuts on it.

The bumpkeys seem even more fragile because the cuts are a bit deeper. If you use genuine Medeco blanks, they are made from that nice strong alloy. I used aftermarket blanks and they were still ok. The head of one of my bumpkeys is starting to get rough where I have thumped on it with everything from screwdriver handles to hunks of steel pipe. The cuts and blade are still fine. In your pictures of the bumpkeys, they don't look like they are cut yet.

I would take the slider out of an M3 or pin it back before you start like Tobias shows, just till I learned what was going on inside the lock. I looked at the pins in my lock and decoded the sidebar before I started picking to be sure it was pinned correctly and be sure what code setting key to use. Then I picked it with no sidebar to get a feel for the mushroom pins they used, then the sidebar went in. Once you get used to it, you can try all four code setting keys in a few seconds and know if the sidebar set before you even start with picking.

Now you need a box of blanks and a couple of hours with the machine. I have never seen these keys for sale and I think you could sell some if you wanted to.

Re: Medeco Code Setting Keys- Mostly Finished (Gen 2) Pics r

PostPosted: Wed Feb 22, 2012 2:11 pm
by MrPharmer2012
Yeah that key was only cut to .137 on each slightly below a 6 cut of .142. Wasn't quite sure what to do with it, so I just cut same angles of original and planned on altering the rest with file and dremel didnt have much time once i finished code keys so cut it quickly to just below 6's to give it a try, never used one before except on a kwikset and master padlock and those were cut all to deepest cut with shoulder taken down bit so figured id try the same but looks like i need to change it up a bit. thanks for all the info I placed an order with the locksmith for 20 more blanks so that I can cut the gen three keys next, hopefully I have time im only in the area for the next 2 weeks and I dont think a locksmith anywhere else licensed for medeco would be this nice to let me use his equiptment after hours.

For JeffMoss26- The Code Setting Key in Action- How it Works

PostPosted: Thu Feb 23, 2012 9:37 pm
by MrPharmer2012

how it works, have another video processing right now had to pull video from my iphone and put on computer ran into some issues transferring will be up shortly

Re: Medeco Code Setting Keys- Mostly Finished (Gen 2) Pics r

PostPosted: Fri Feb 24, 2012 6:27 am
by MrPharmer2012
the code keys in action with breakdown
[youtube]
http://www.youtube.com/watch?v=1O_mAaQS ... ta_player/[youtube]