Right, I have three new updates today.. Think I'm going to go in order of least (comparatively!) to most awesome, so stick around to the end
 Update Numero Uno
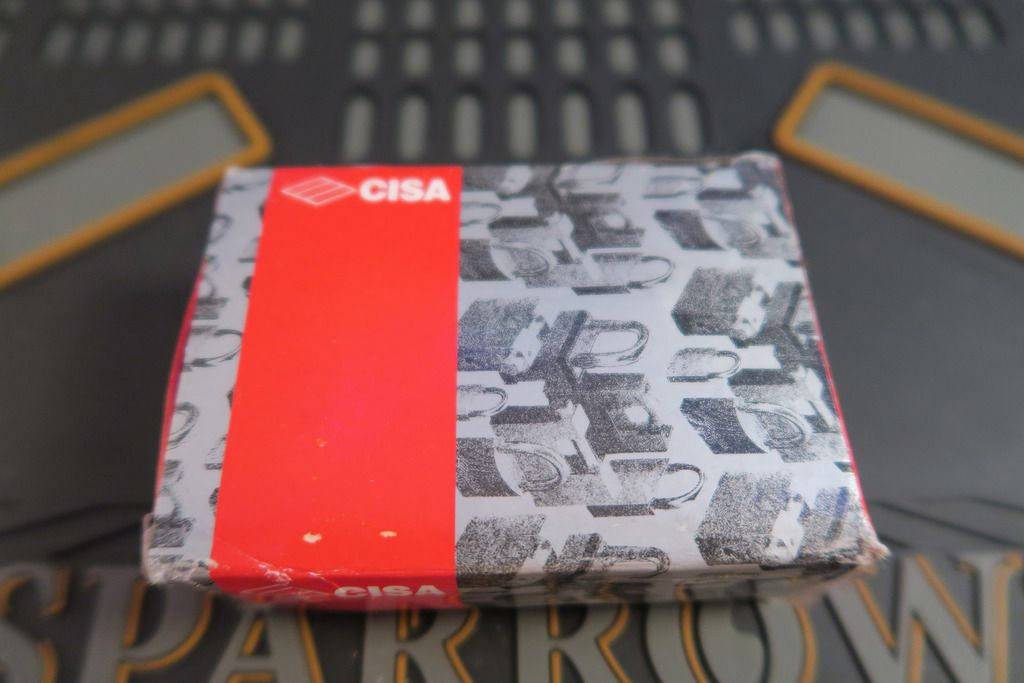
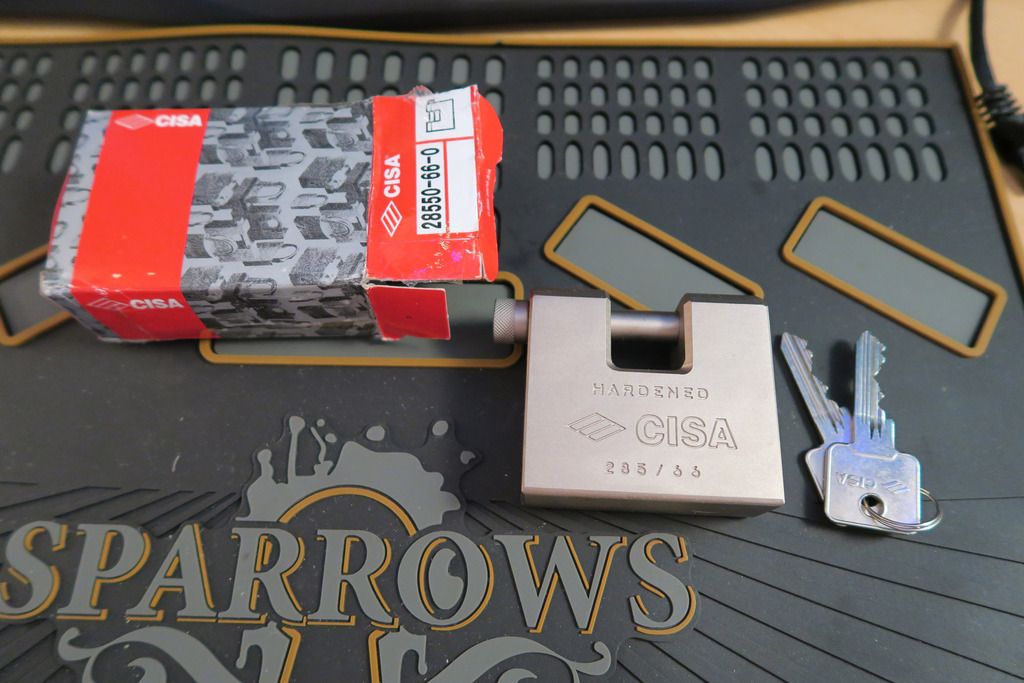
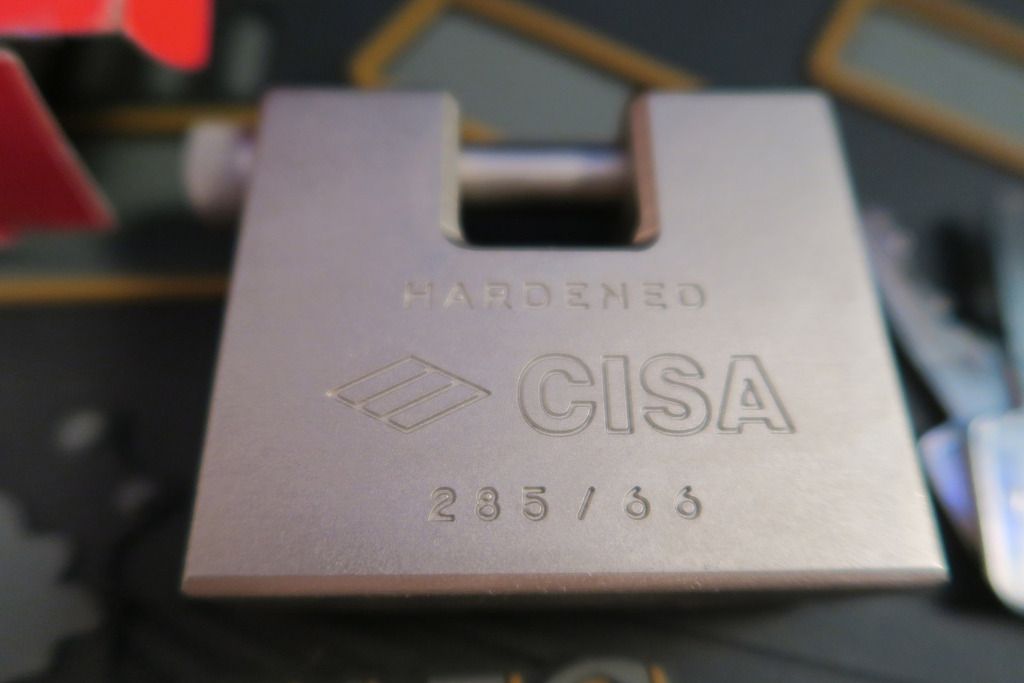
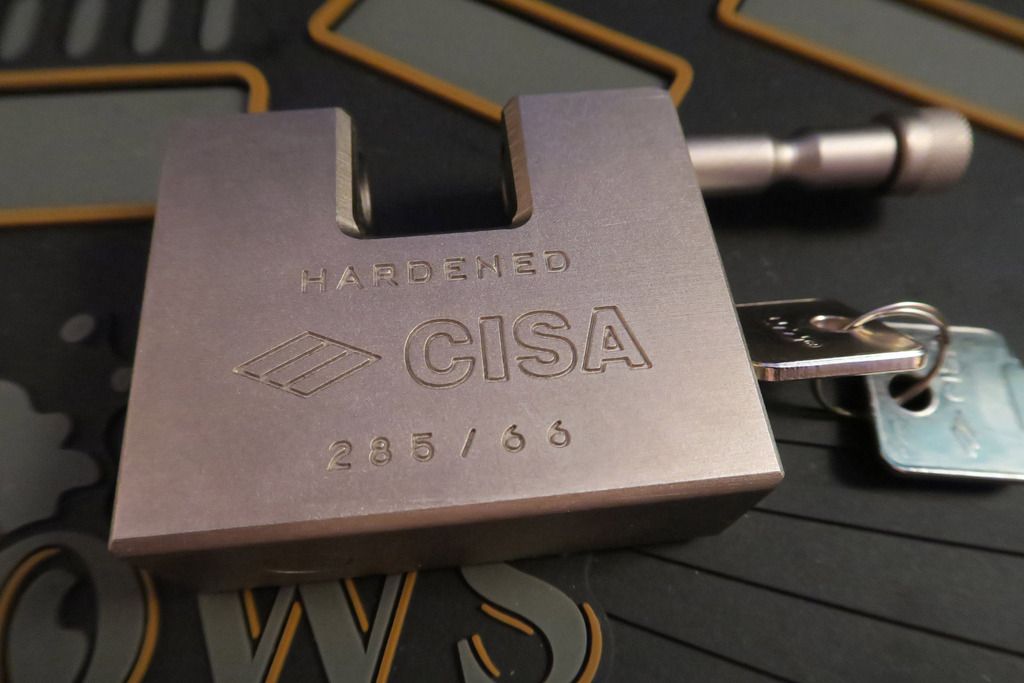
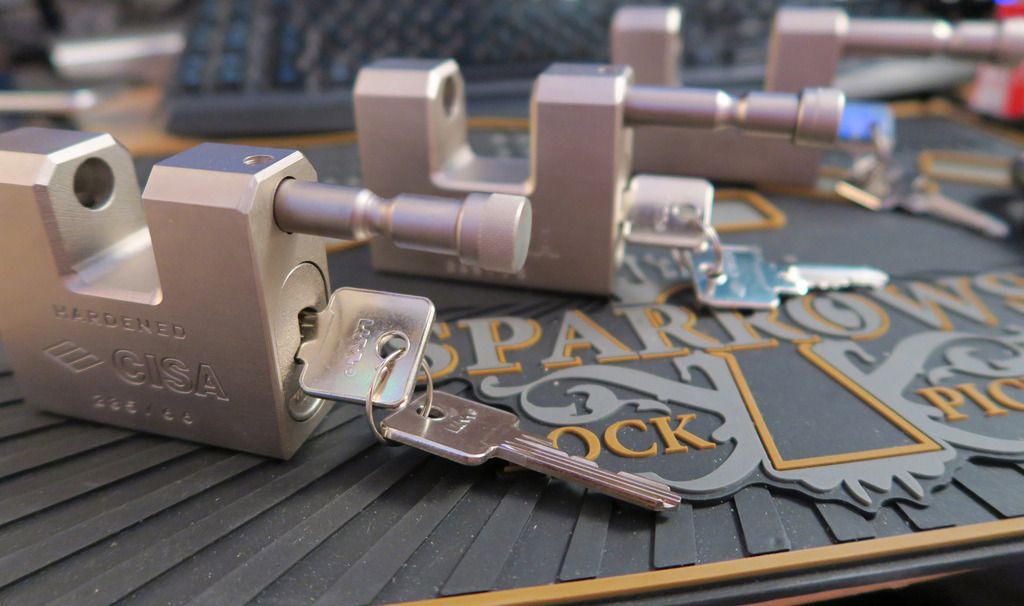
You've seen both of my CISA Closed Shackle locks - the /75 and the /85. Here's the 66 to complete the set!
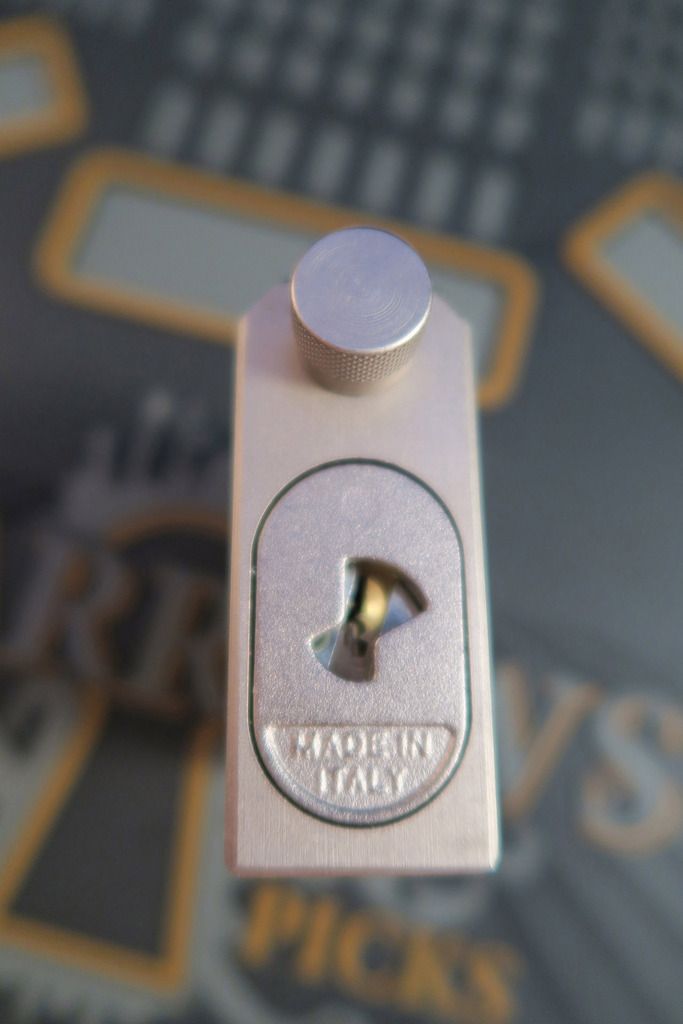
Just for completeness, I DID also try stripping this one down and hit the same brickwall removing the outer cylinder plate. I didn't bother to photograph the takedown process up until that point because it's identical to the other two and I don't want to bore you with redundant photos

.
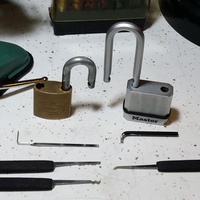
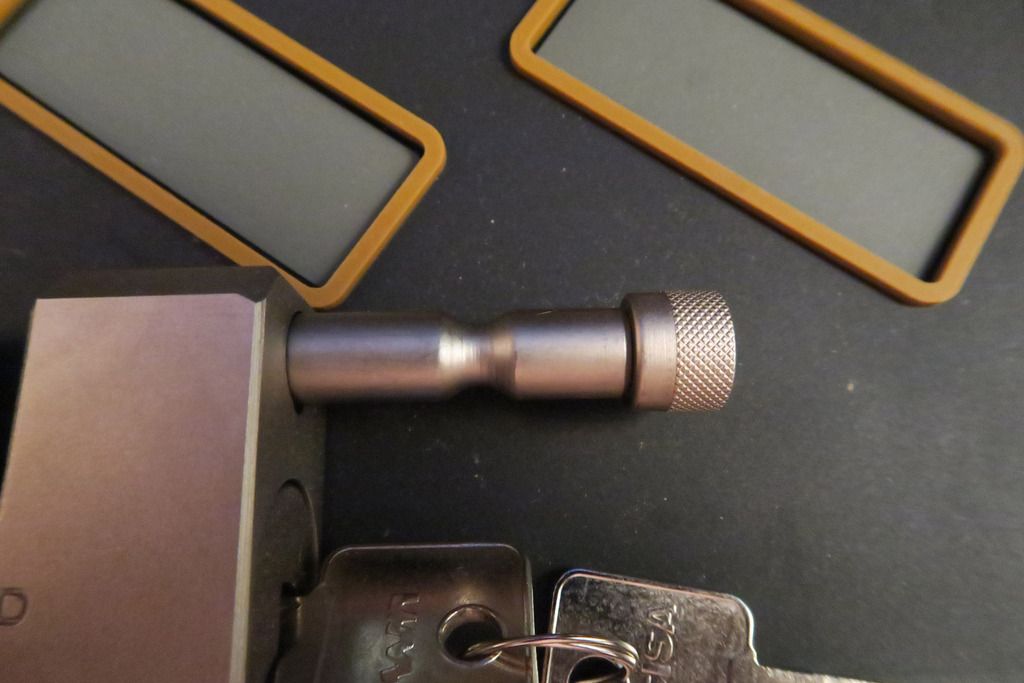
Looks small in my hand compared with the other two:

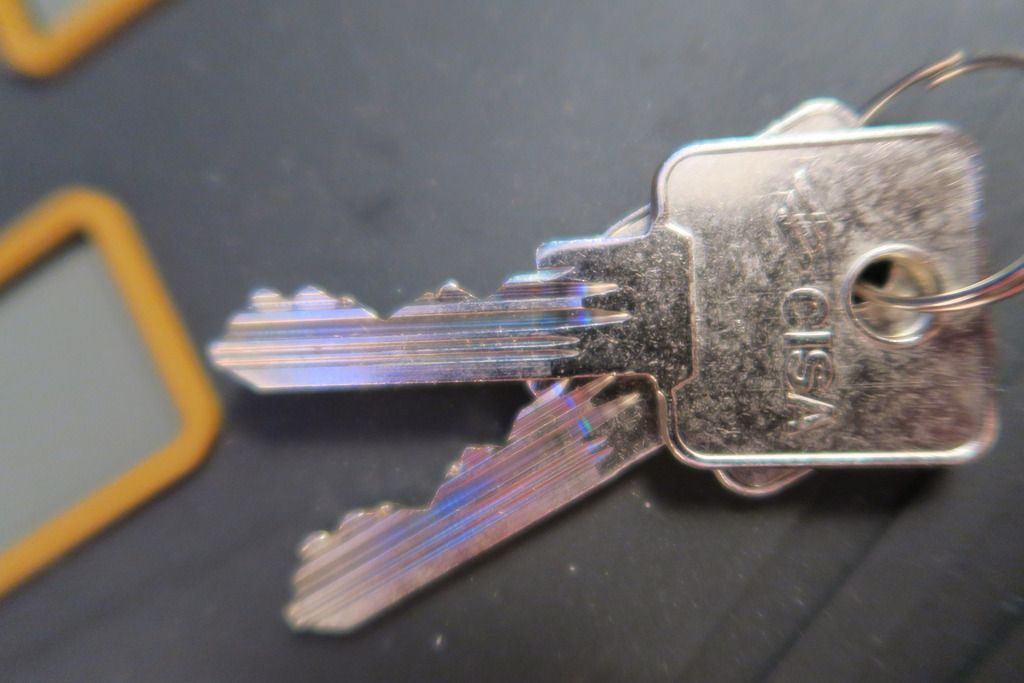
Same keyway:
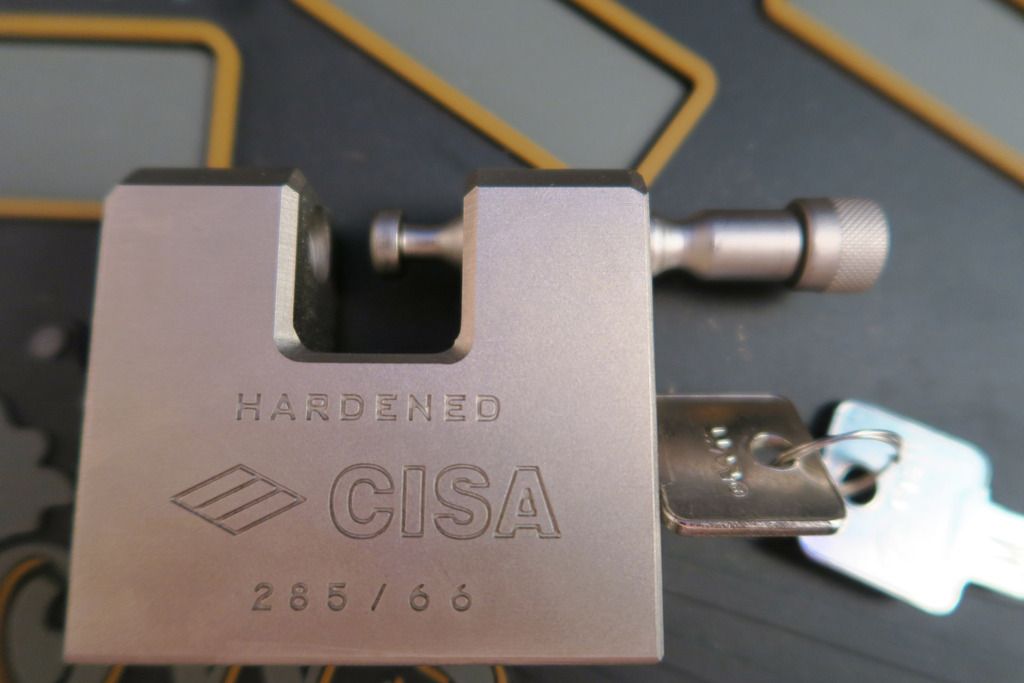
Pretty thin shackle!
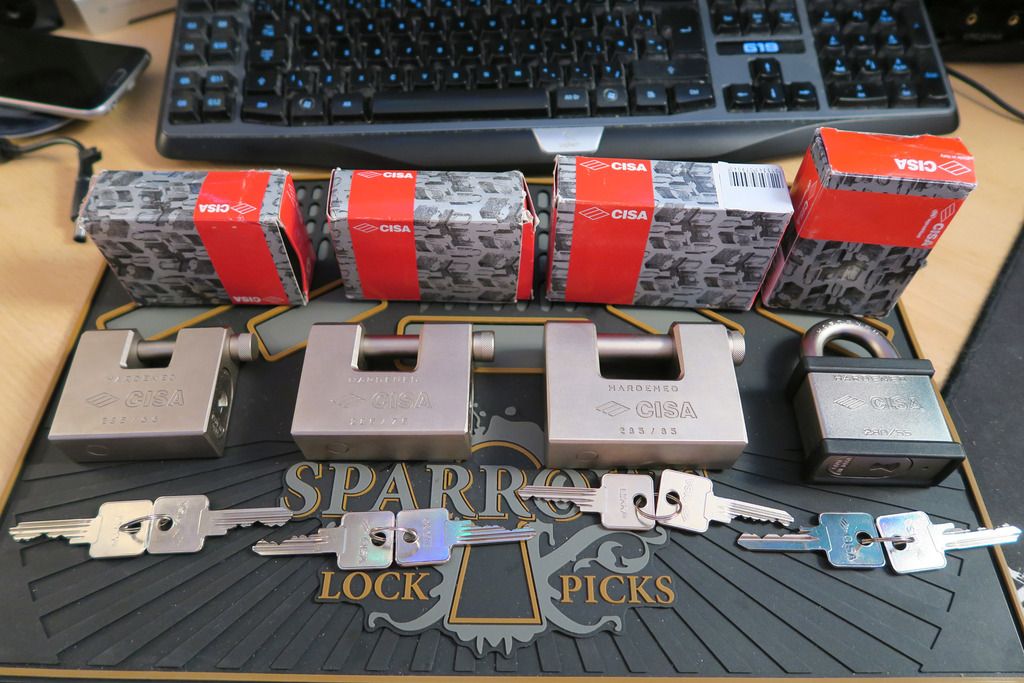
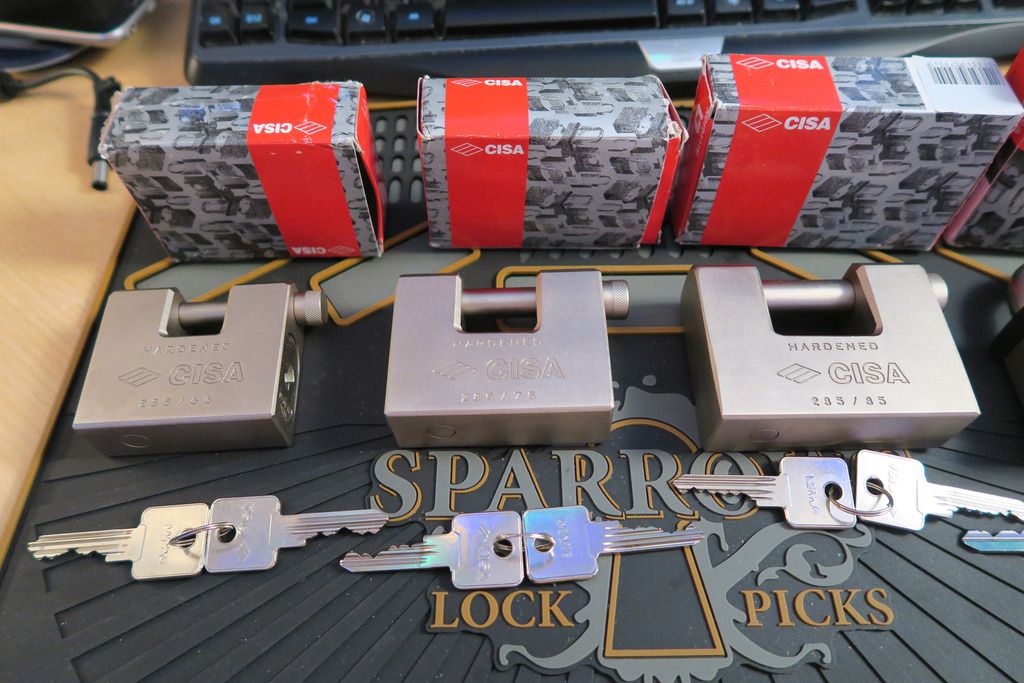
Three bonus pics of the three (four) Cisas all together
And that brings part one to a close

.
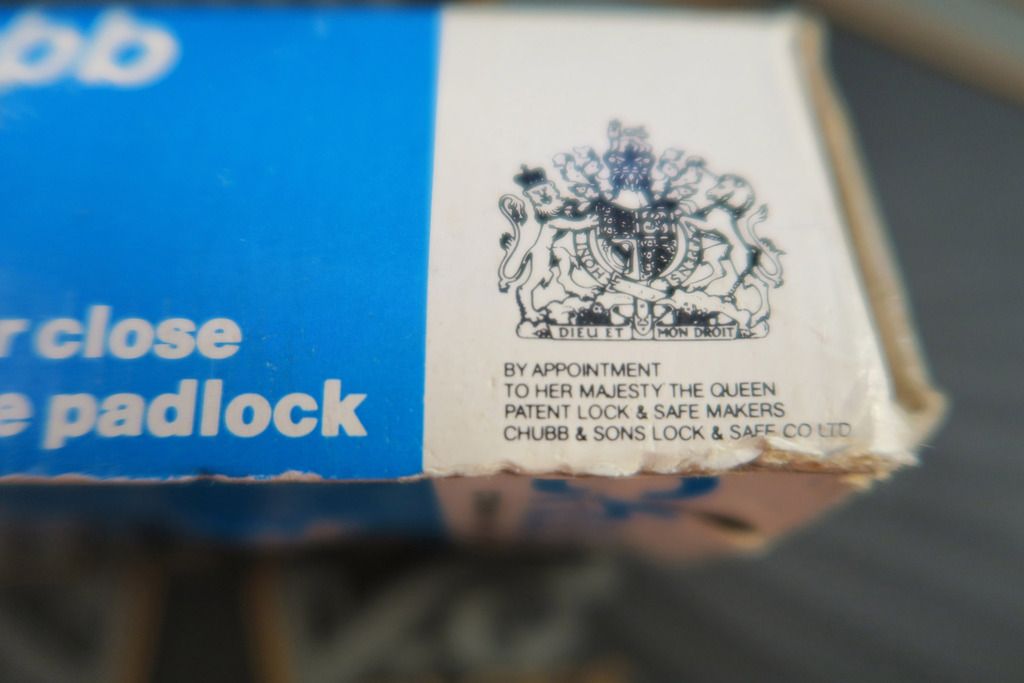
Update Numero DuoWhilst I couldn't quite attribute it to the "lock that got me into locks" (that honour goes jointly to the Cisa shutterlock and the Assa Ruko), I spent a lot of my childhood in lockshops and hardware shops marvelling at locks. Chubbs were very big in the UK at that time, and almost every lockshop had a range of heavy, beefy Chubb padlocks in stock that I'd spend ages drooling over. So it was really a no-brainer for me to pick up a nice Chubb or two.
The only problem is, since being taken over by Assa, the design of the Chubb locks has changed - the Cruiser and Battleship now have those words stamped into them, rather than the old-style "Chubb", as well of course as the new Assa packaging. That's fine and all, and it's great to have a shiny new lock, but I was really after is a bit of nostalgia. Luckily, eBay came up trumps for me this time:
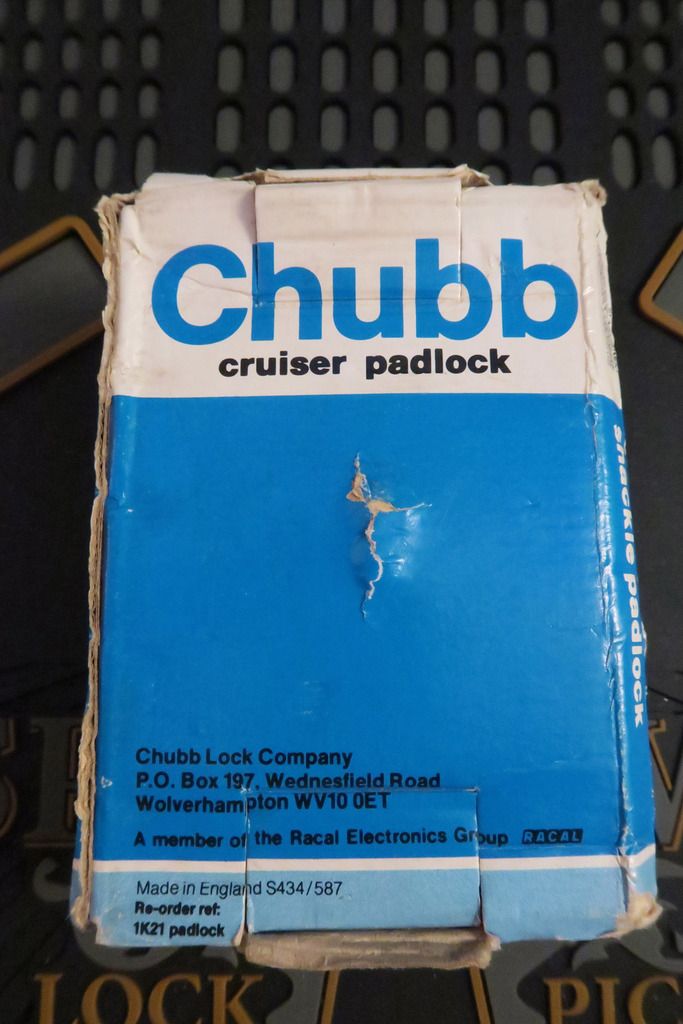
:
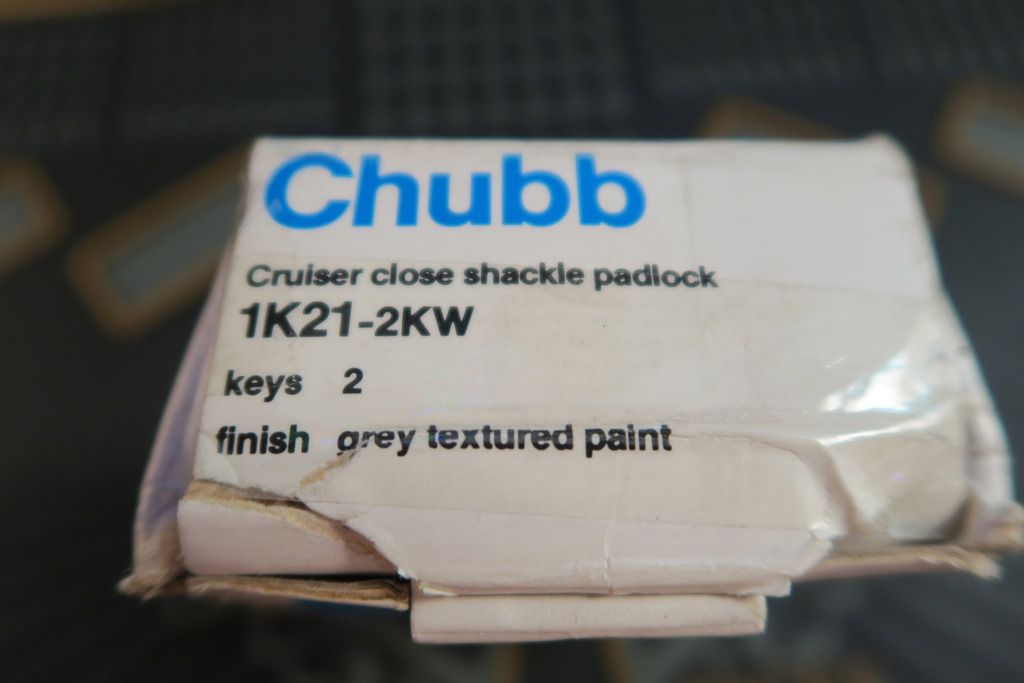
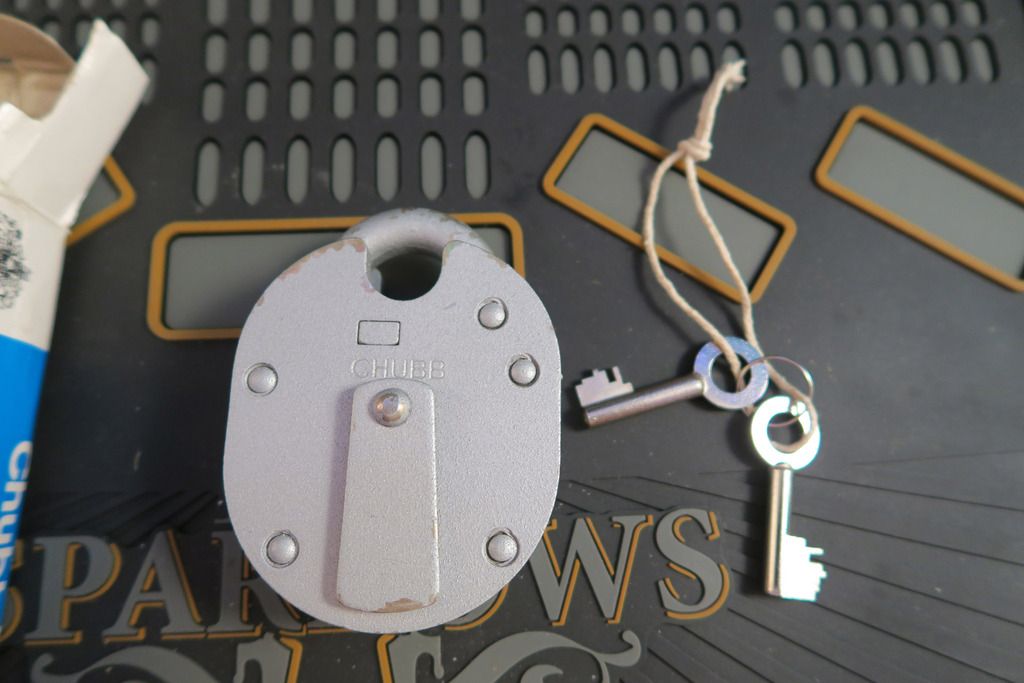
Yeah, the paint is a little scratched up but other than that it's in perfect condition. The keys operate smoothly and the finish is lovely apart from a few nicks. The fact that it comes with the original box and keys seals the deal for me. Just a shame I haven't been able to find an "original" Battleship!
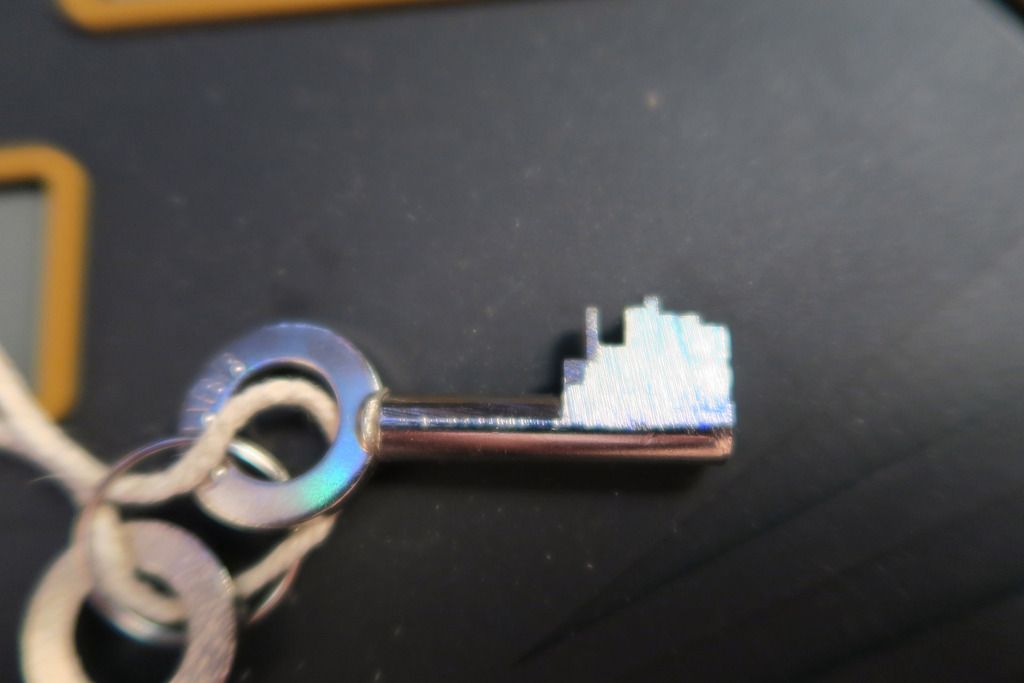
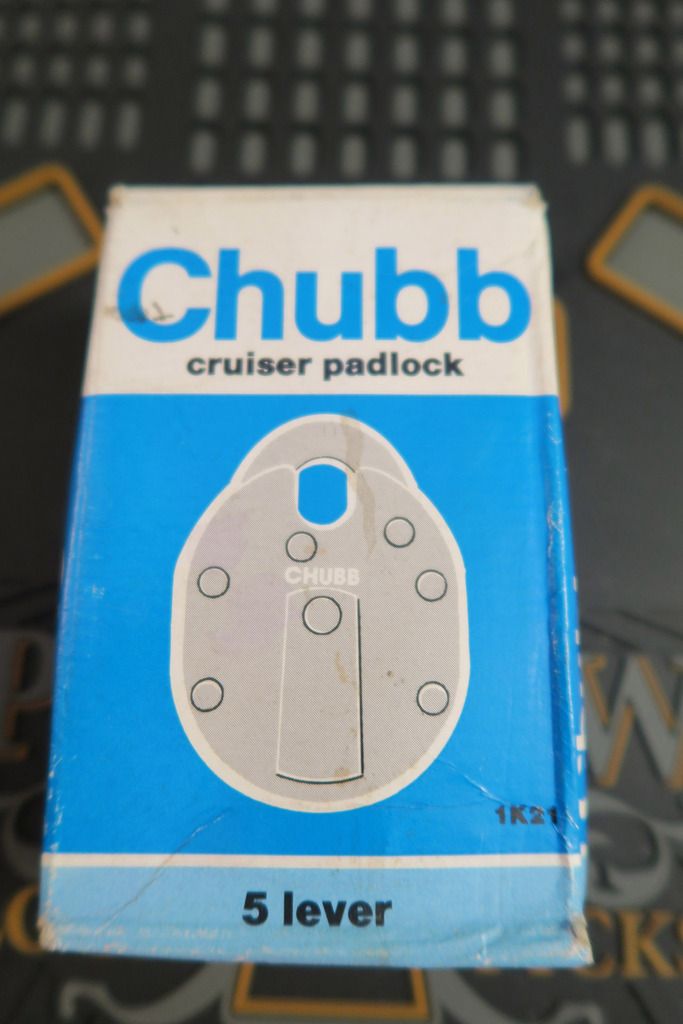
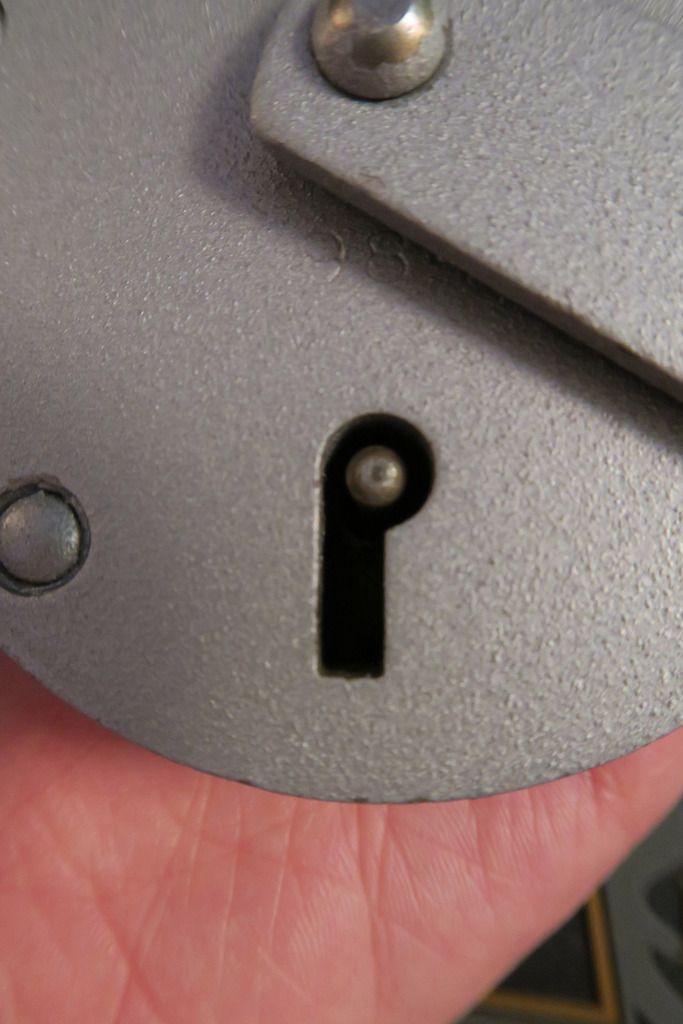
Lever locks. They don't make 'em like that any more!:
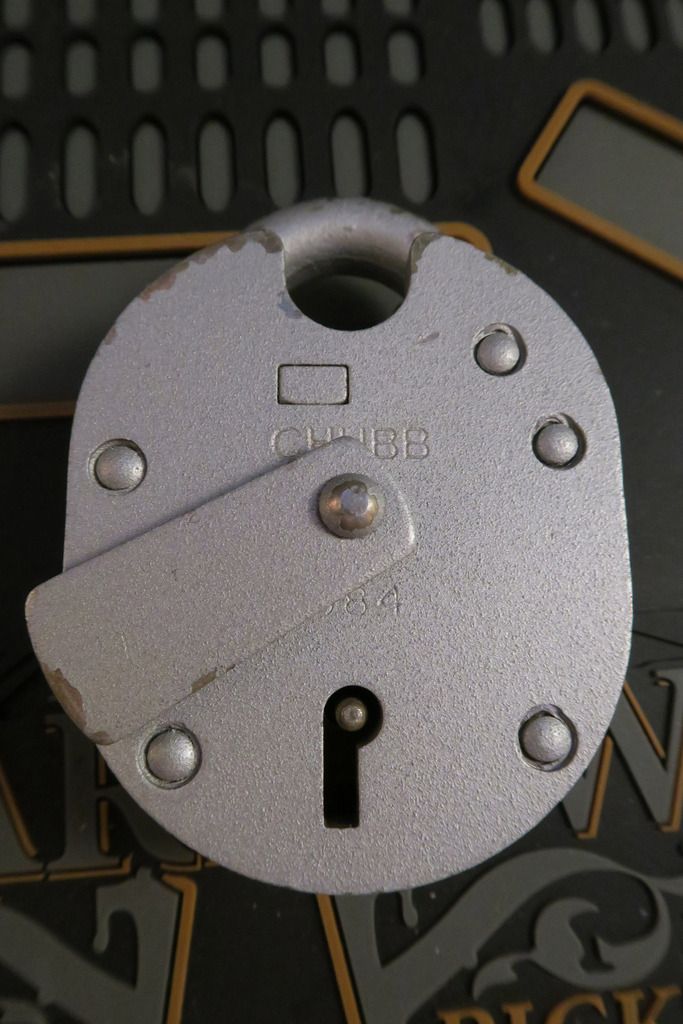
Keyway weather guard:

Paint scrapes:
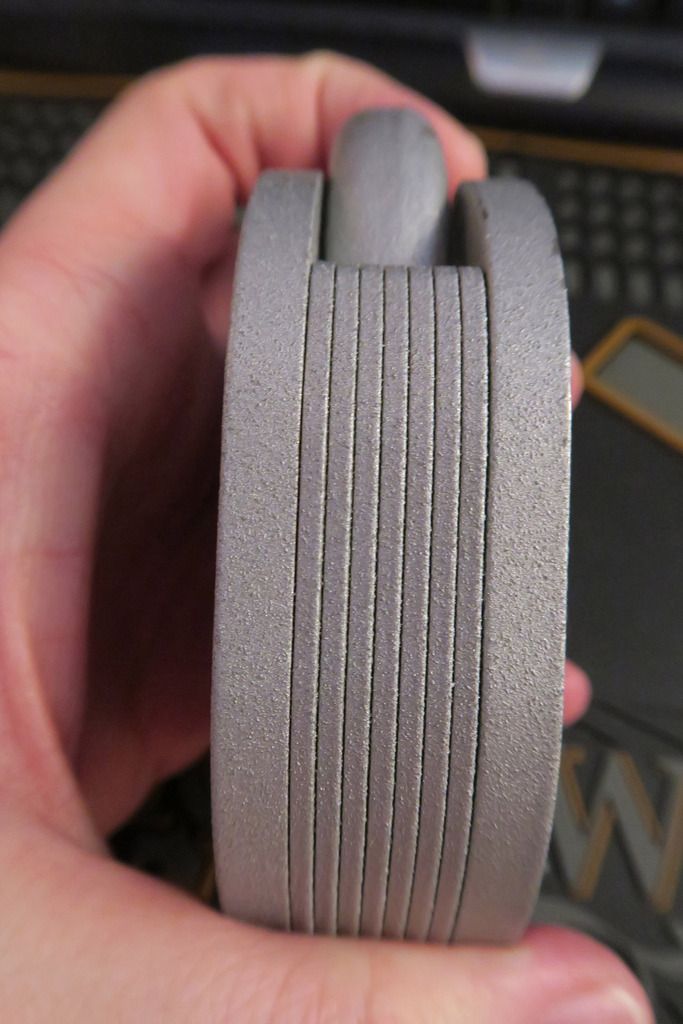
Seems to be made of laminate plates, riveted together. The Battleship doesn't have those so god knows how they do that one, I sadly haven't had occasion to inspect it
The back:
Unlocked:

I forgot to photograph it, but you can lock these open, it's fun to watch the locking pole (more of a locking sheet) moving across as you turn the key:

And that brings up to the end of part two!
I have to say I'm very happy to own a nice Chubb lock finally. This has to be one of my favourites in my collection so far... Well... Maybe except for the next one...
 And finally.... Update Numero Tres
*drumroll*
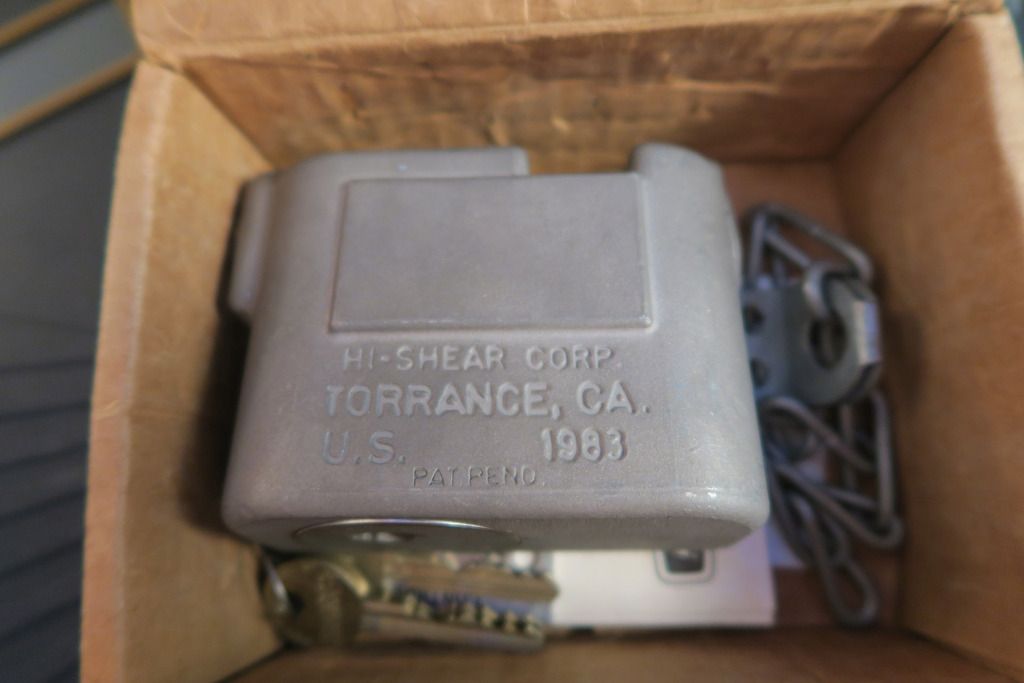
Mysterious brown box... (Yes yes, some of you will know exactly what this is from the box, shush

)
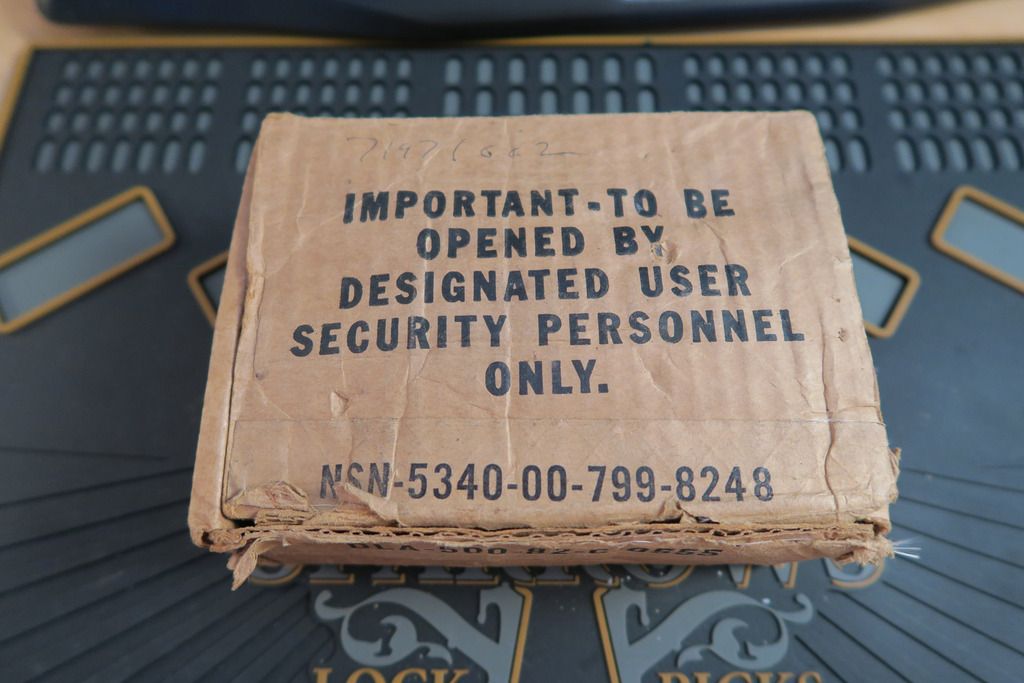
What could it be, I wonder?
Oh yeah, baby 8)
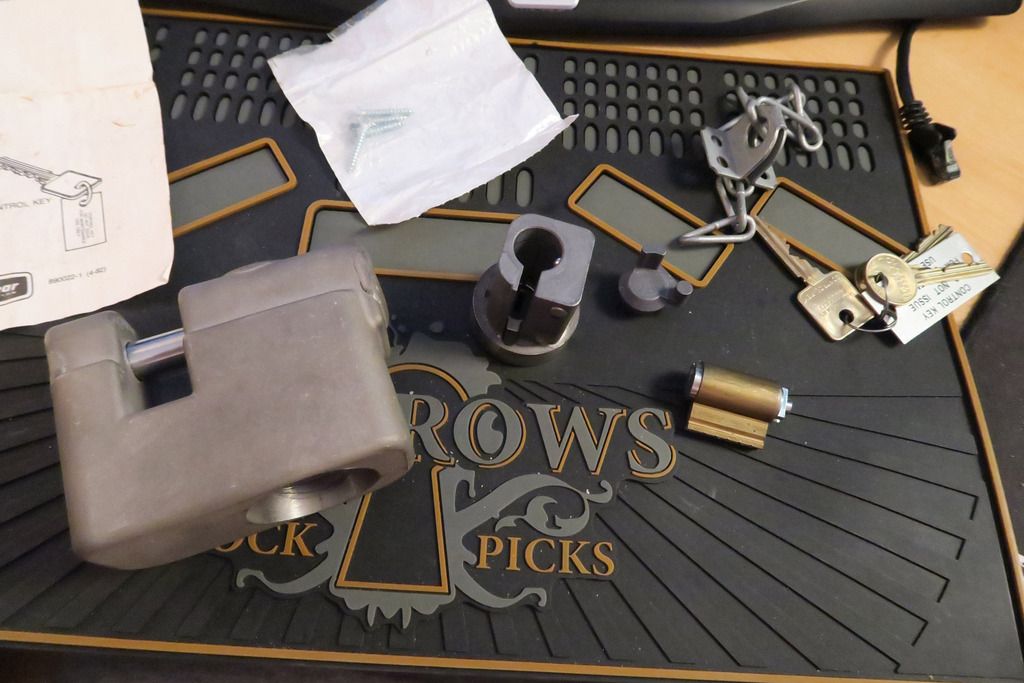
So, this is my new "first born" lock. And, well, it weighs as much as a new born baby. Probably more. Sheesh. I'm surprised it didn't pull the staple off the wall through sheer weight alone
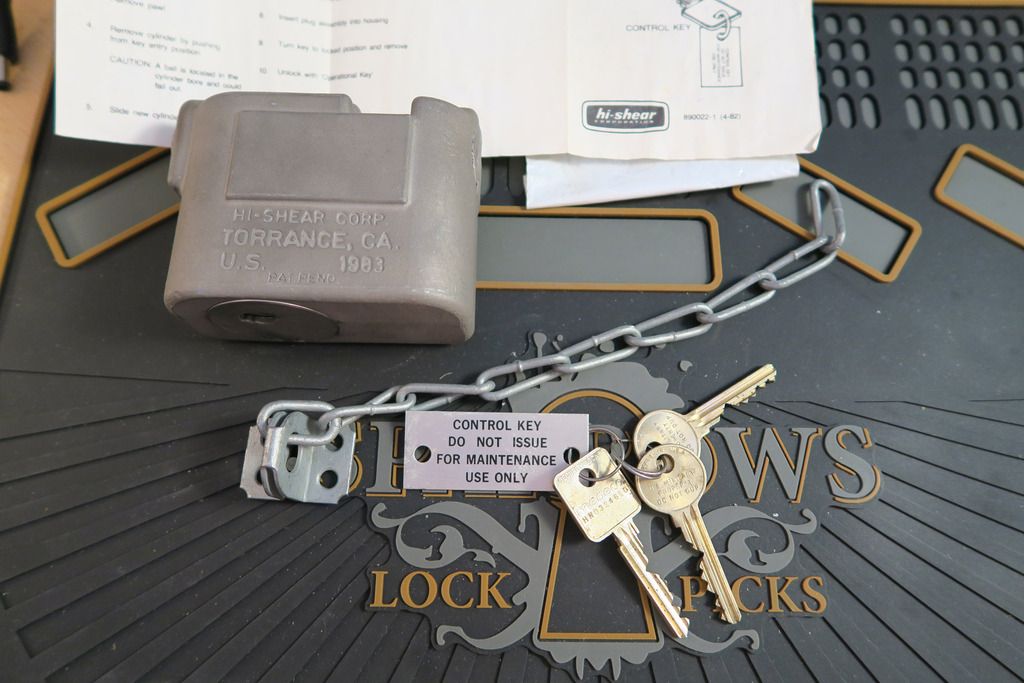
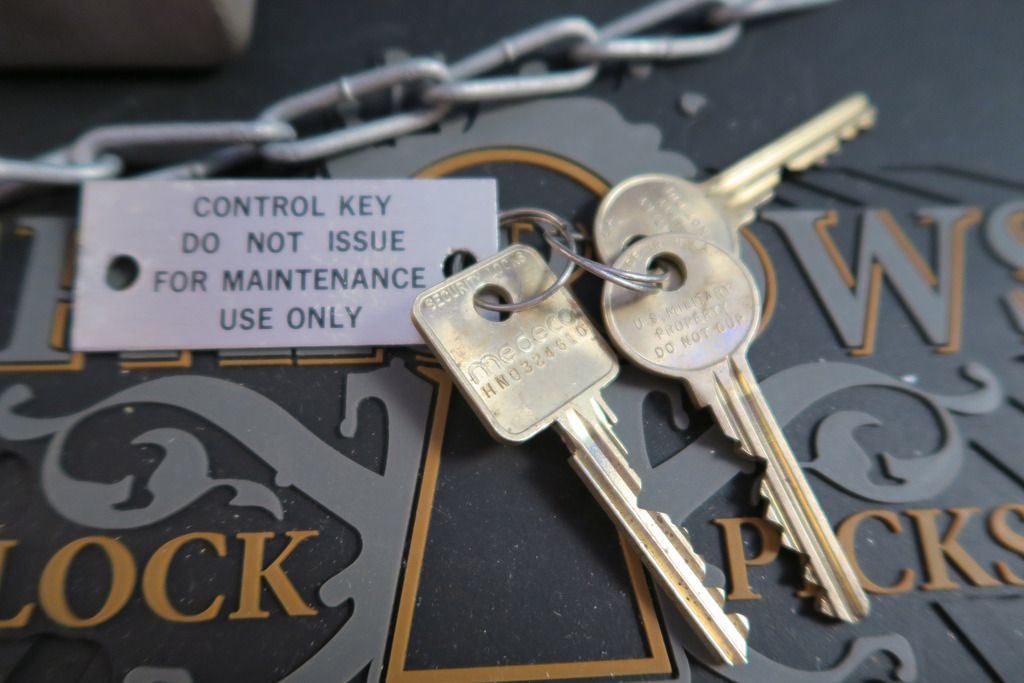
Original everything - lock, keys, instructions, chain, box.
I'm so chuffed to get this through.. It got sent through eBay using their "Global Shipping Programme", which is terrible. I figure I'm lucky to have it this "soon", to be honest. Not that it's going to get damaged in transit
I hear they only made a very limited run of these and that they were used for securing nuclear ordinance. I don't know if this one ever saw use for that purpose (or another purpose) or whether it just sat in a box for years but it's kinda cool to think that maybe this very lock was once used to keep nukes safe 8)
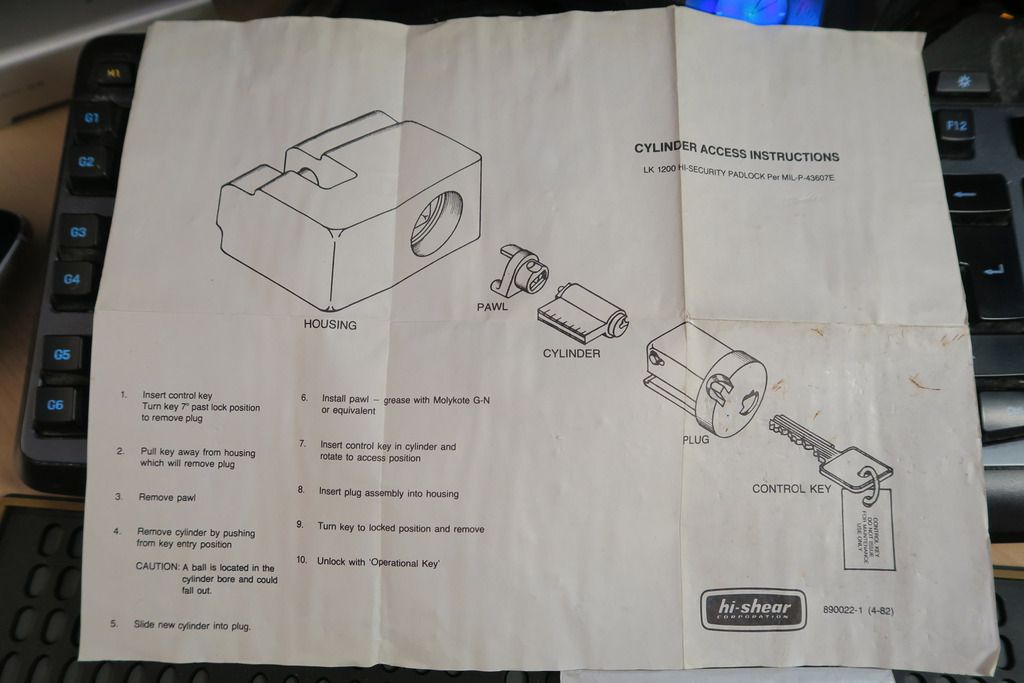
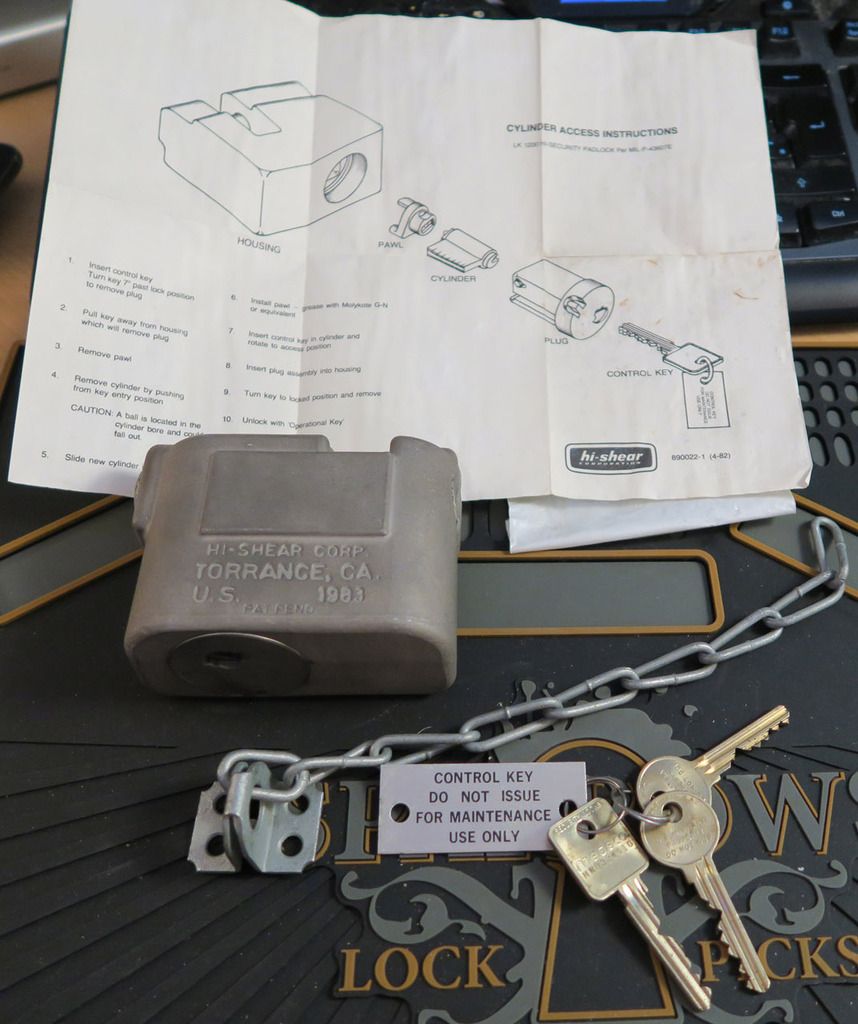
Love how clean and clear that instruction sheet is after decades in storage (I guess there's a change that the instructions aren't the original? Hard to know one way or another though).
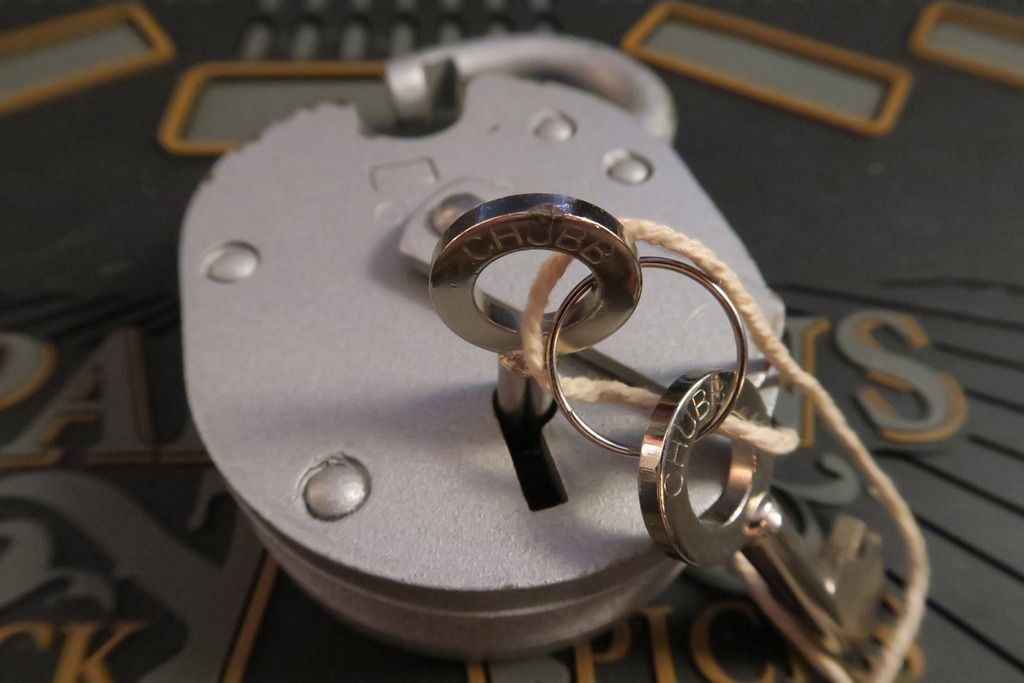
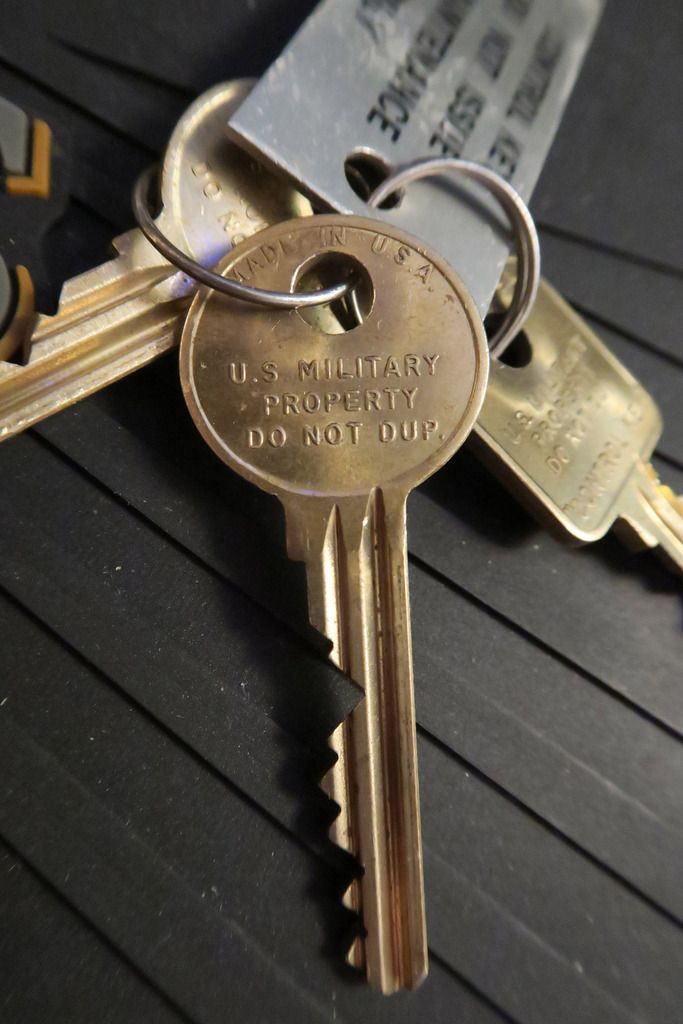
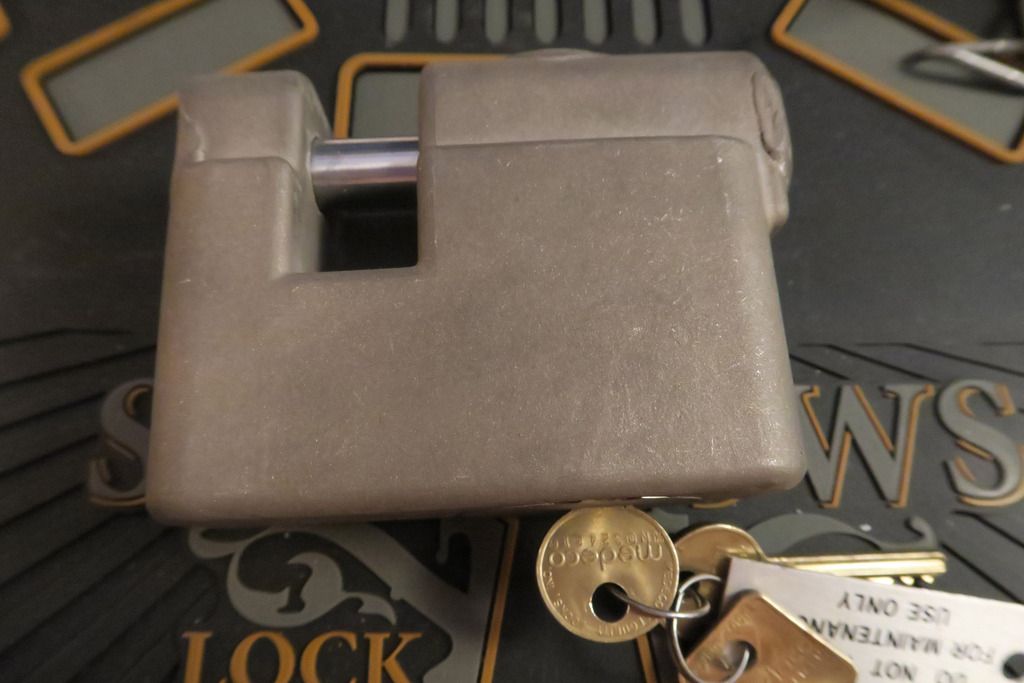
Original keys. It's a Medeco core and comes with two operator keys (for locking and unlocking the lock), and one control key (for removing the core):
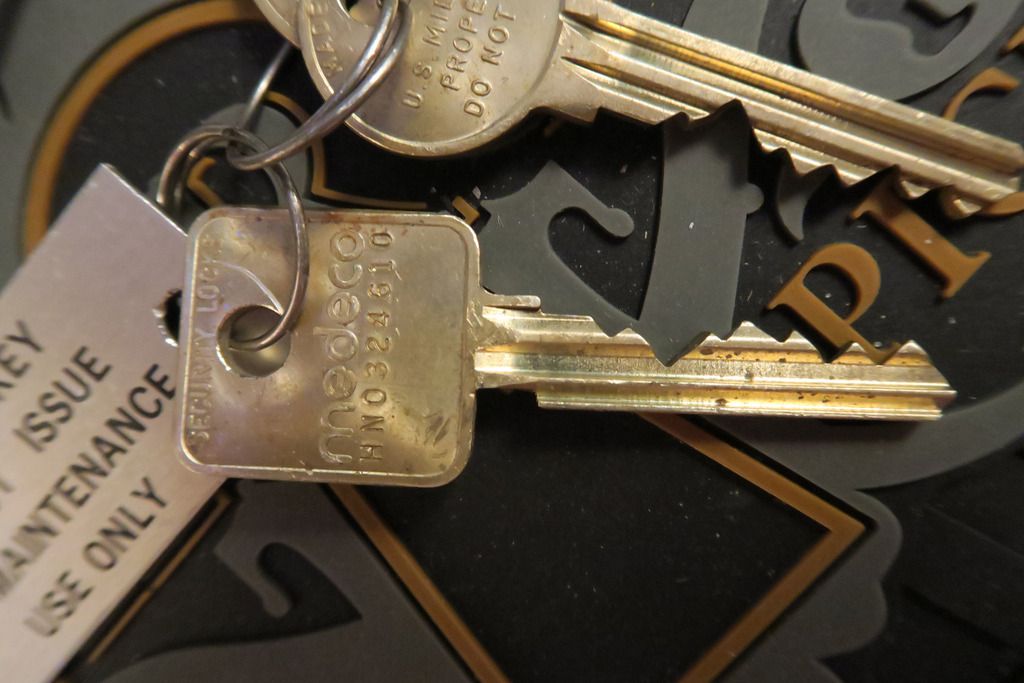
Close-up of the control key ("Medeco" side):
Same key, "US MILITARY PROPERTY DO NOT DUP" side:
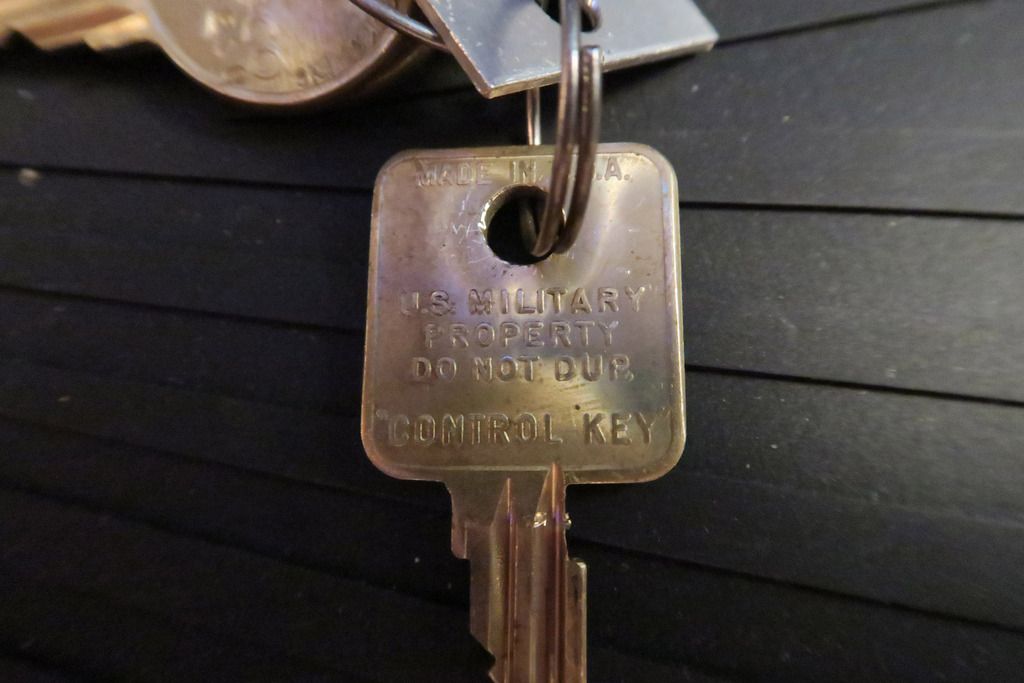
Note the little cut-out notch in the back of the key shaft? That's the only difference between the Control and Operator keys.
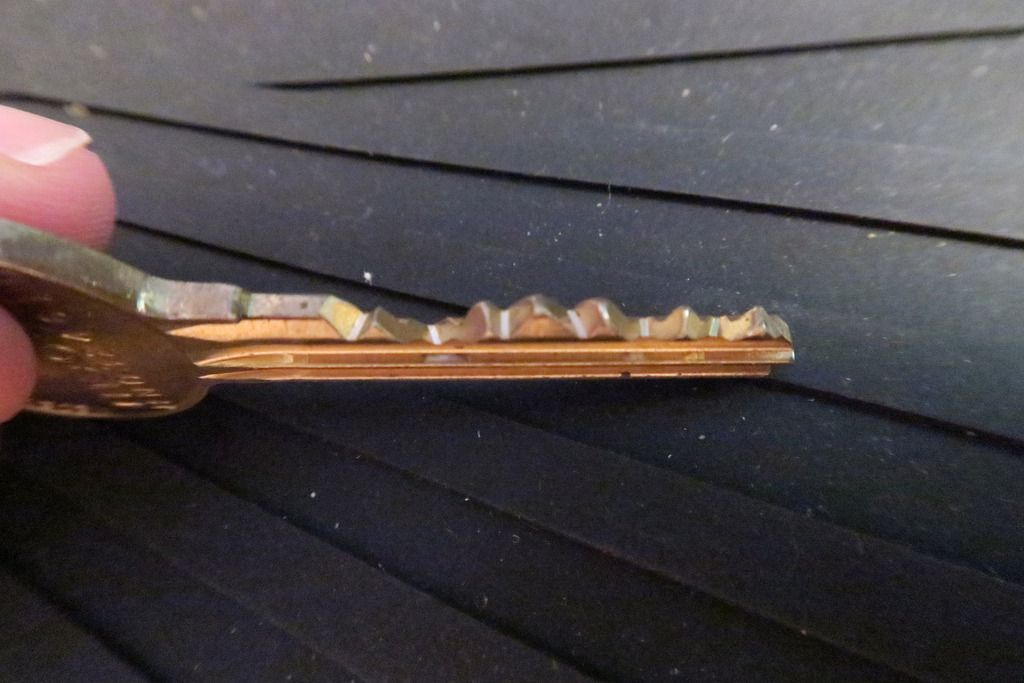
Close-up of the regular key:
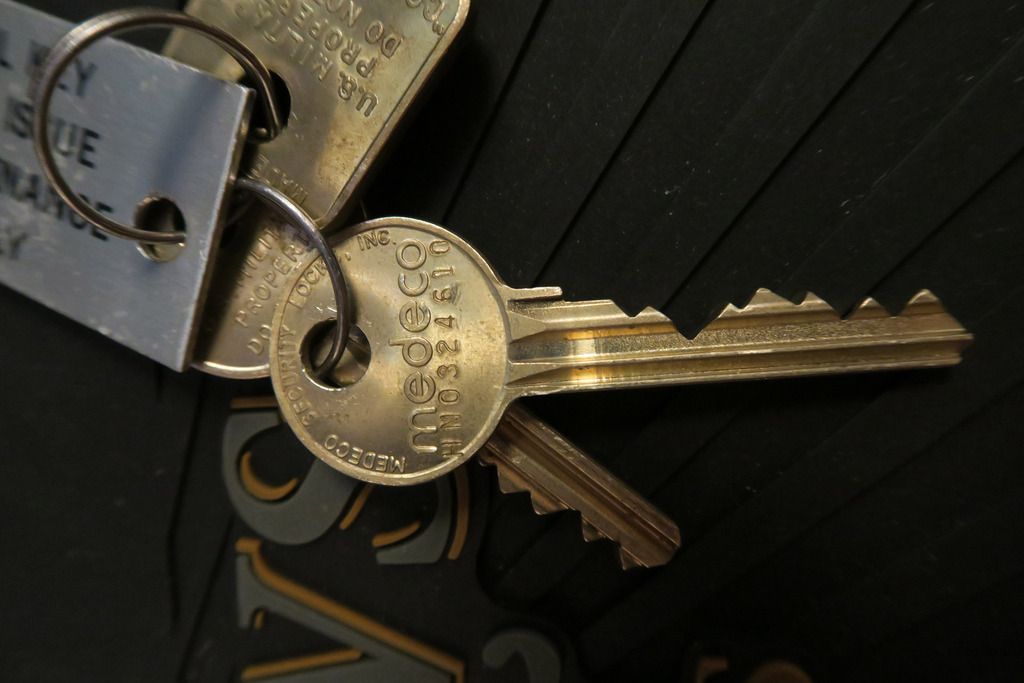
And the back:
Medeco's famed angular bitting:
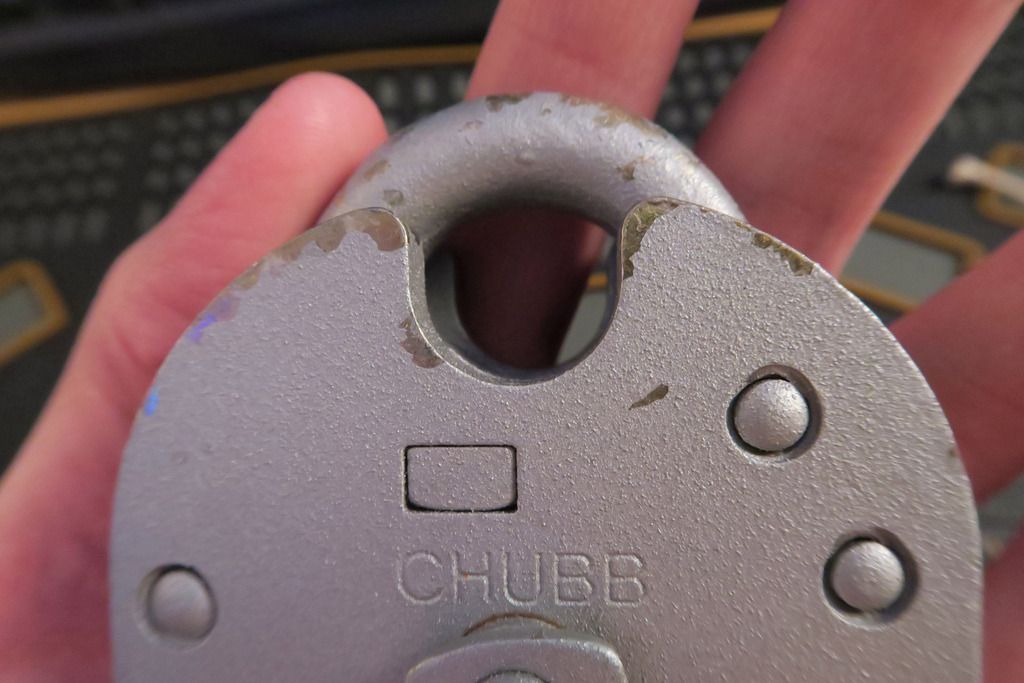
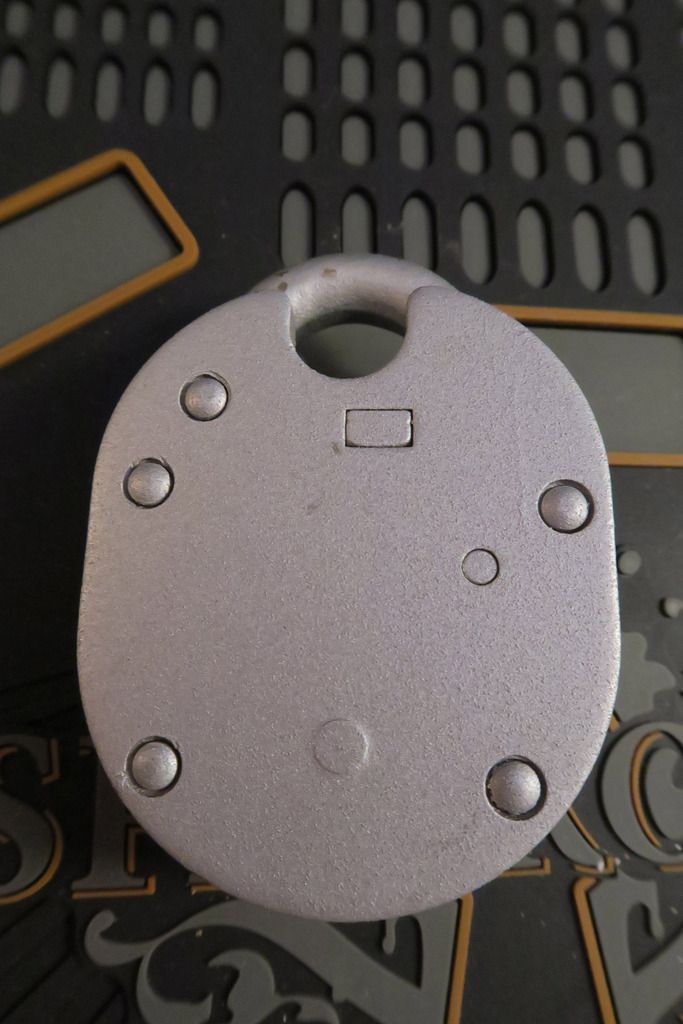
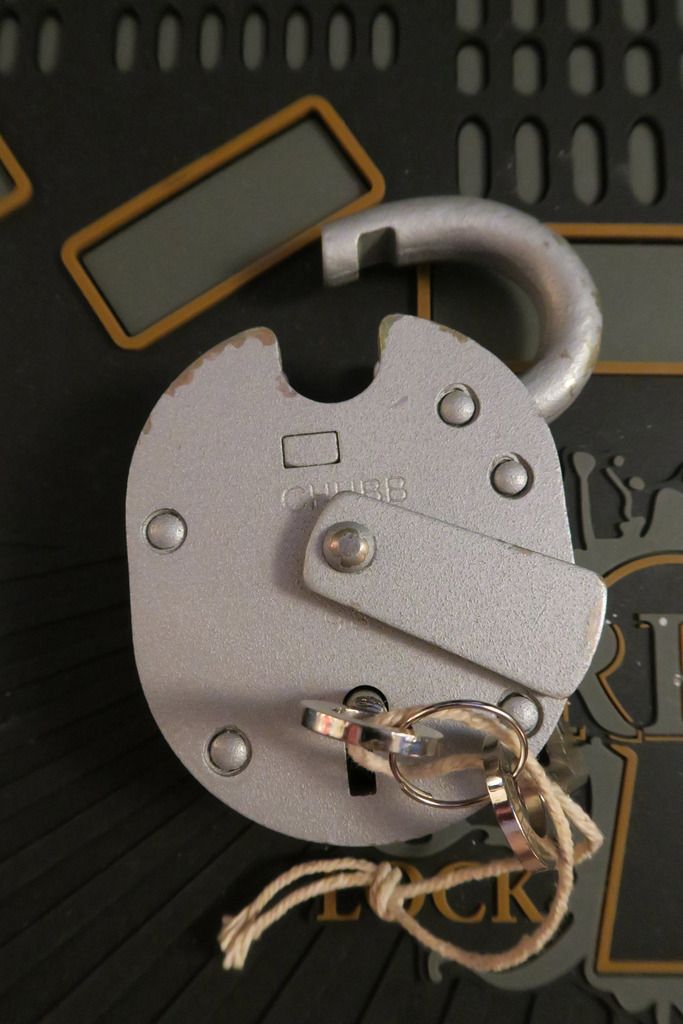
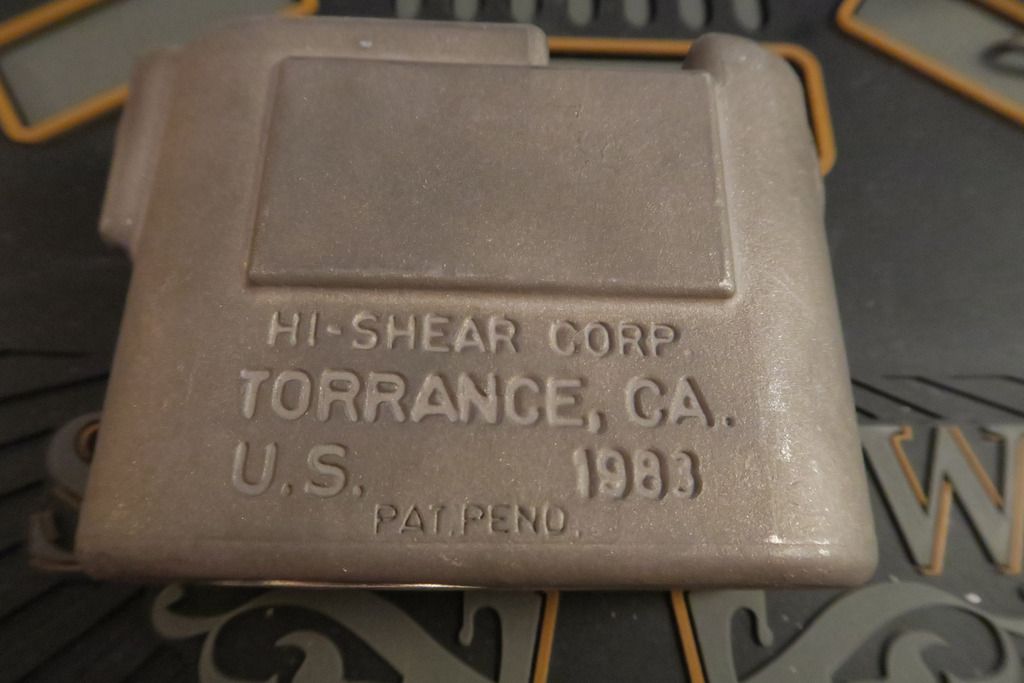
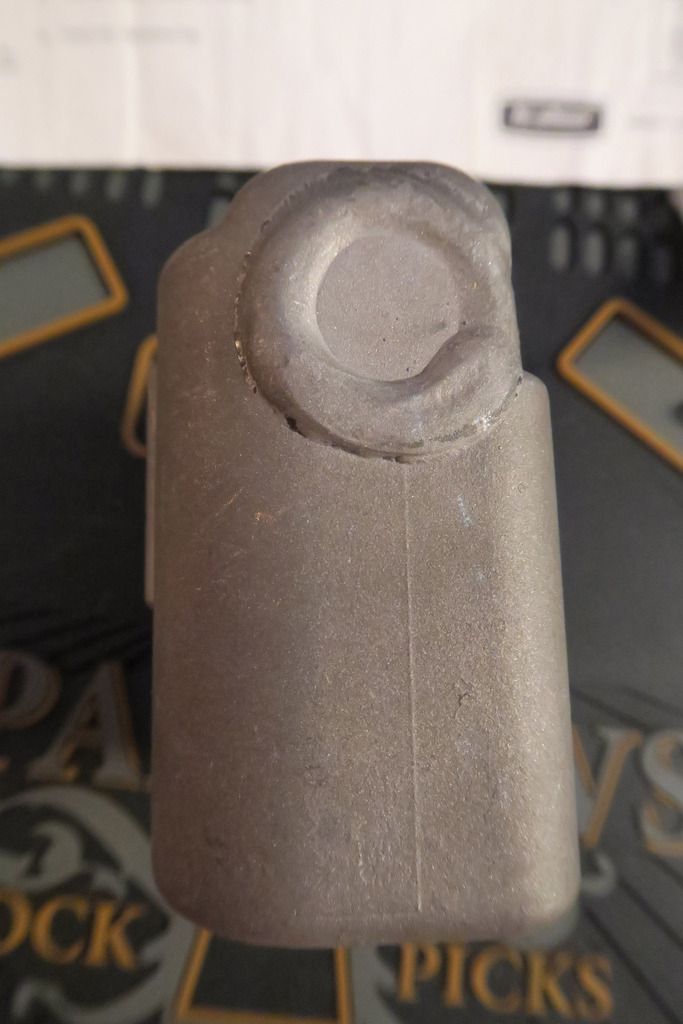
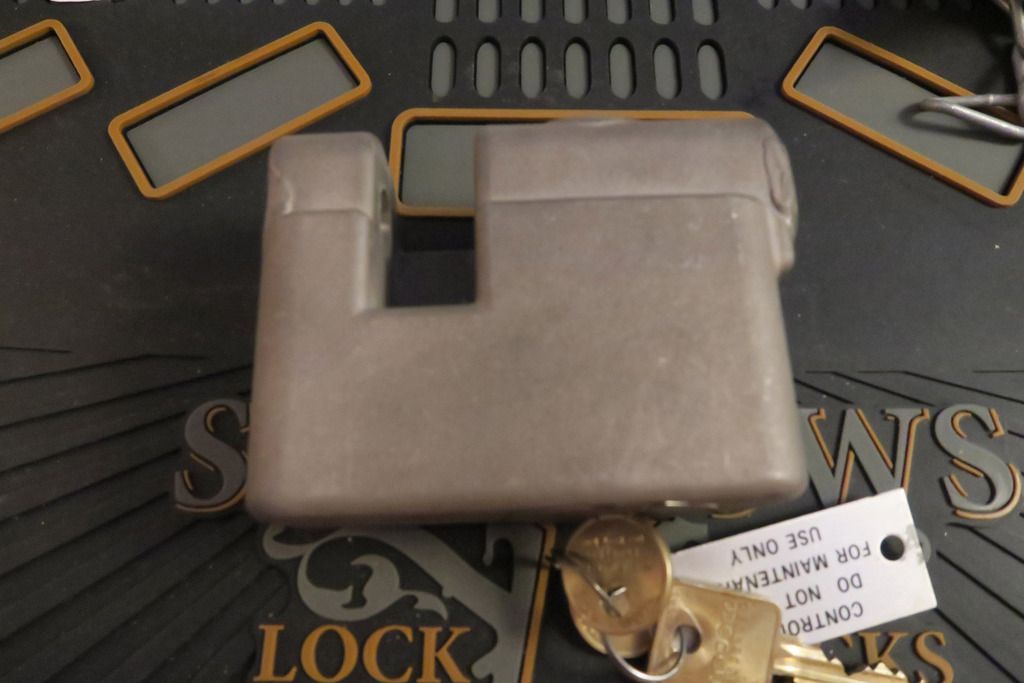
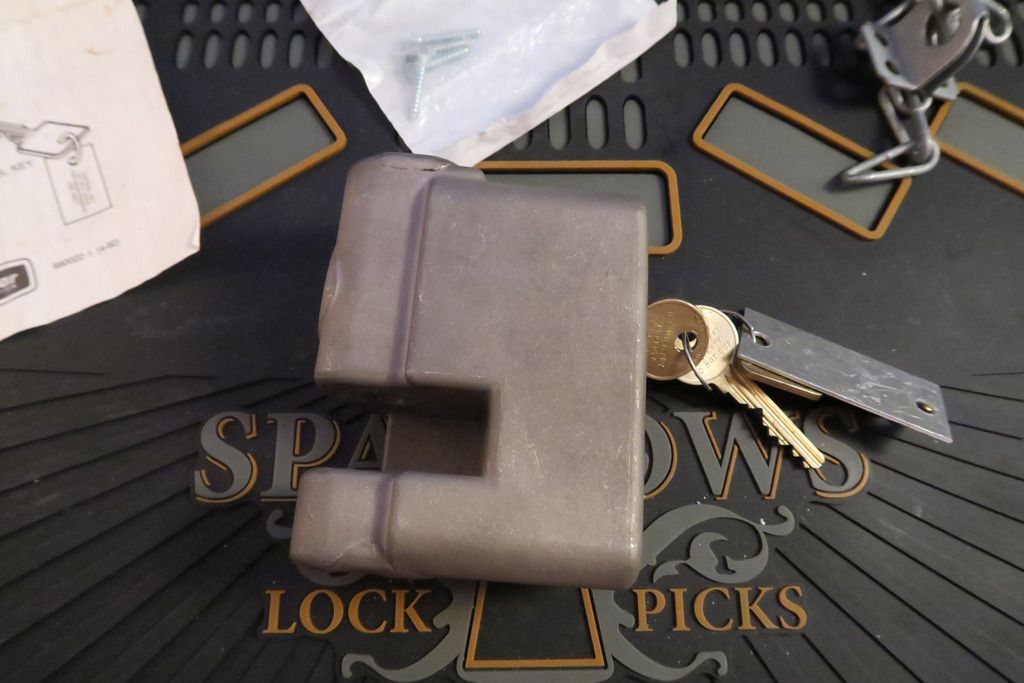
Front side. VERY clean, VERY good condition. So maybe it wasn't used, or wasn't used for long:
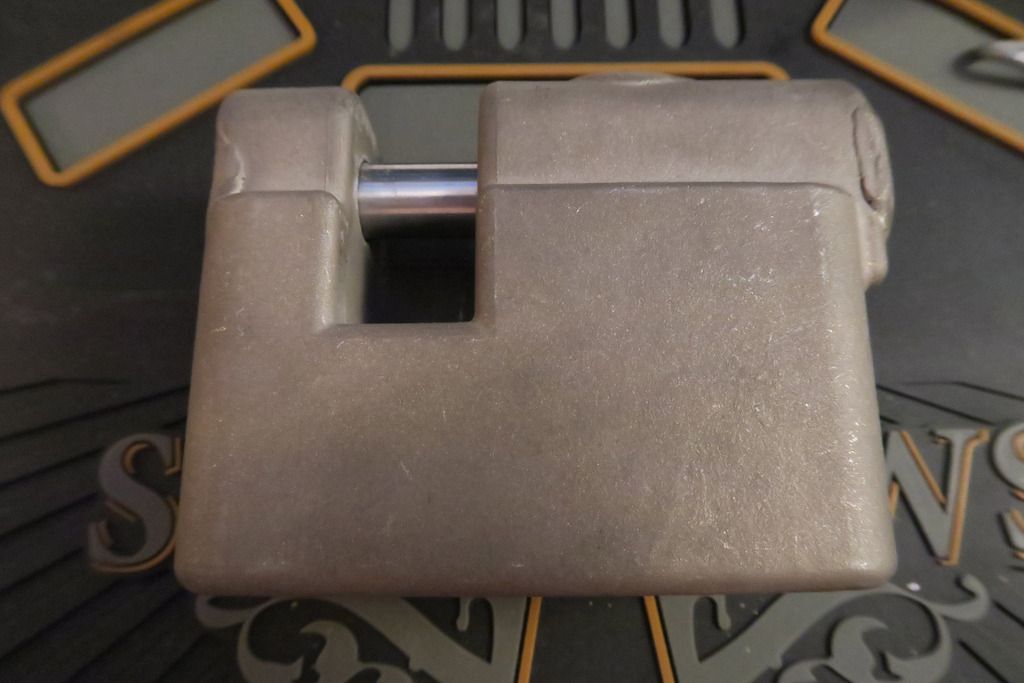
And the back (or.. Front? The shackle side, anyway):
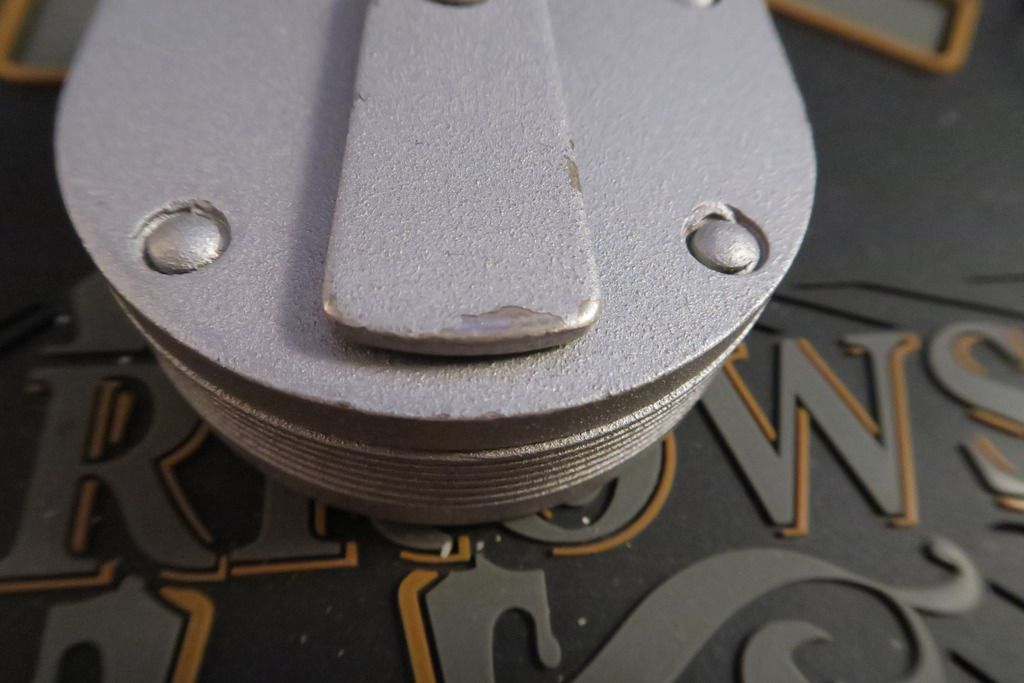
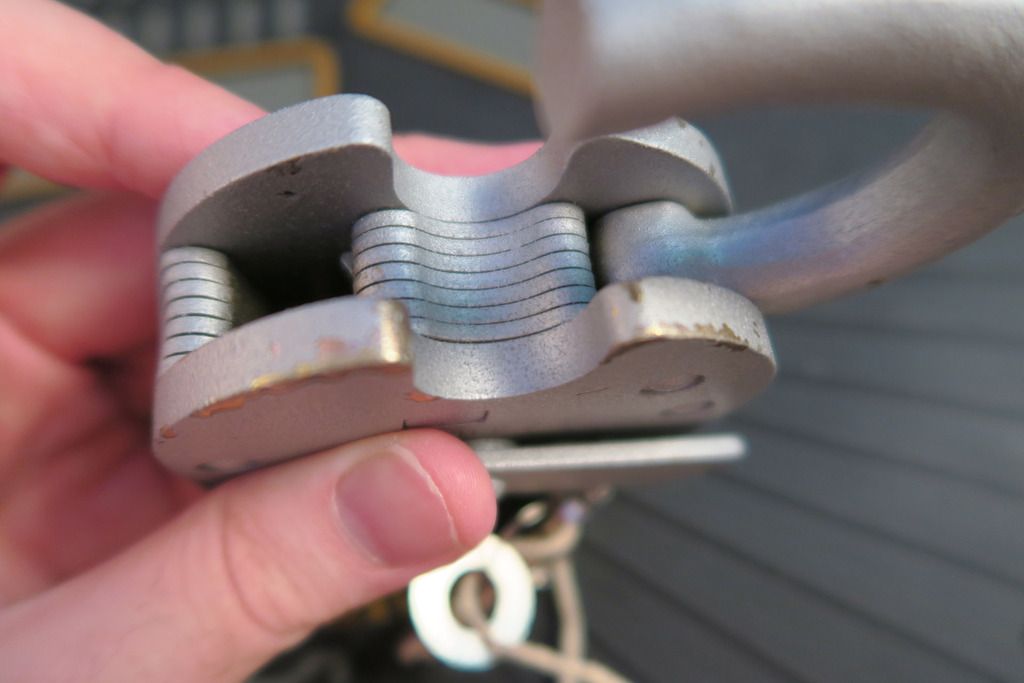
The top. I love these GIANT messy welded-in disks. Did they literally make this padlock by taking a massive chunk of steel, boring holes in it, dumping the guts of a padlock inside and just whacking a giant disk over the hole and welding it shut? That's.... Utilitarian
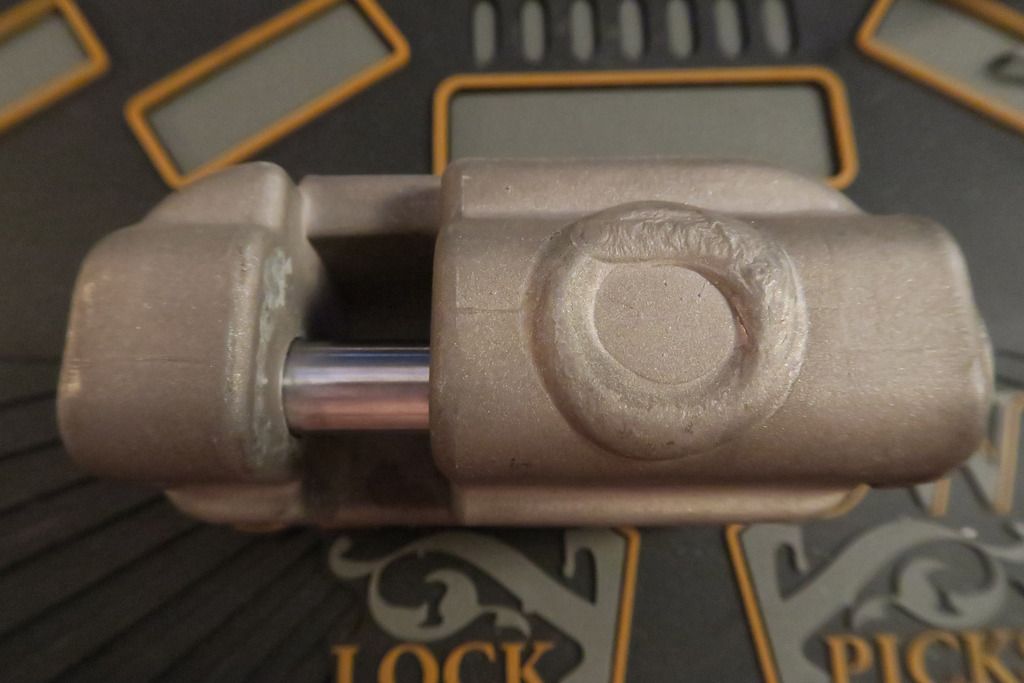
Another one, on the side. I wonder if that could be a weakness for the lock? Dremel cut around the weld, pop the disk out and pull the guts out. Not sure how strong the weld joint is though, maybe it's like that wood glue thing... "The joint is stronger than the pieces that it holds" or whatever that advert was...
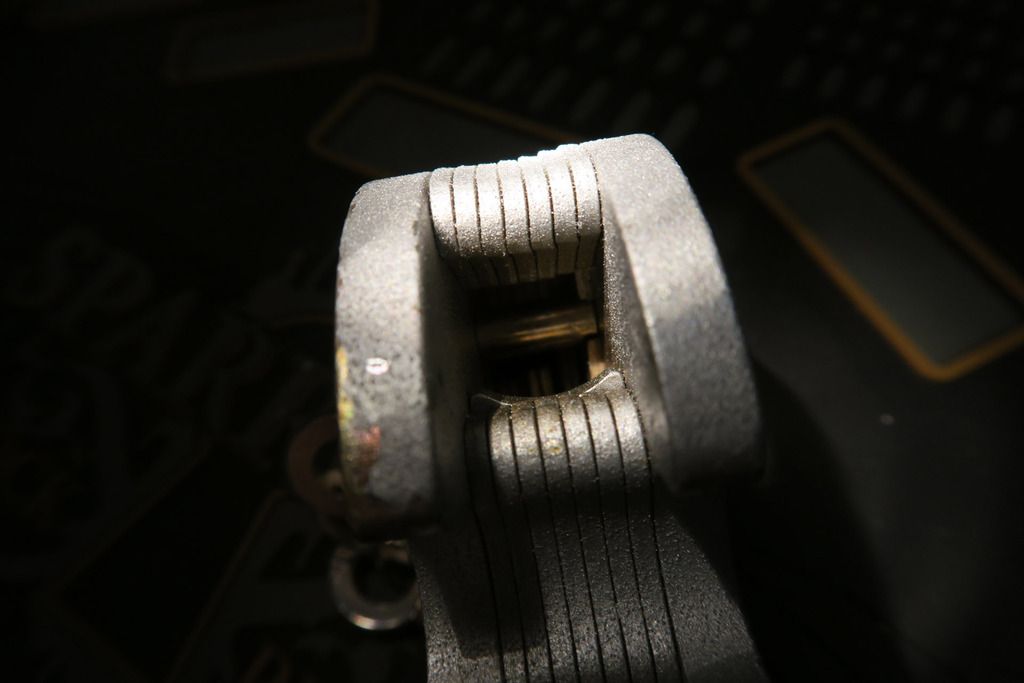
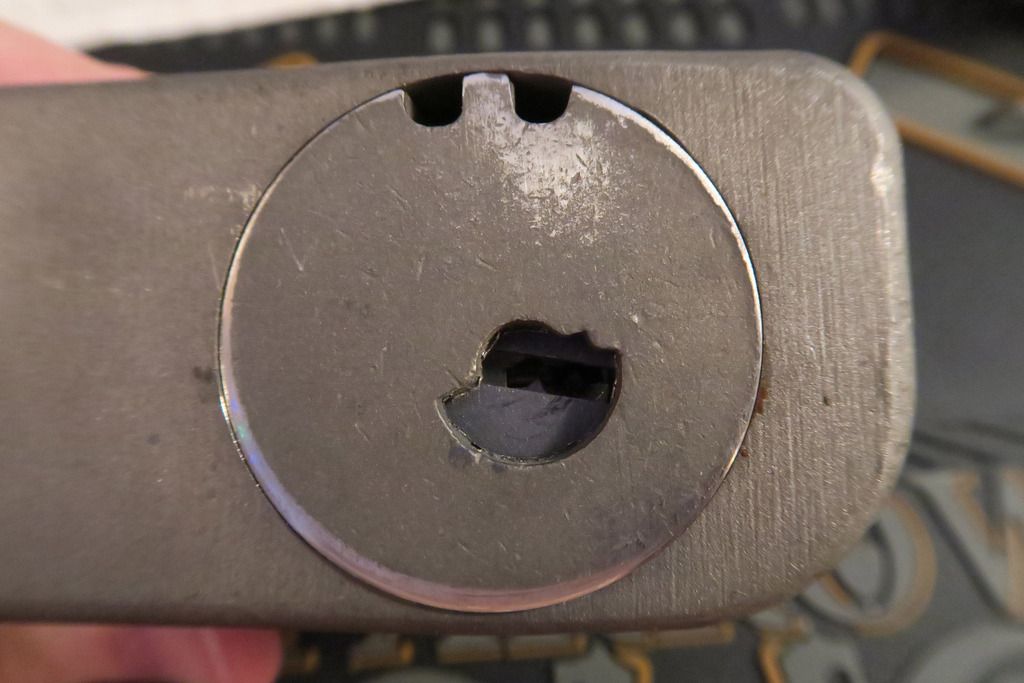
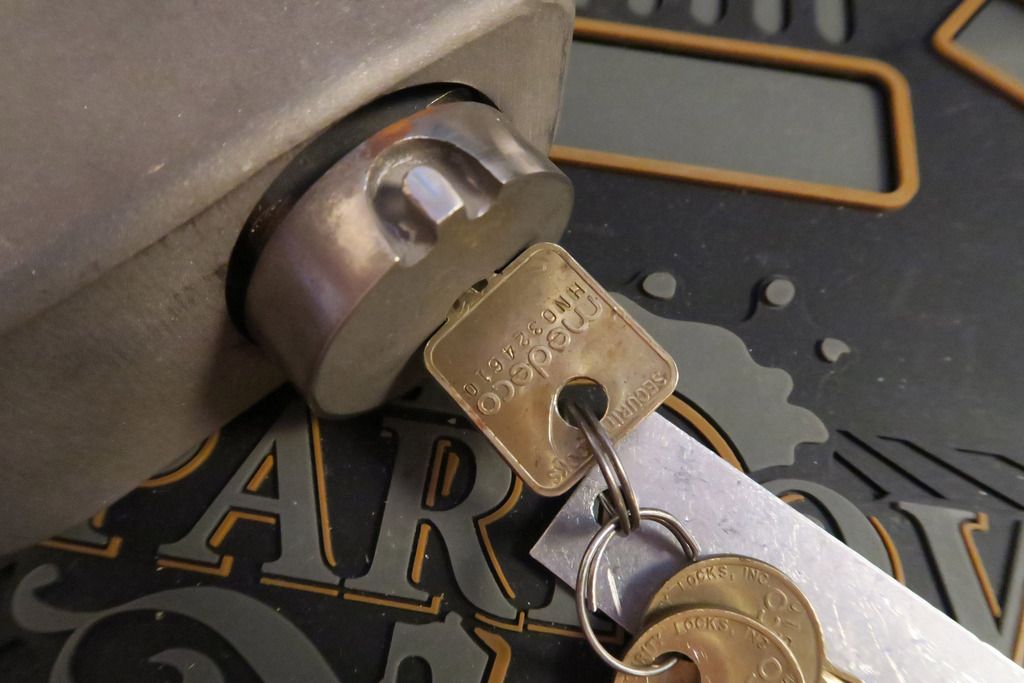
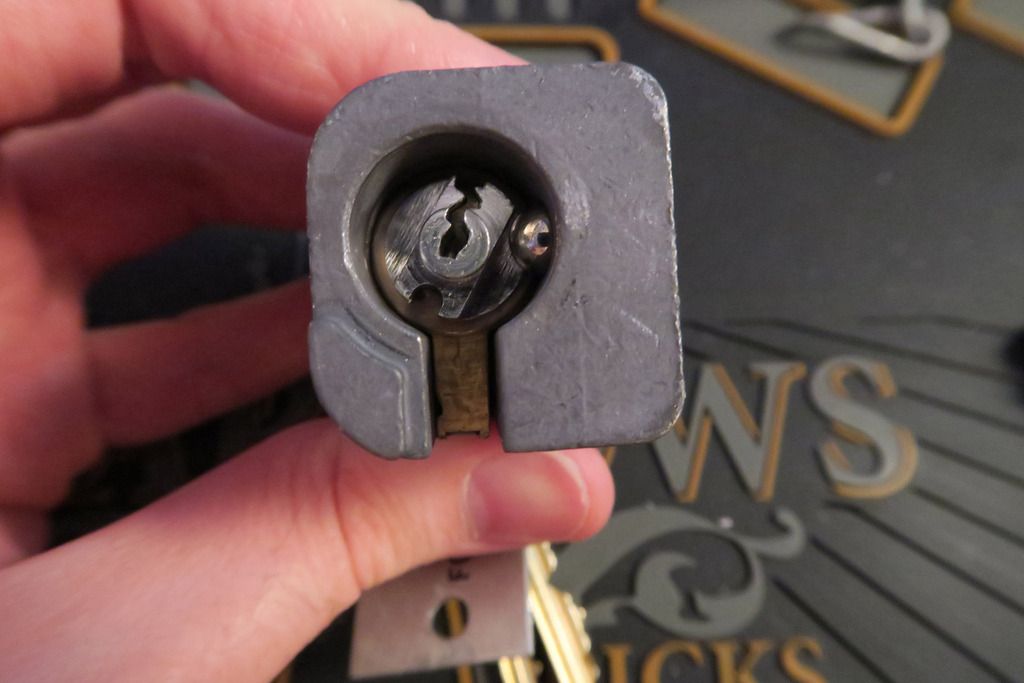
The bottom. Man, look at that plug! Huge.

Close-up. There are more anti-drill disks in there as well as the natural shielding provided by the plug. The two small holes at the top are to attach a chain, and staple to keep the lock attached to something. Though IMO looking at the chain and staple provided, I reckon if you picked up the lock, held it at the highest you could above the height of the staple (max chain length) and dropped it, it'd probably rip the staple right off the wall:
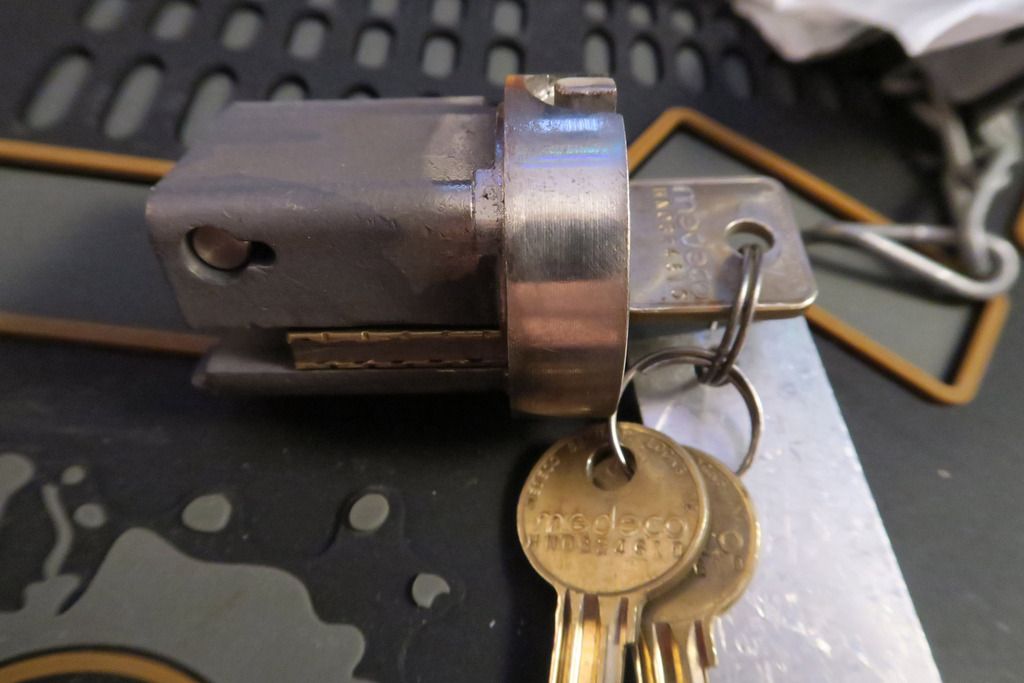
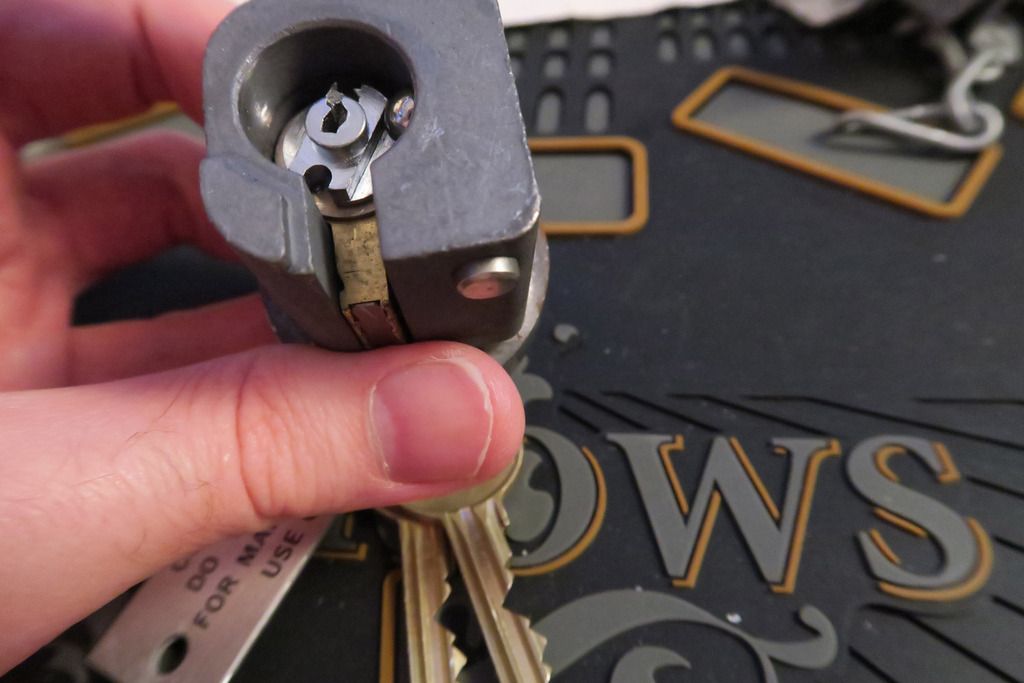
Operator key inserted. Note that it goes right into the body; there's no loose key-bits showing below the bow:
Rotating the key actually pulls the shackle back as you turn it. Confused me a bit at first but it actually makes a lot of sense when you think about how this lock would have to be mounted. Also the cylinder, at least in mine, "catches" in some strange ways. It's not perfectly smooth but I think that's to do with things not perfectly lining up or to do with the dual-function locking system rather than any sloppy tolerances in manufacture or anything like that.

Shackle open:
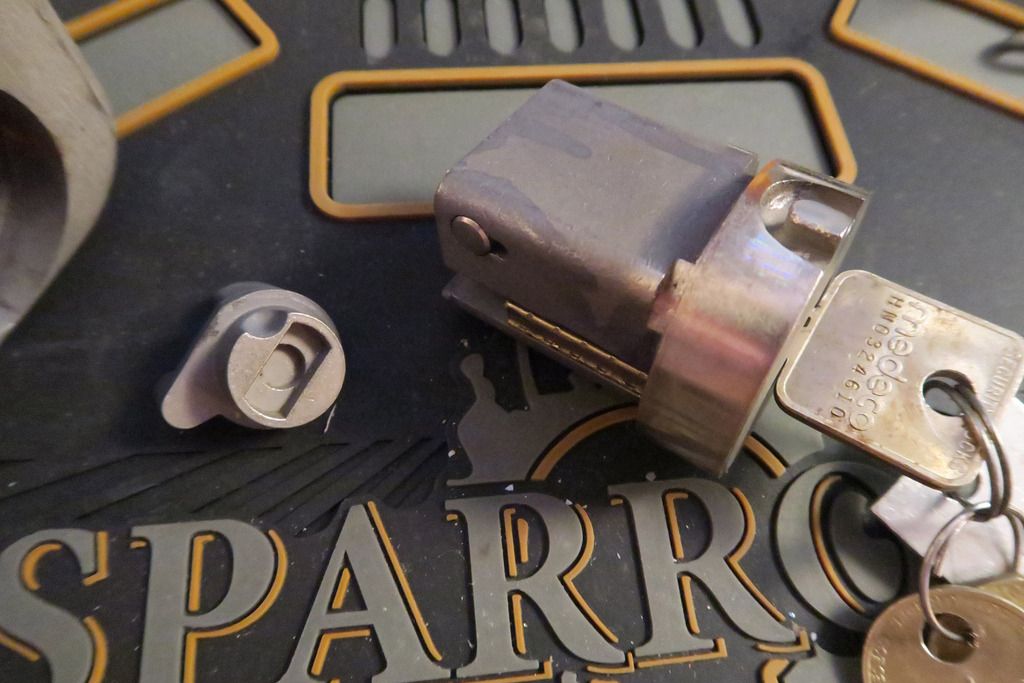
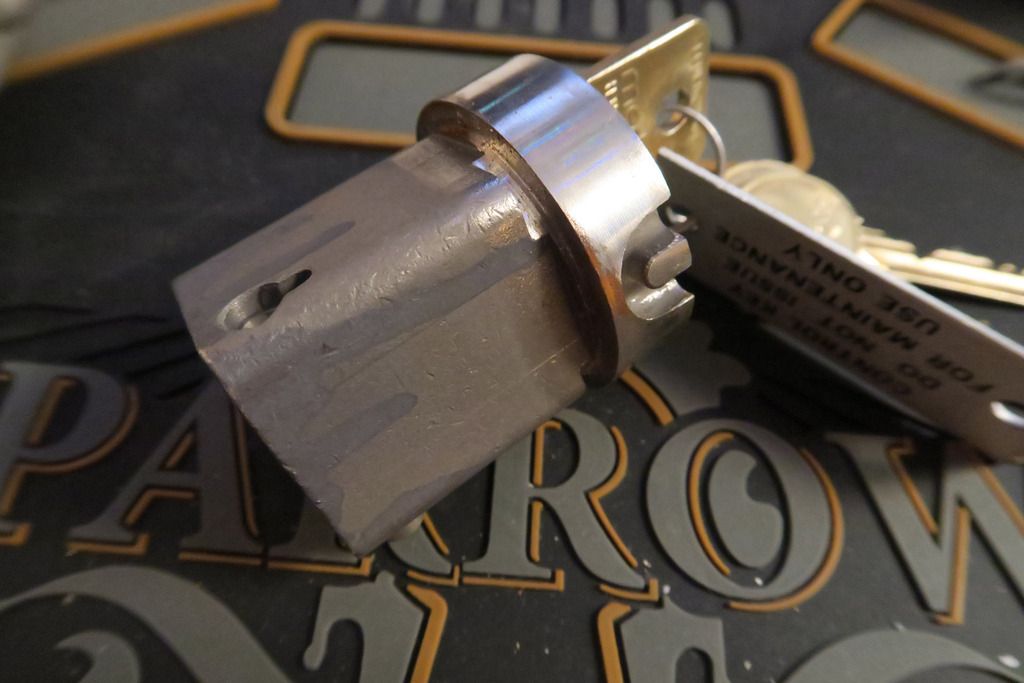
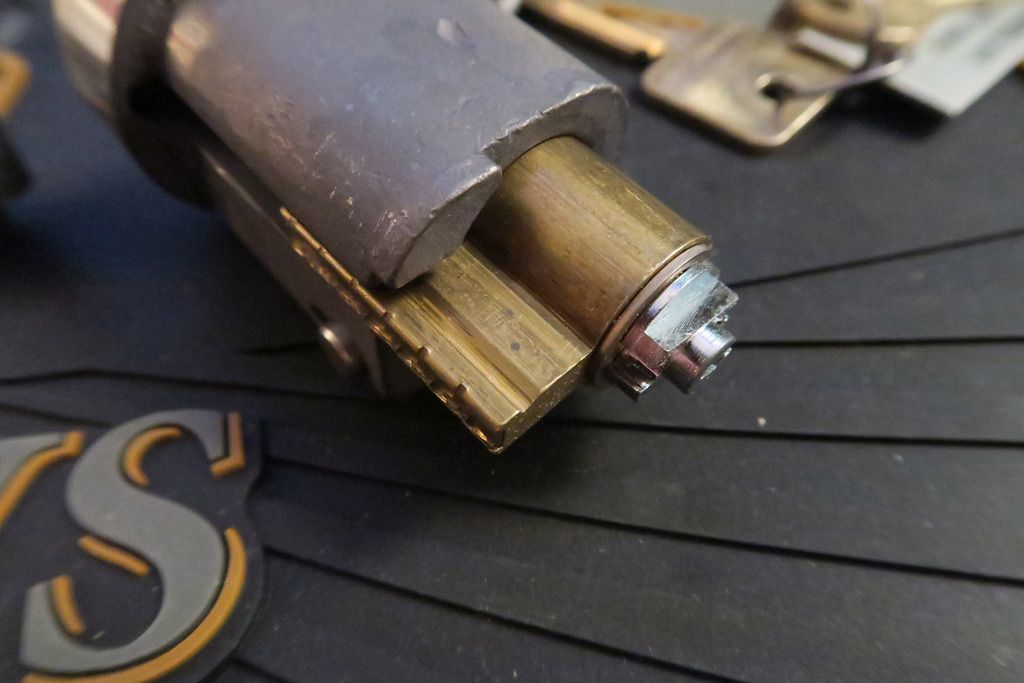
Control key inserted and removing the plug / cylinder. Look how crazy thick the bottom of that plug is! You can see now how the chain attaches too - pop the end link of the chain into the lil notch provided and then slide the plug back into the lock. The bit in the middle of the cutout holds it in place.
The control key is a little fiddly to use - in mine, I find that you need to put it in, turn it slightly to the locked position and then turn it back all the way (slightly further than the regular operating key will go), and then turn the key all the way back to the "locked" position before sliding the plug out. To re-insert it, manually slide the shackle to the locked position (it's loose when the cylinder isn't inserted) and pop the plug in, then turn the key VERY SLIGHTLY towards "unlock), no more than 5-10 degrees or so although you'll need to jiggle the key around a bit and it'll pop right now. The key will NOT come out if pushed all the way to the lock position. Took me a while to work that out
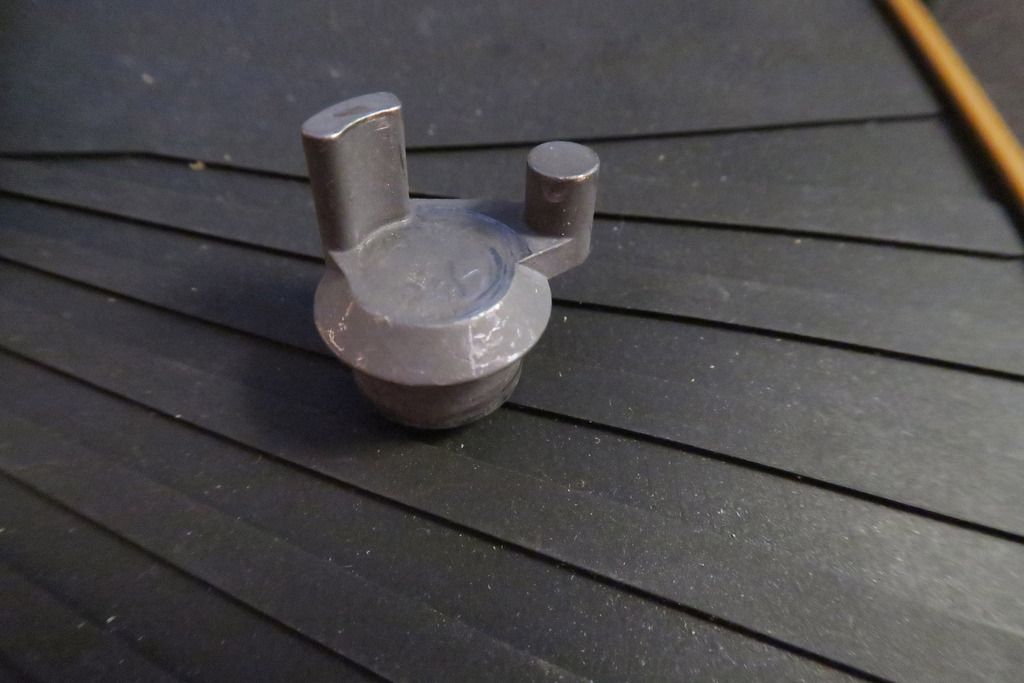
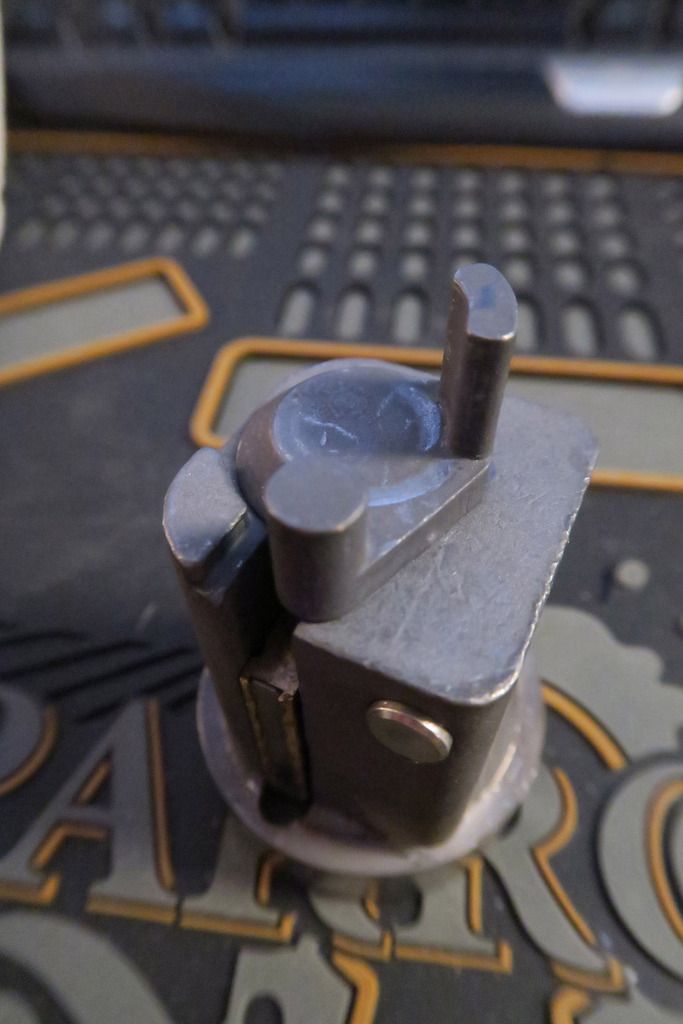
Plug removed, and the locking pawl came off (basically the actuator for the shackle):
Inside the lock. The Pawl interacts with the shackle and that sticky-up bit of metal at the end of the plug hole:
The pawl itself. The big bit sits behind the end of the shackle and stops it being forced back. The little bit sits in a gap in the shackle and what actually pulls it back when unlocking:
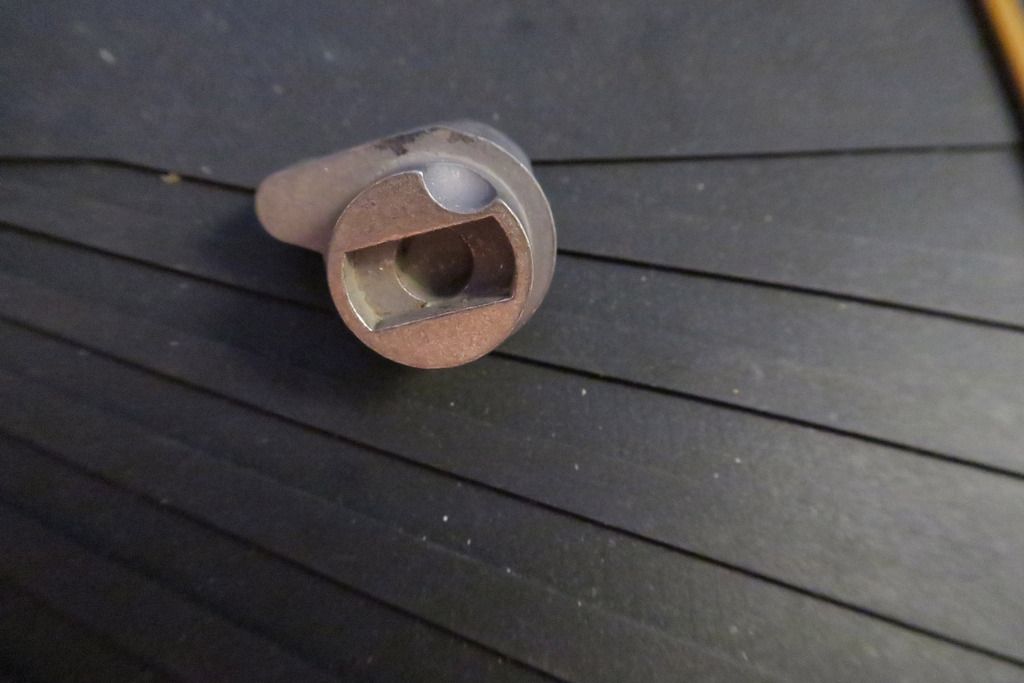
Bottom of the pawl. The wide rectangular hole slots into the end of the cylinder itself and is actuated by the cylinder turning. The little semi-circular hole in the side is where a ball bearing sits, we'll get to that later:
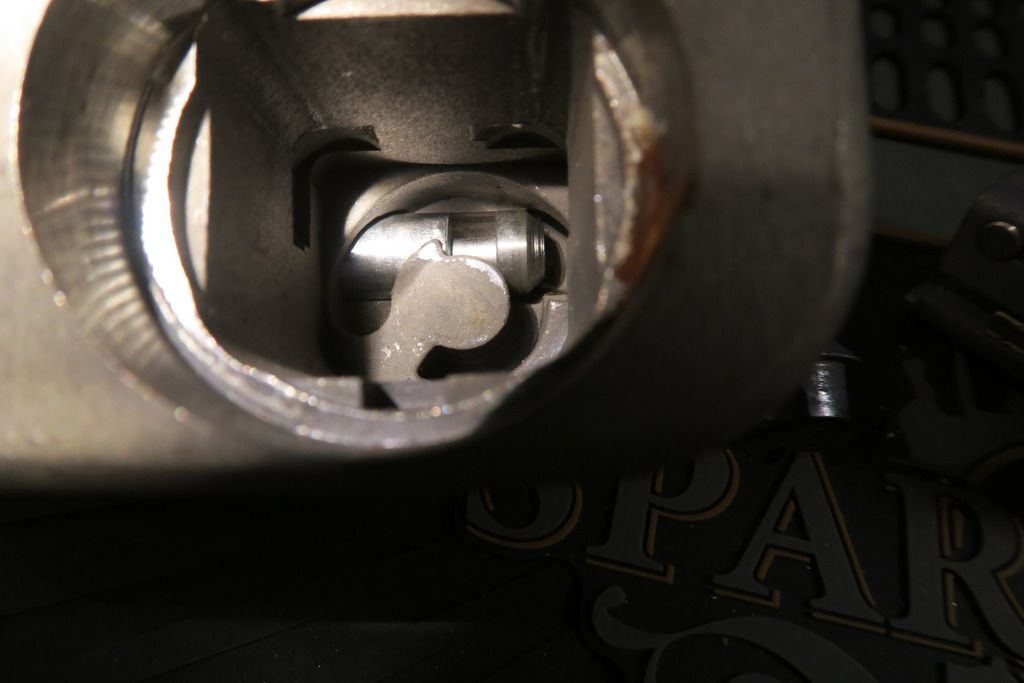
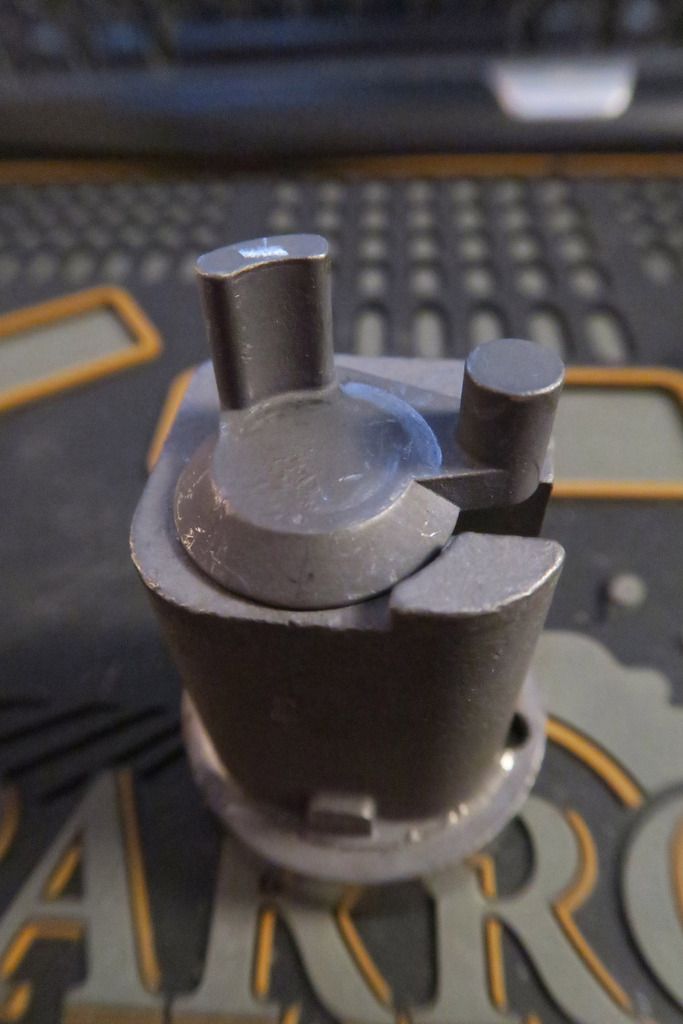
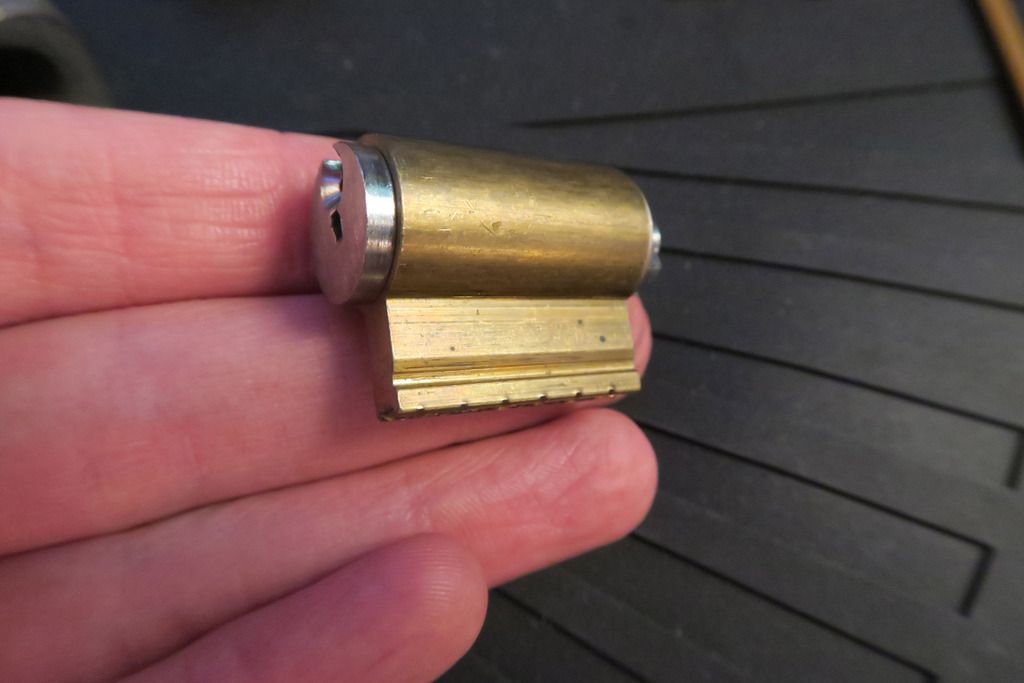
This shot is just to marvel at how thick the outside-edge of that plug is. Day-um. (Oh and also, you can see the little hole on the lefthand top side, near the inside end of the plug. A nub will stick out of here when the plug is inserted and is that stops it from falling out:
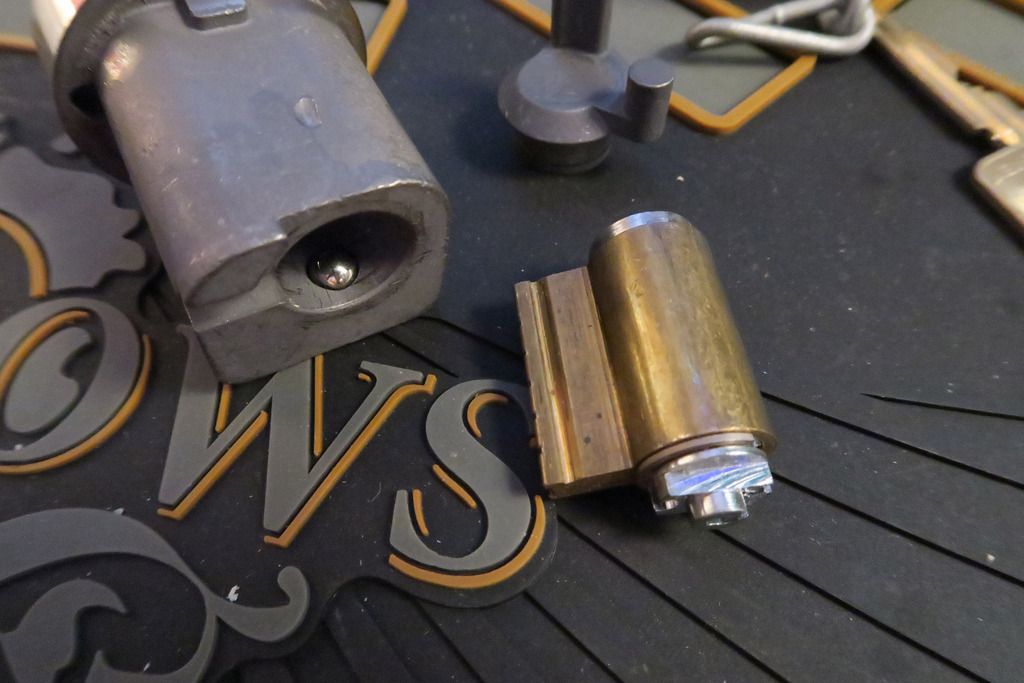
The back end of the plug/cylinder, with that BB we mentioned. The BB slots back into that small hole that it "lives in", and in the process of doing so pushes on two ends of two metal rods that poke out of the side and hold the plug in place. When the right key is inserted, the BB is able to pop out into the cylinder area (as here), allowing the rods to retract and the plug to come out:
Rods will pop out slightly when not held out with BB, but are easy to push back in:
Rod depressed. Also another view of that chain holding notch:
Actuator fitted to the bottom of the plug:
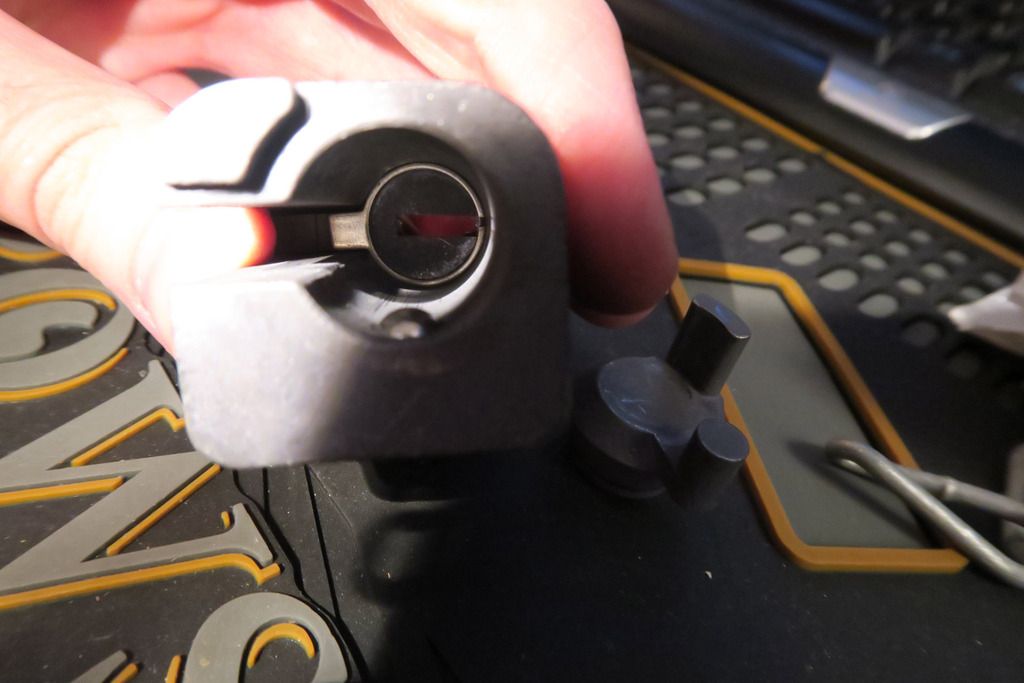
Took me ages to figure out how to remove the cylinder. The BB holds it in place, but can be forced back into it's "hole" by pushing on the front of the cylinder. The way I did it was to take the key out, turn it around 180 degrees (so the key is backward) and push on the cylinder with the key until you manage to force the cylinder past the BB and out of the back, like so:
Warning! The BB will go flying! Don't lose it
Cylinder removed (BB back in place - put the plug on it's back like this so that the BB stays there):
The cylinder:
The view down inside the plug, with the cylinder removed. At the front are a couple of hardened anti-drill plates. You CAN remove these, along with all those other parts I mentioned earlier, but I didn't for fear or buggering something up:
All the bits I dared to remove
(the screws in the packaging are to screw the chain staple into the wall):
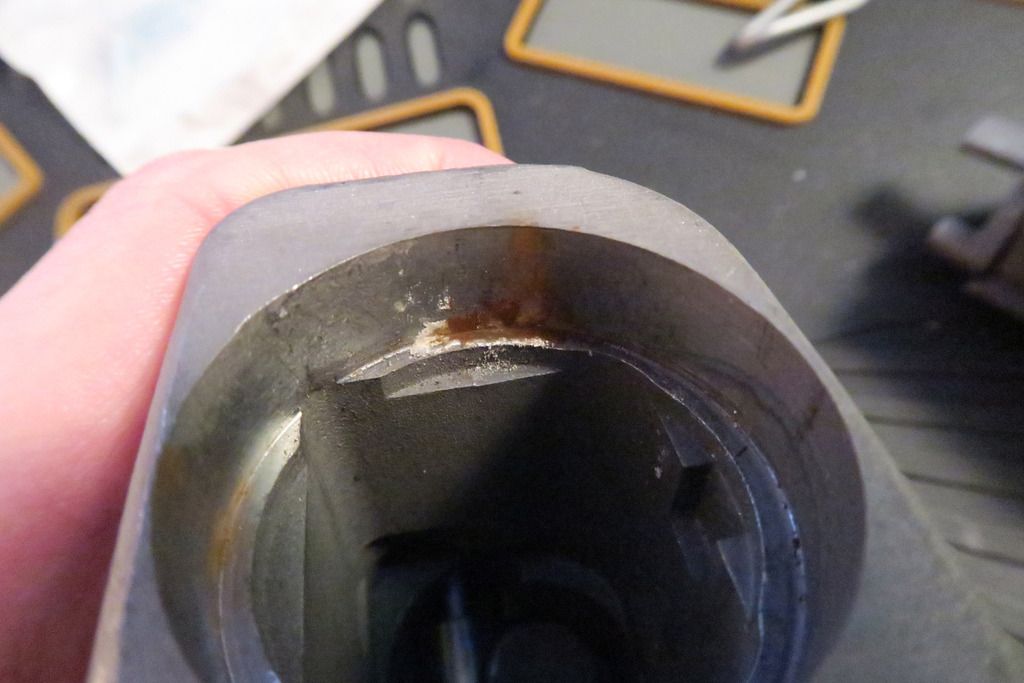
There's a bit of rust and some scrapes near the front. Makes me think it's been used once or twice at least...
Reassembled and unlocked with regular operator key:
 BONUS ROUND
A couple of things I've been meaning to show for a while
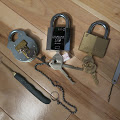
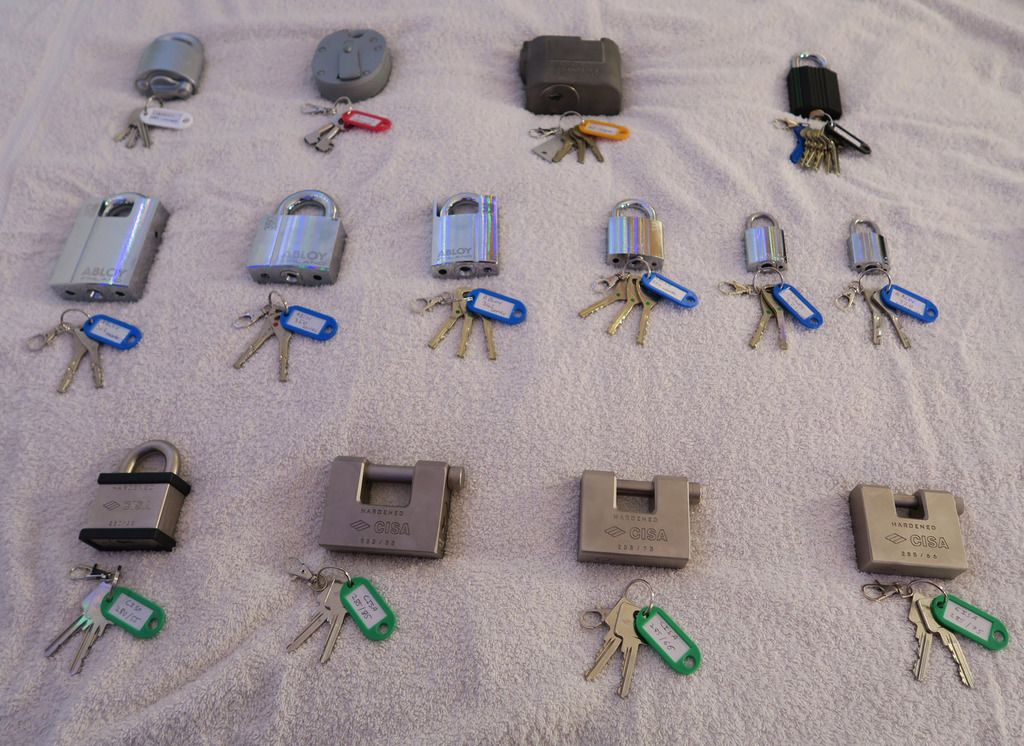
First off - now that this beasty has arrived, here's a couple of shots of my best padlocks (That's, uhm, my favourite locks, not BEST branded ^_^;;) to date. They've all been re-tagged with the colour-coded key tag, lobster clip and new ring and are ready for storage:
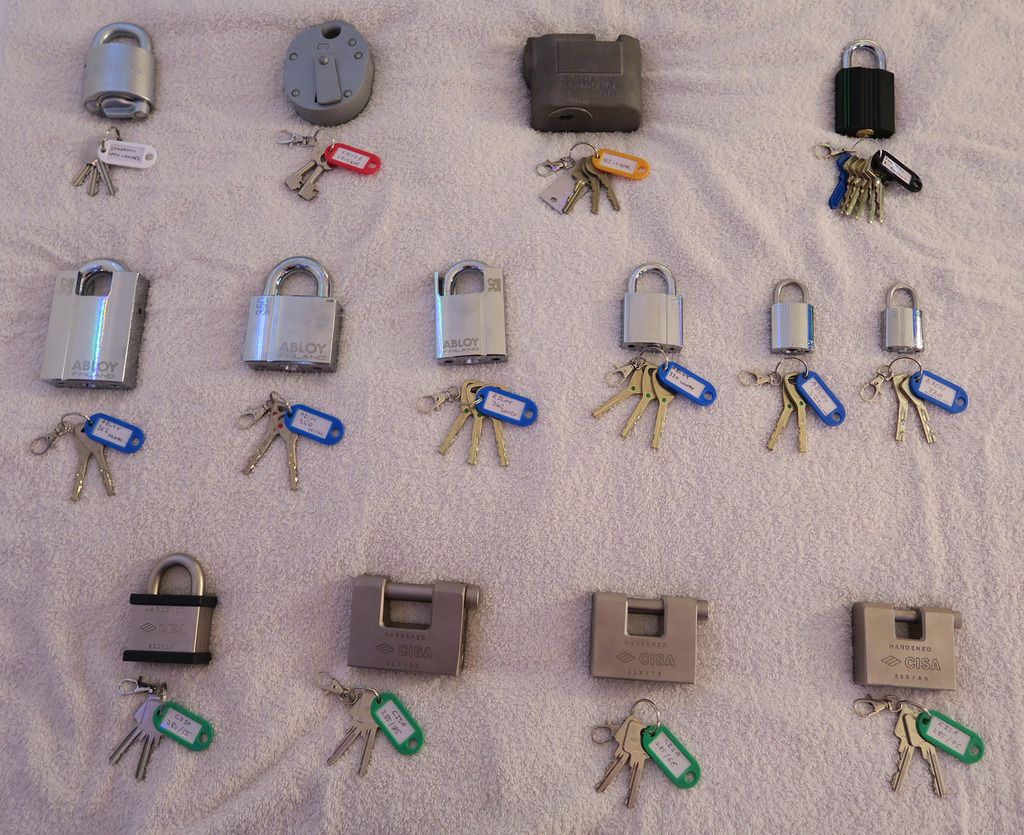
I like the little line of progressively more beastly Abloys
(Oh, and yes, I realise that the Cisa /66 keys are under the /75 lock and vice versa. I didn't realise until it was all packed up and I got to editing the photos and don't feel like setting it all up again. Looks like all the others are correct; just my luck that the most visible lock was the wrong one
)
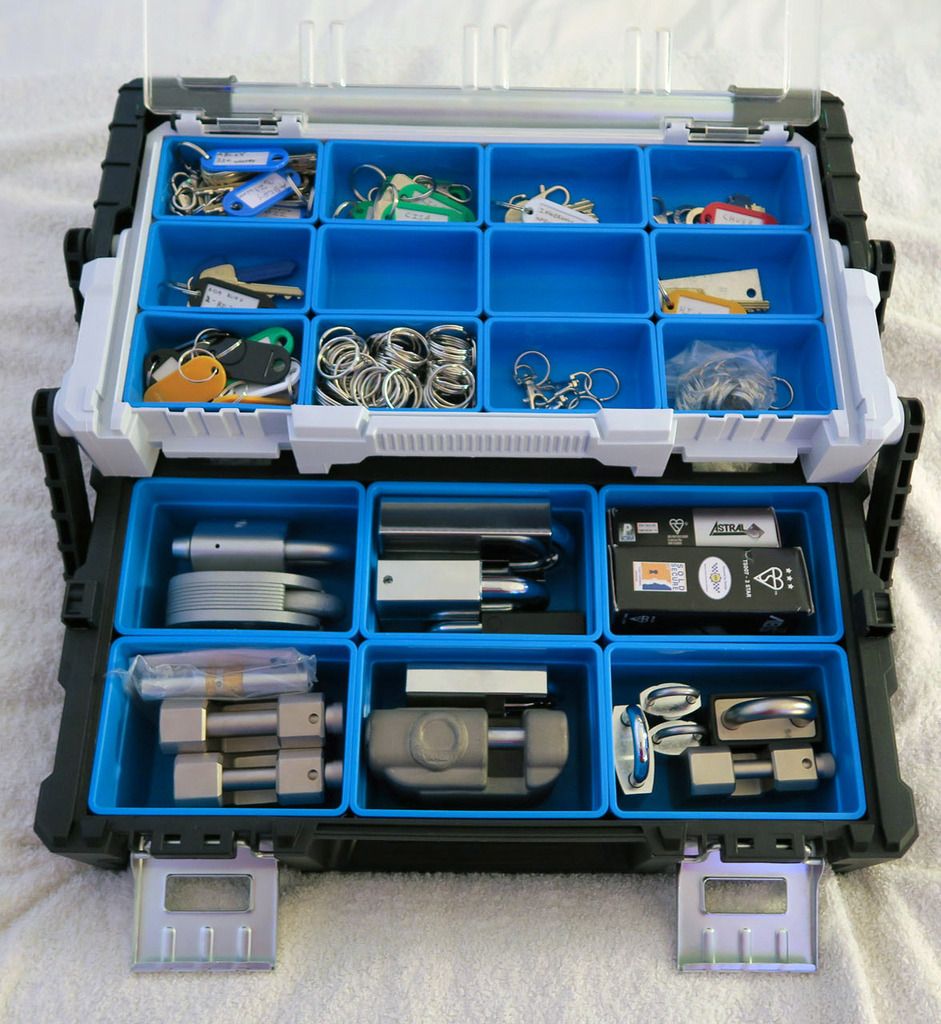
Also, I randomly picked up this tool organiser from a local big chain DIY place the other day. I was going to use it for picks, pins and random bits but just so happens that it's PERFECT for storing locks, and keys:
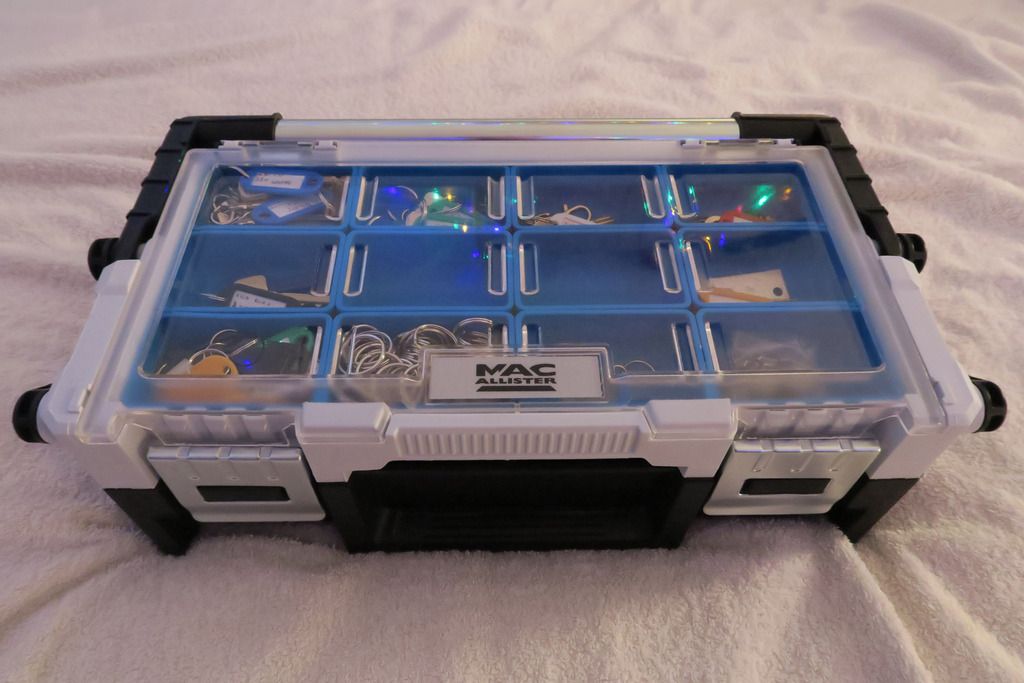
Sadly it doesn't lock. Partly for (modest) security and partly cos I feel that a box full of locks should be locked
.
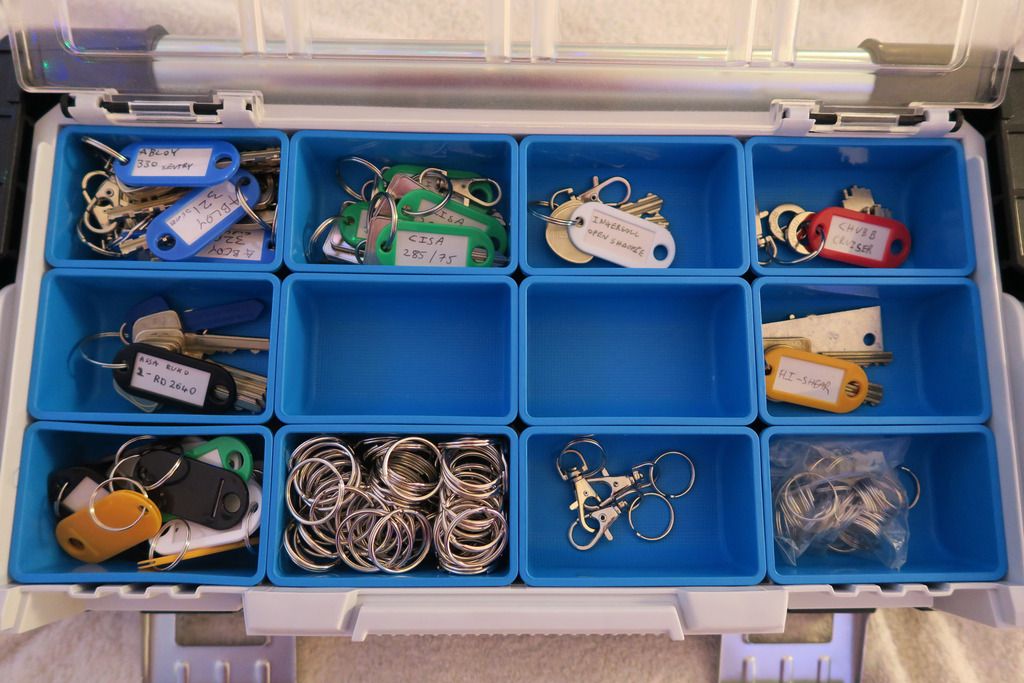
Keys organised: Abloy (blue), Cisa (green), Ingersoll (White), Chubb (Red), Ruko (Black - I've left a couple of free slots for more of these, haha) and Military (Yellow). Bottom row is a selection of keyrings (split rings), keytags and lobster clasps:
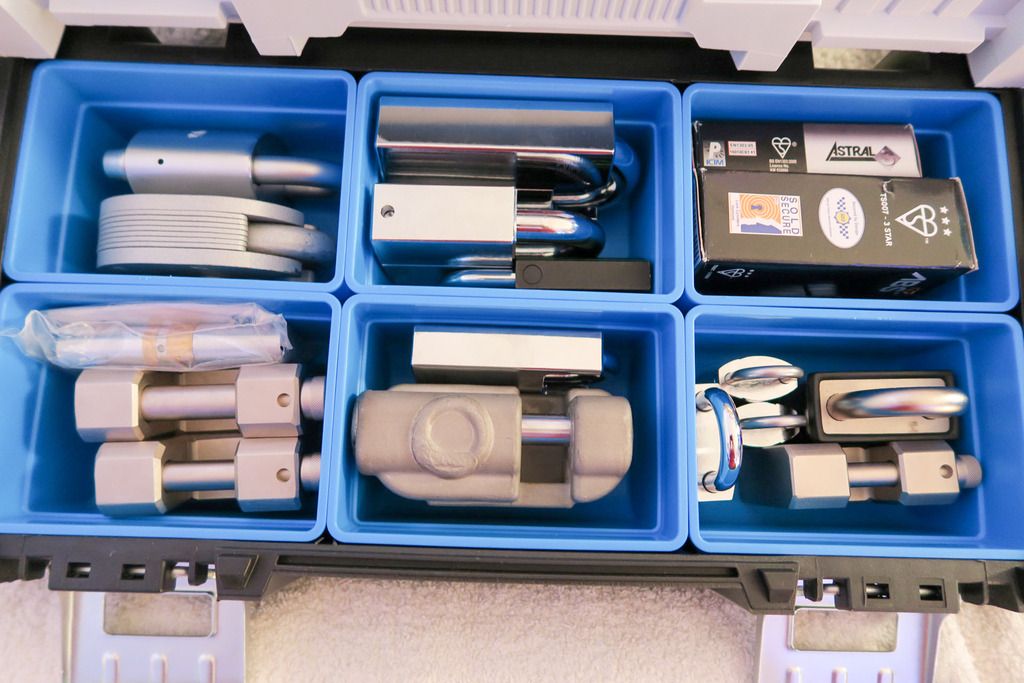
Bottom drawer, from left to right, top to bottom:
Drawer one: Ingersoll open shackle & Chubb Cruiser
Drawer two: Abloy 362, Abloy 350 and Ruko 2 (D12, 2641)
Drawer three: Avocet ABS Euro Cylinder, Cisa Astal S Euro Cylinder
Drawer four: Cisa 285/85, Cisa 285/75, Abloy Protec2 Euro Cylinder
Drawer five: Hi-Shear, Abloy 342
Drawer six: Cisa 285/66, Abloy 330, Abloy 321, Abloy 320
Box fully open with all the stuff in. Love that it contains everything perfectly; I'll def. be getting more of these. Oh, and don't fear for the "discarded" original boxes - currently they're in an old cardboard packaging box awaiting a nice roomy "Really Useful Box" - plastic Tuff-Crate style thing to keep them all safe in.
And -THAT-, finally, is it for me today. Been a helluvu day
P.s. If you want to get hold of one of those oh-so-sexy Hi-Shears, fear not! This was one of two that I was watching - both are very similar but I went for this one because it looked in slightly better condition, was slightly cheaper and came with the chain rather than the original hasp & staple (personal preference. You can find the other one (eBay auction)
HERE. Snap it up quickly before I decide that the only thing better than having one Hi-Shear to display is having TWO Hi-Shears to display, and end up with my bank manager / and or girlfriend banging at my front door baying for my blood