ABLOY Disclock notes and pictures
Had to rekey a couple of ABLOY Disclock padlocks and a mortise cylinder in my collection because they had no keys. Thought I'd put together some information on these locks.
Note:I was first directed to Keypicking.com because of one of these locks. I had bought a Disclock deadbolt and needed someone who could rekey it. Now I can do it. Thank you to everybody here! I have learned a tremendous amount from you.
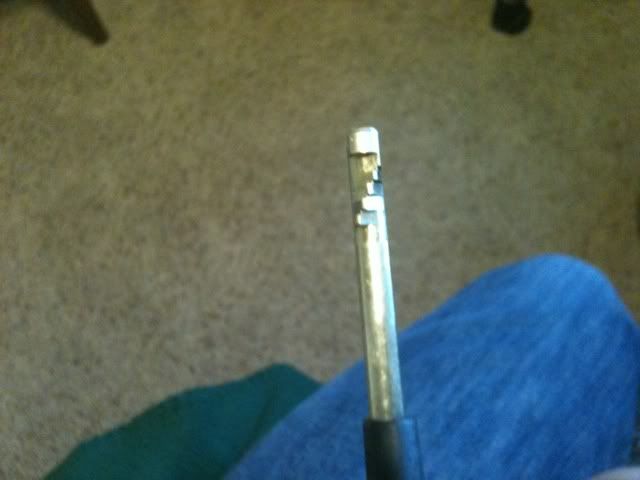
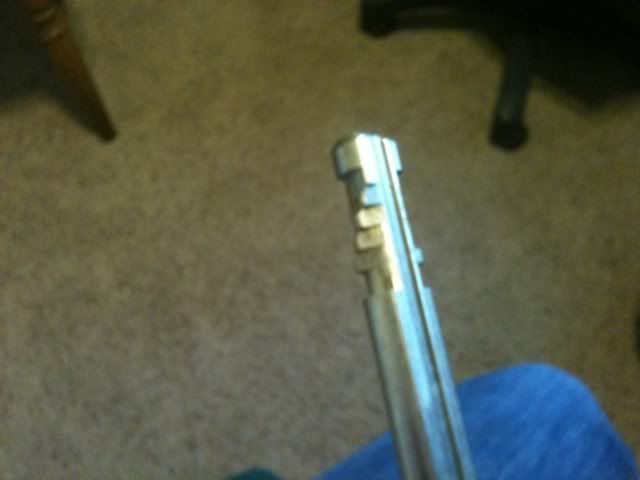
What a Disclock key looks like:

How to read the key. This is a gauge key. Read from tip to bow, viewed from the top. No cut is a "0". If the 'point' of the cut is aligned with the right side of the key, it is a "1". The progression continues until the 'point is aligned with the left side of the key, which is a "5". If the 'point' is right in the middle, it is a "3". If the key is cut all the way across, it is a "6".
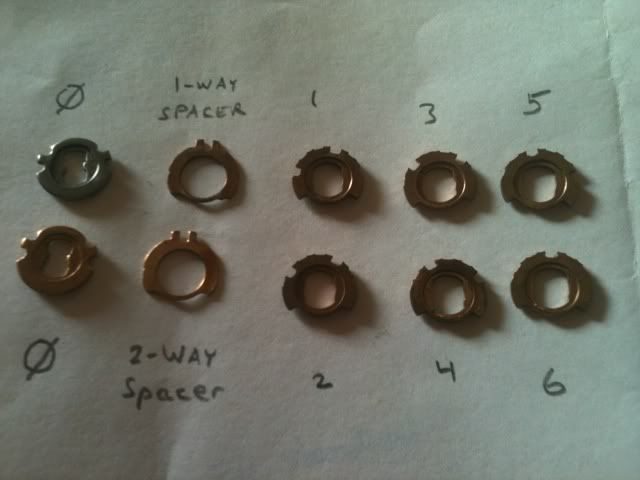
These are the different discs. The "0" disc is a profile disc, and also drives the scrambler bars. There are two in this picture, because they come in copper or steel. Notice that all of the discs (except the "6") have two gates. That is because this was ABLOY's first commercial experiment in one key that turn two ways. So the gate would be in a different location depending on which way the key is being turned.
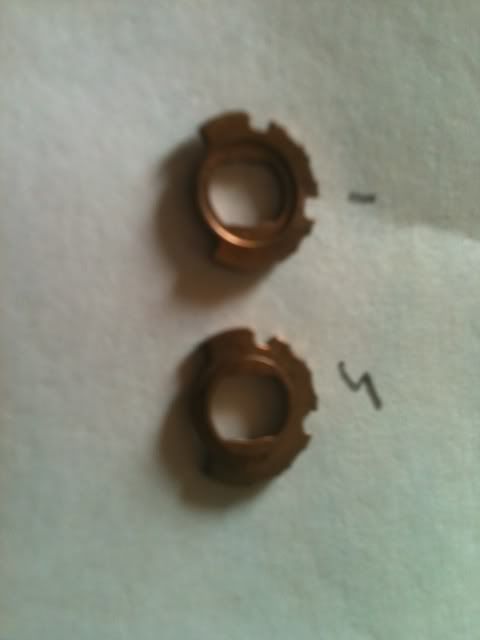
The discs can not be flipped over as in an ABLOY Classic. The discs have a center section that is pressed down (or up, if the disc is upside down). The top disc is a "1", while the lower disc is a "5". The cuts may look the same, but notice that the "5" is upside down.
There are also 2 types of spacers. One is the same from side to side. This spacer allows the plug to be turned in either direction, just like a pin tumbler lock. The second type has an extra notch on one side. This notch prevents the scrambler bar from moving on whichever side it is on. It is a one-way spacer. These are used in the ABLOY padlocks so the key can only turn in one direction.
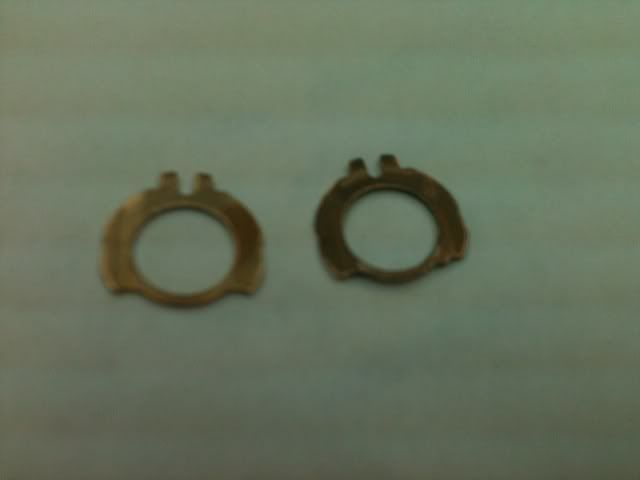
This funky tool is pretty handy. Had to figure out what it did. Once I did, I always use it. Can you guess?
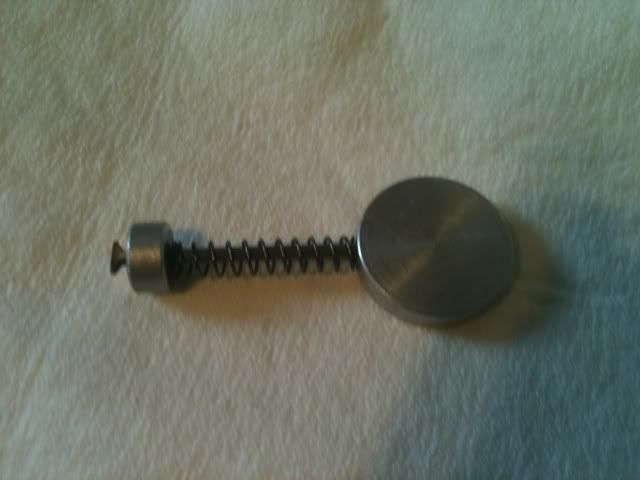
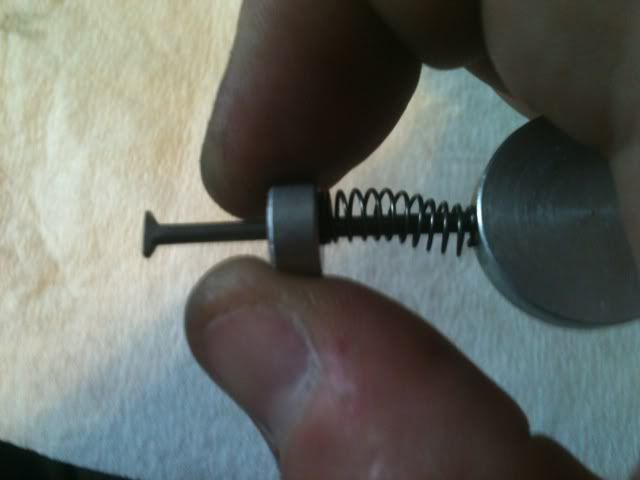
It holds together the disc stack for assembly an disassembly.
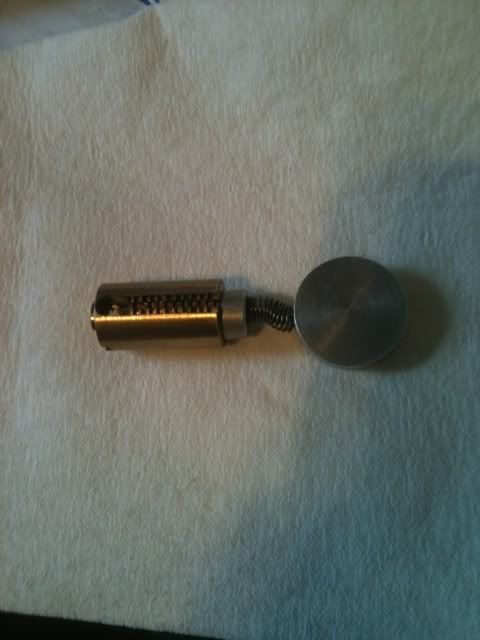
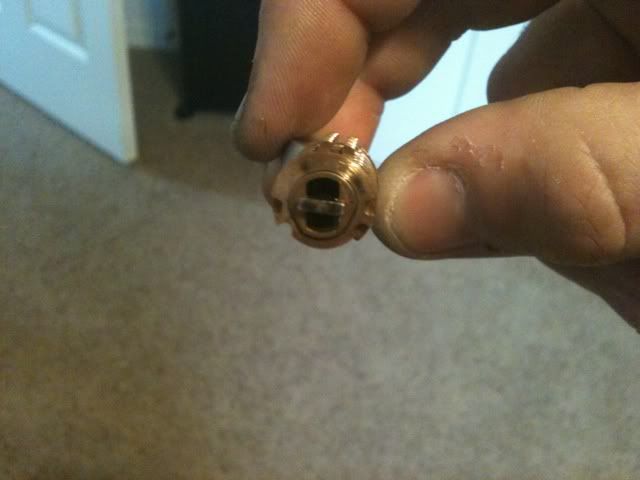
The two rods next to the plug are the scrambler bars.
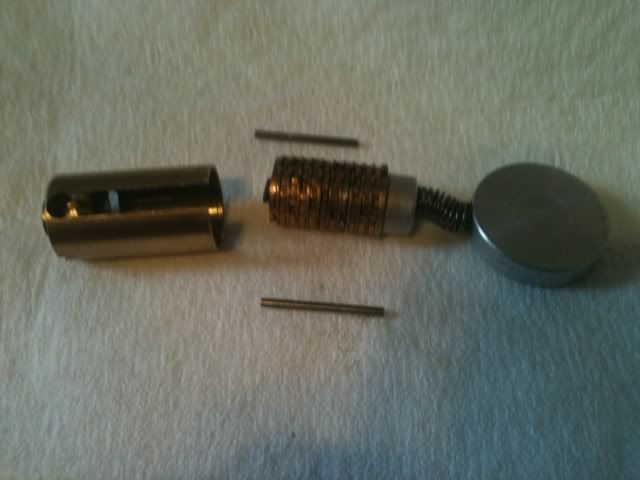
Here you see the entire disc pack installed in the plug. At the bottom you can see the scrambler bars installed.
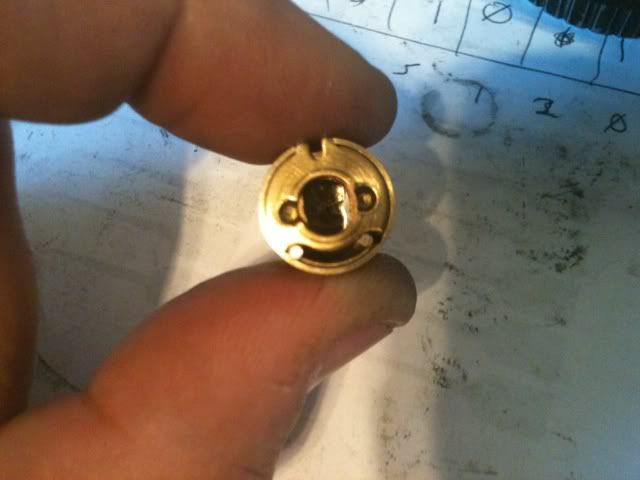
That about covers the notes this time around. Wizer, feel free to correct anything I have wrong. Hope this answers some questions some people may have.
Gordon


