![]() Mon Nov 16, 2015 3:37 am
Mon Nov 16, 2015 3:37 am
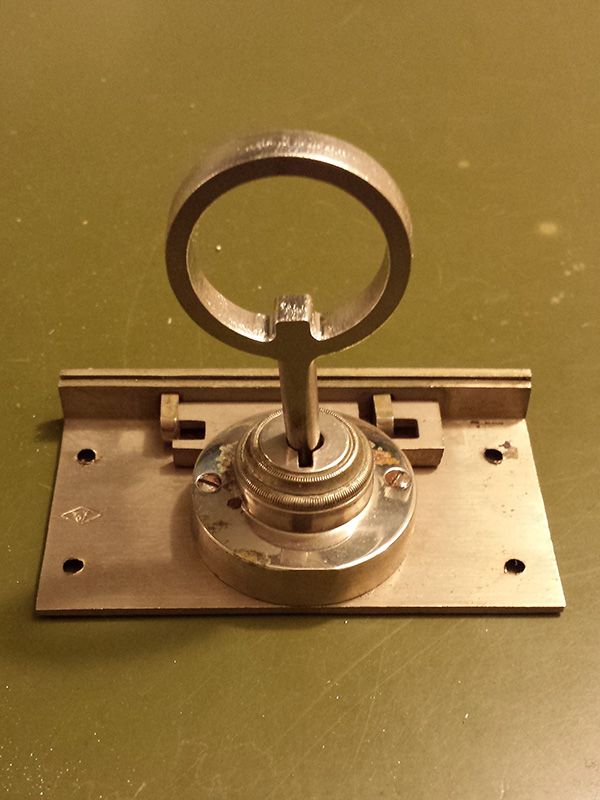
Re: My First BRAMAH-ish Lock
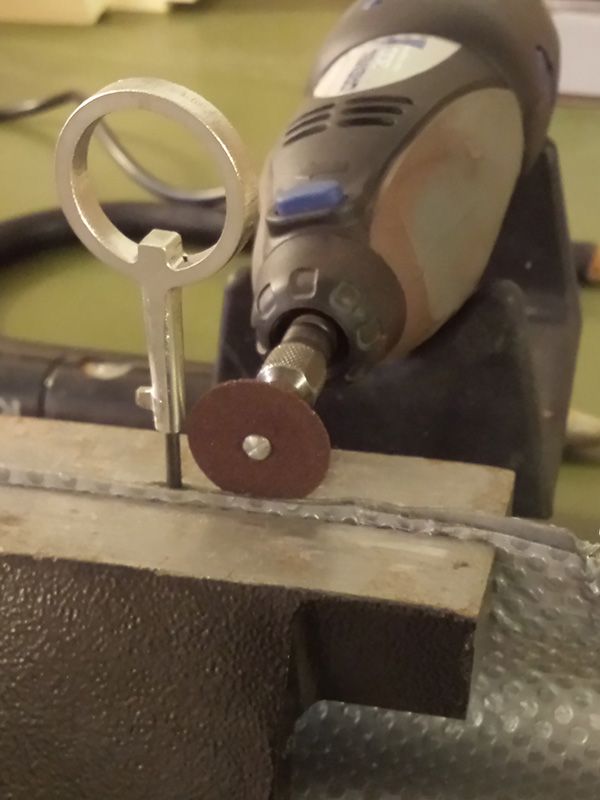
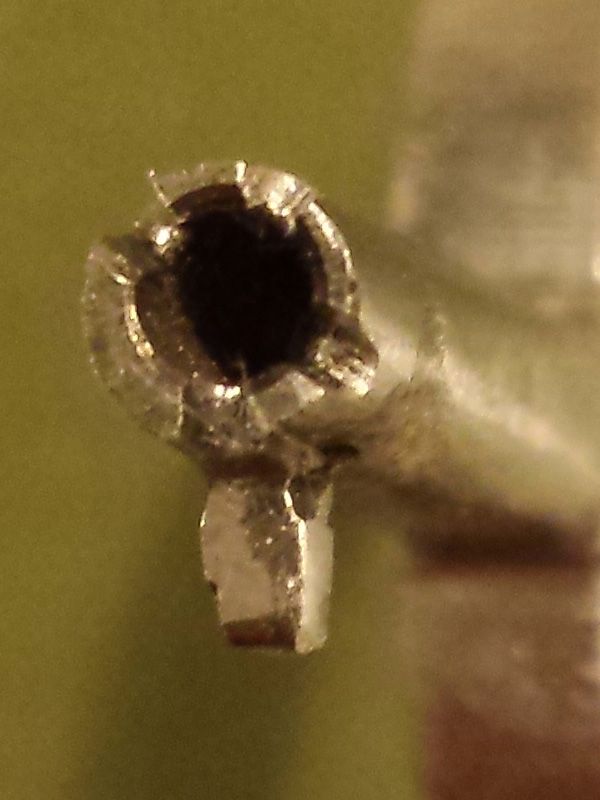
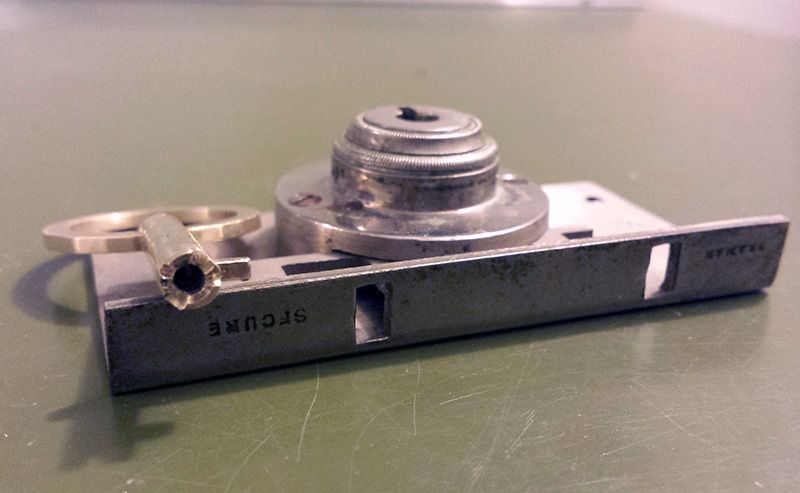
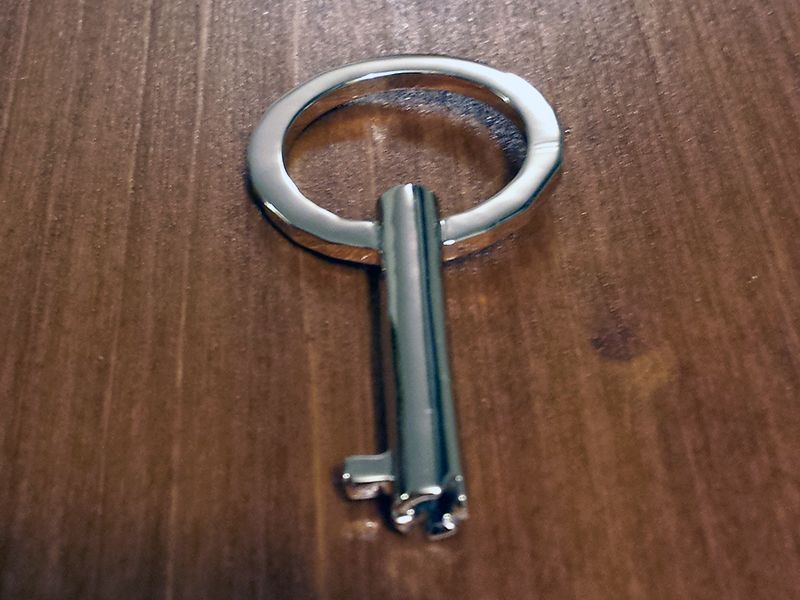
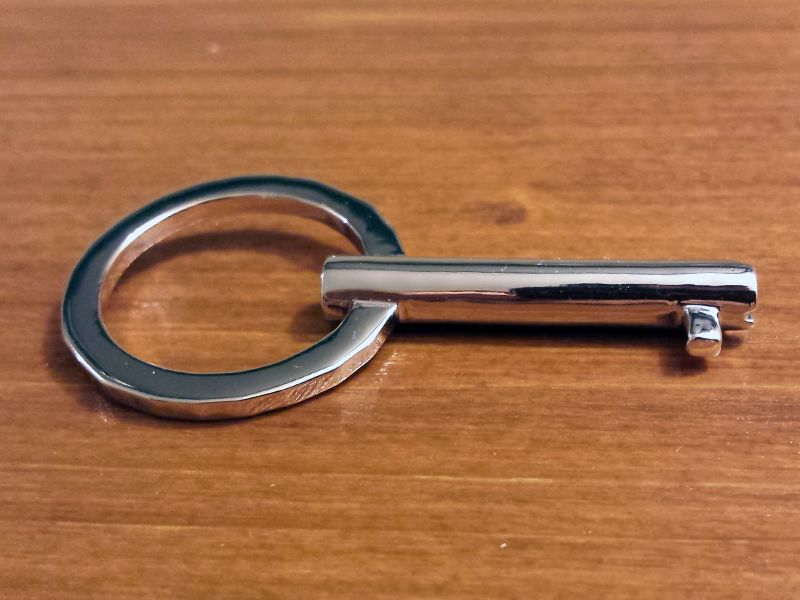
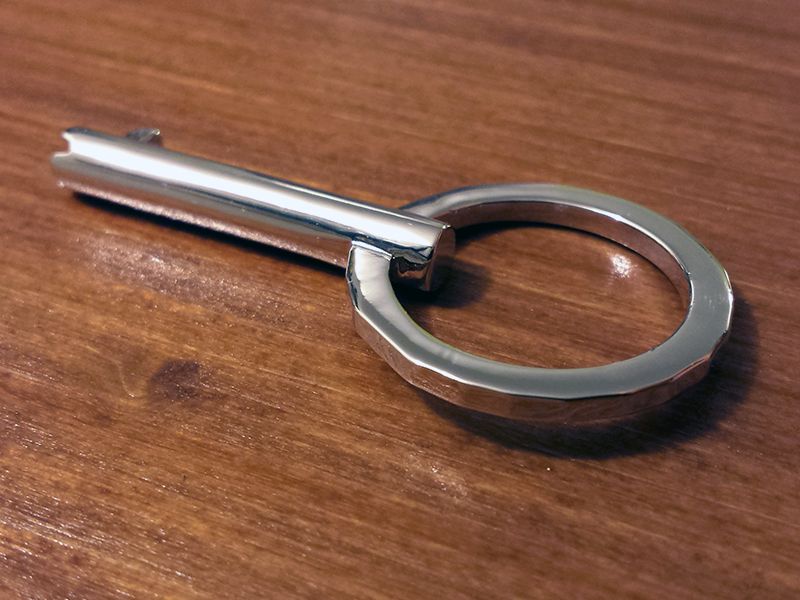
So I used a drill bit in the vice to be sure the key was round and centered on its hole. Made a few unsatisfying tries with the file, that seemed not to work very well because it was not easy to file and rotate at the same time.
As I said, I don't have a drill press, so I dug out the dremel, went all savage and held it by hand. Switched it on, put the tip against a point and then rotated the key by hand. Repeated a bit higher a few times and the tip was round and centered for sure.
I have to admit that, even if I tried to keep the tool still, some vibration and small movement may have occurred. In fact I had to smooth out the surface with the flat file. Nevertheless, I was sure the key was well round and uniform enough for the precision I need to open this lock.
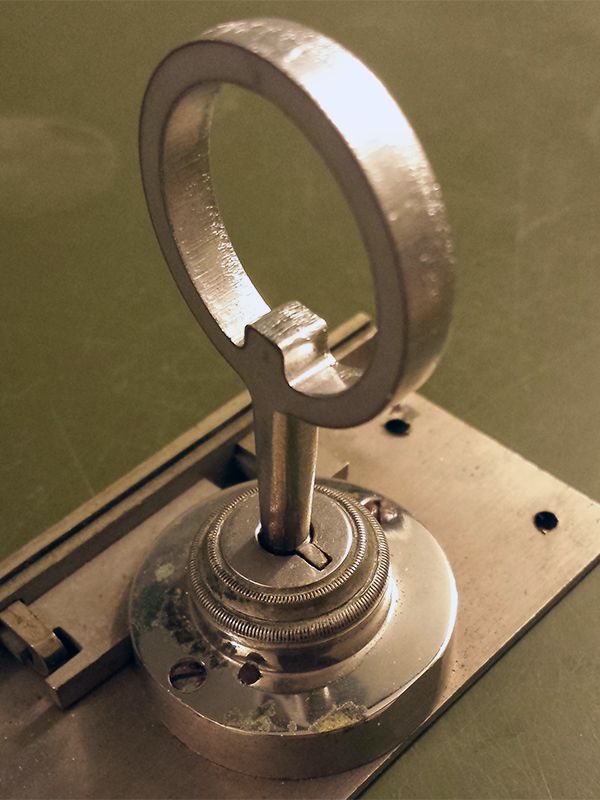
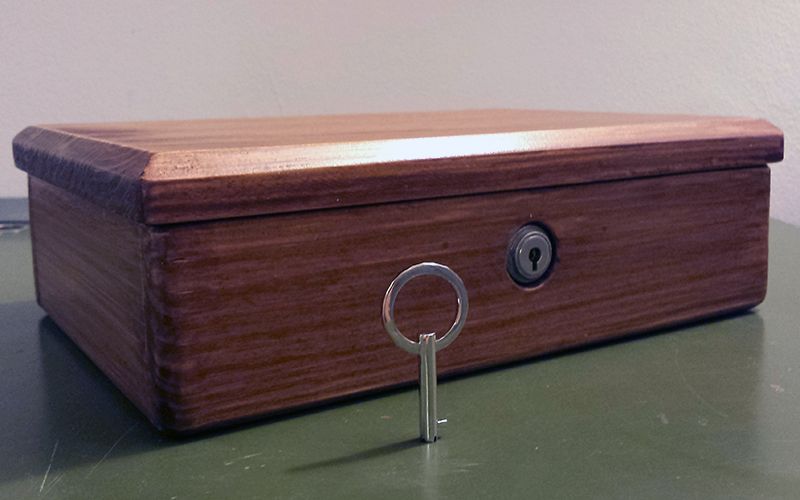
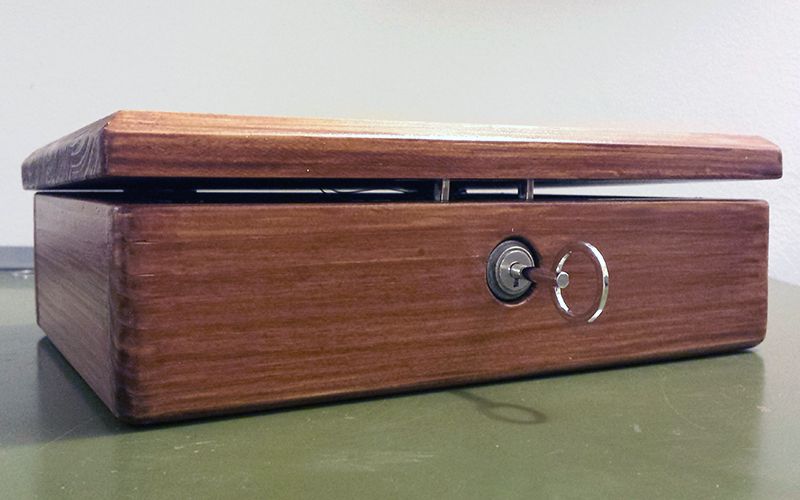
Even if it's still a bit too long, it's nice to see that it enters the keyhole now. I smoked the tip to get the sliders position and am ready for the next steps: establishing the tip length so the flag enter completely the keyway and cut the bittings on the tip.
Cheers